![xcelerate-black-color-1.png]](https://www.xlrestorationsoftware.com/hs-fs/hubfs/xcelerate-black-color-1.png?height=40&name=xcelerate-black-color-1.png)
Set Up Your Email Integration in Xcelerate
Connect your email to Xcelerate so your messages, contacts, and calendar appointments stay in sync. This walkthrough covers verifying your profile email, connecting your account, choosing what syncs, and a quick look at using mail once it's set up.
Step 1: Log in to Xcelerate.
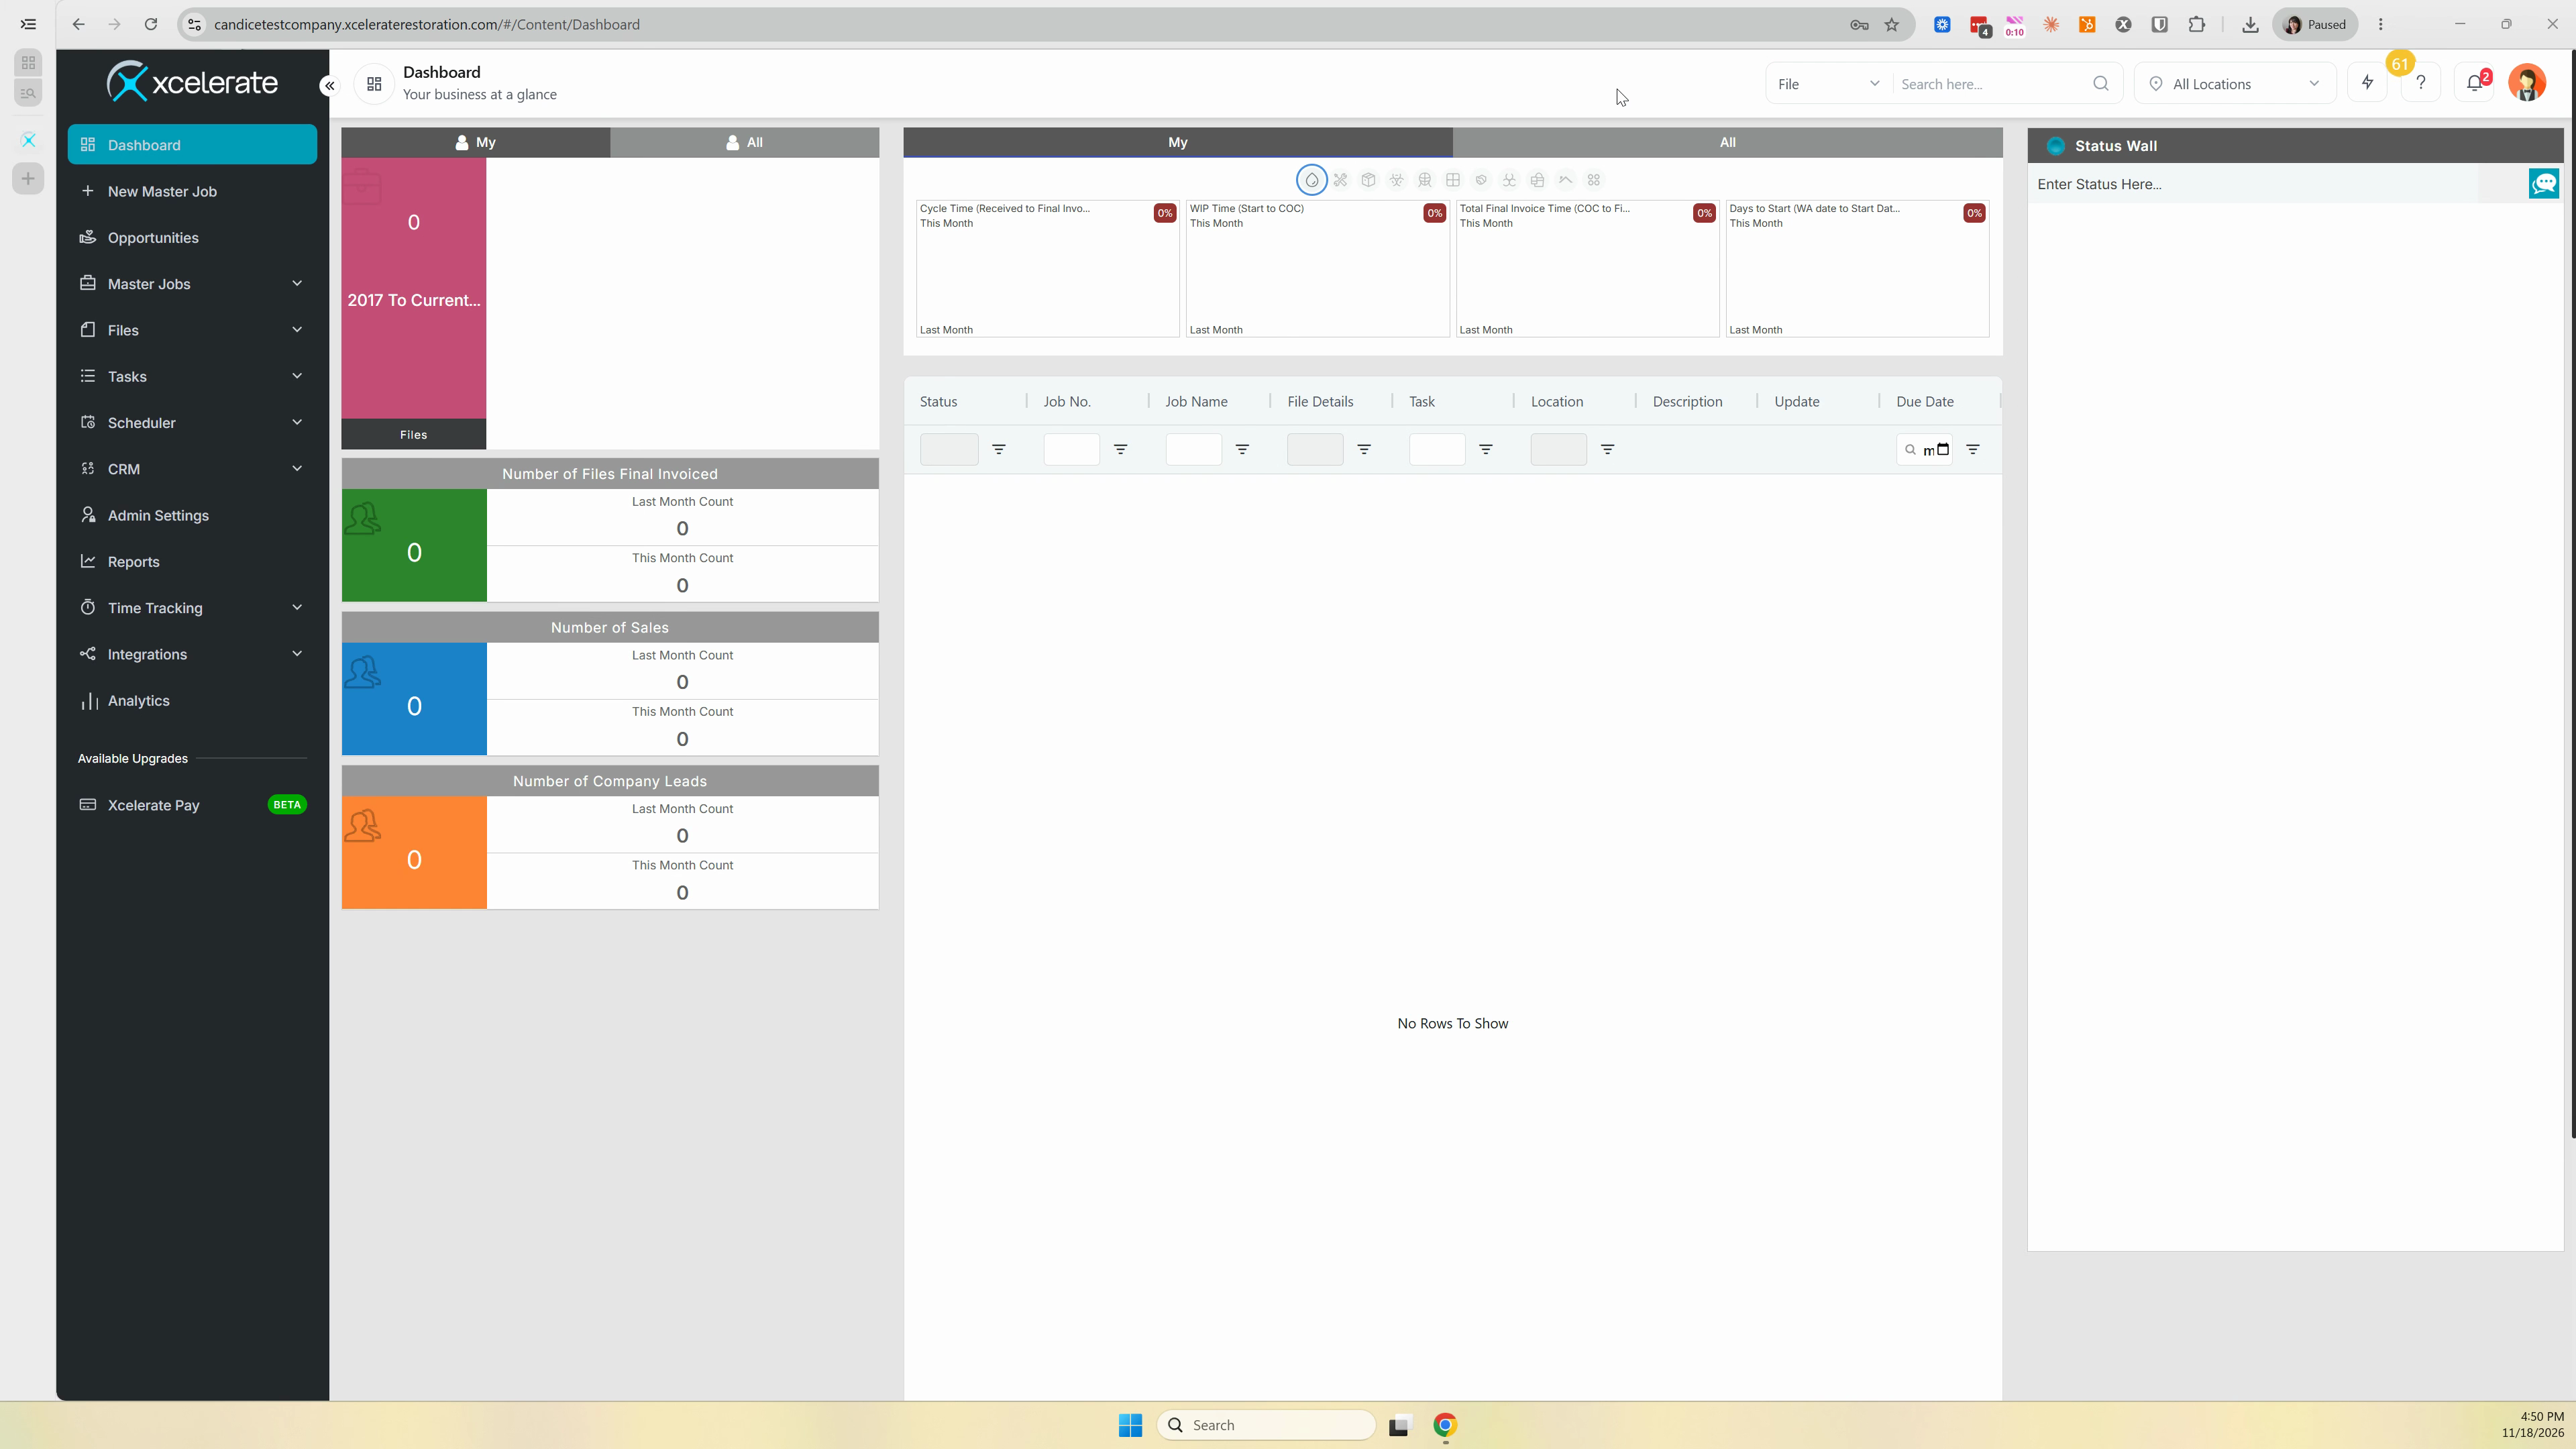
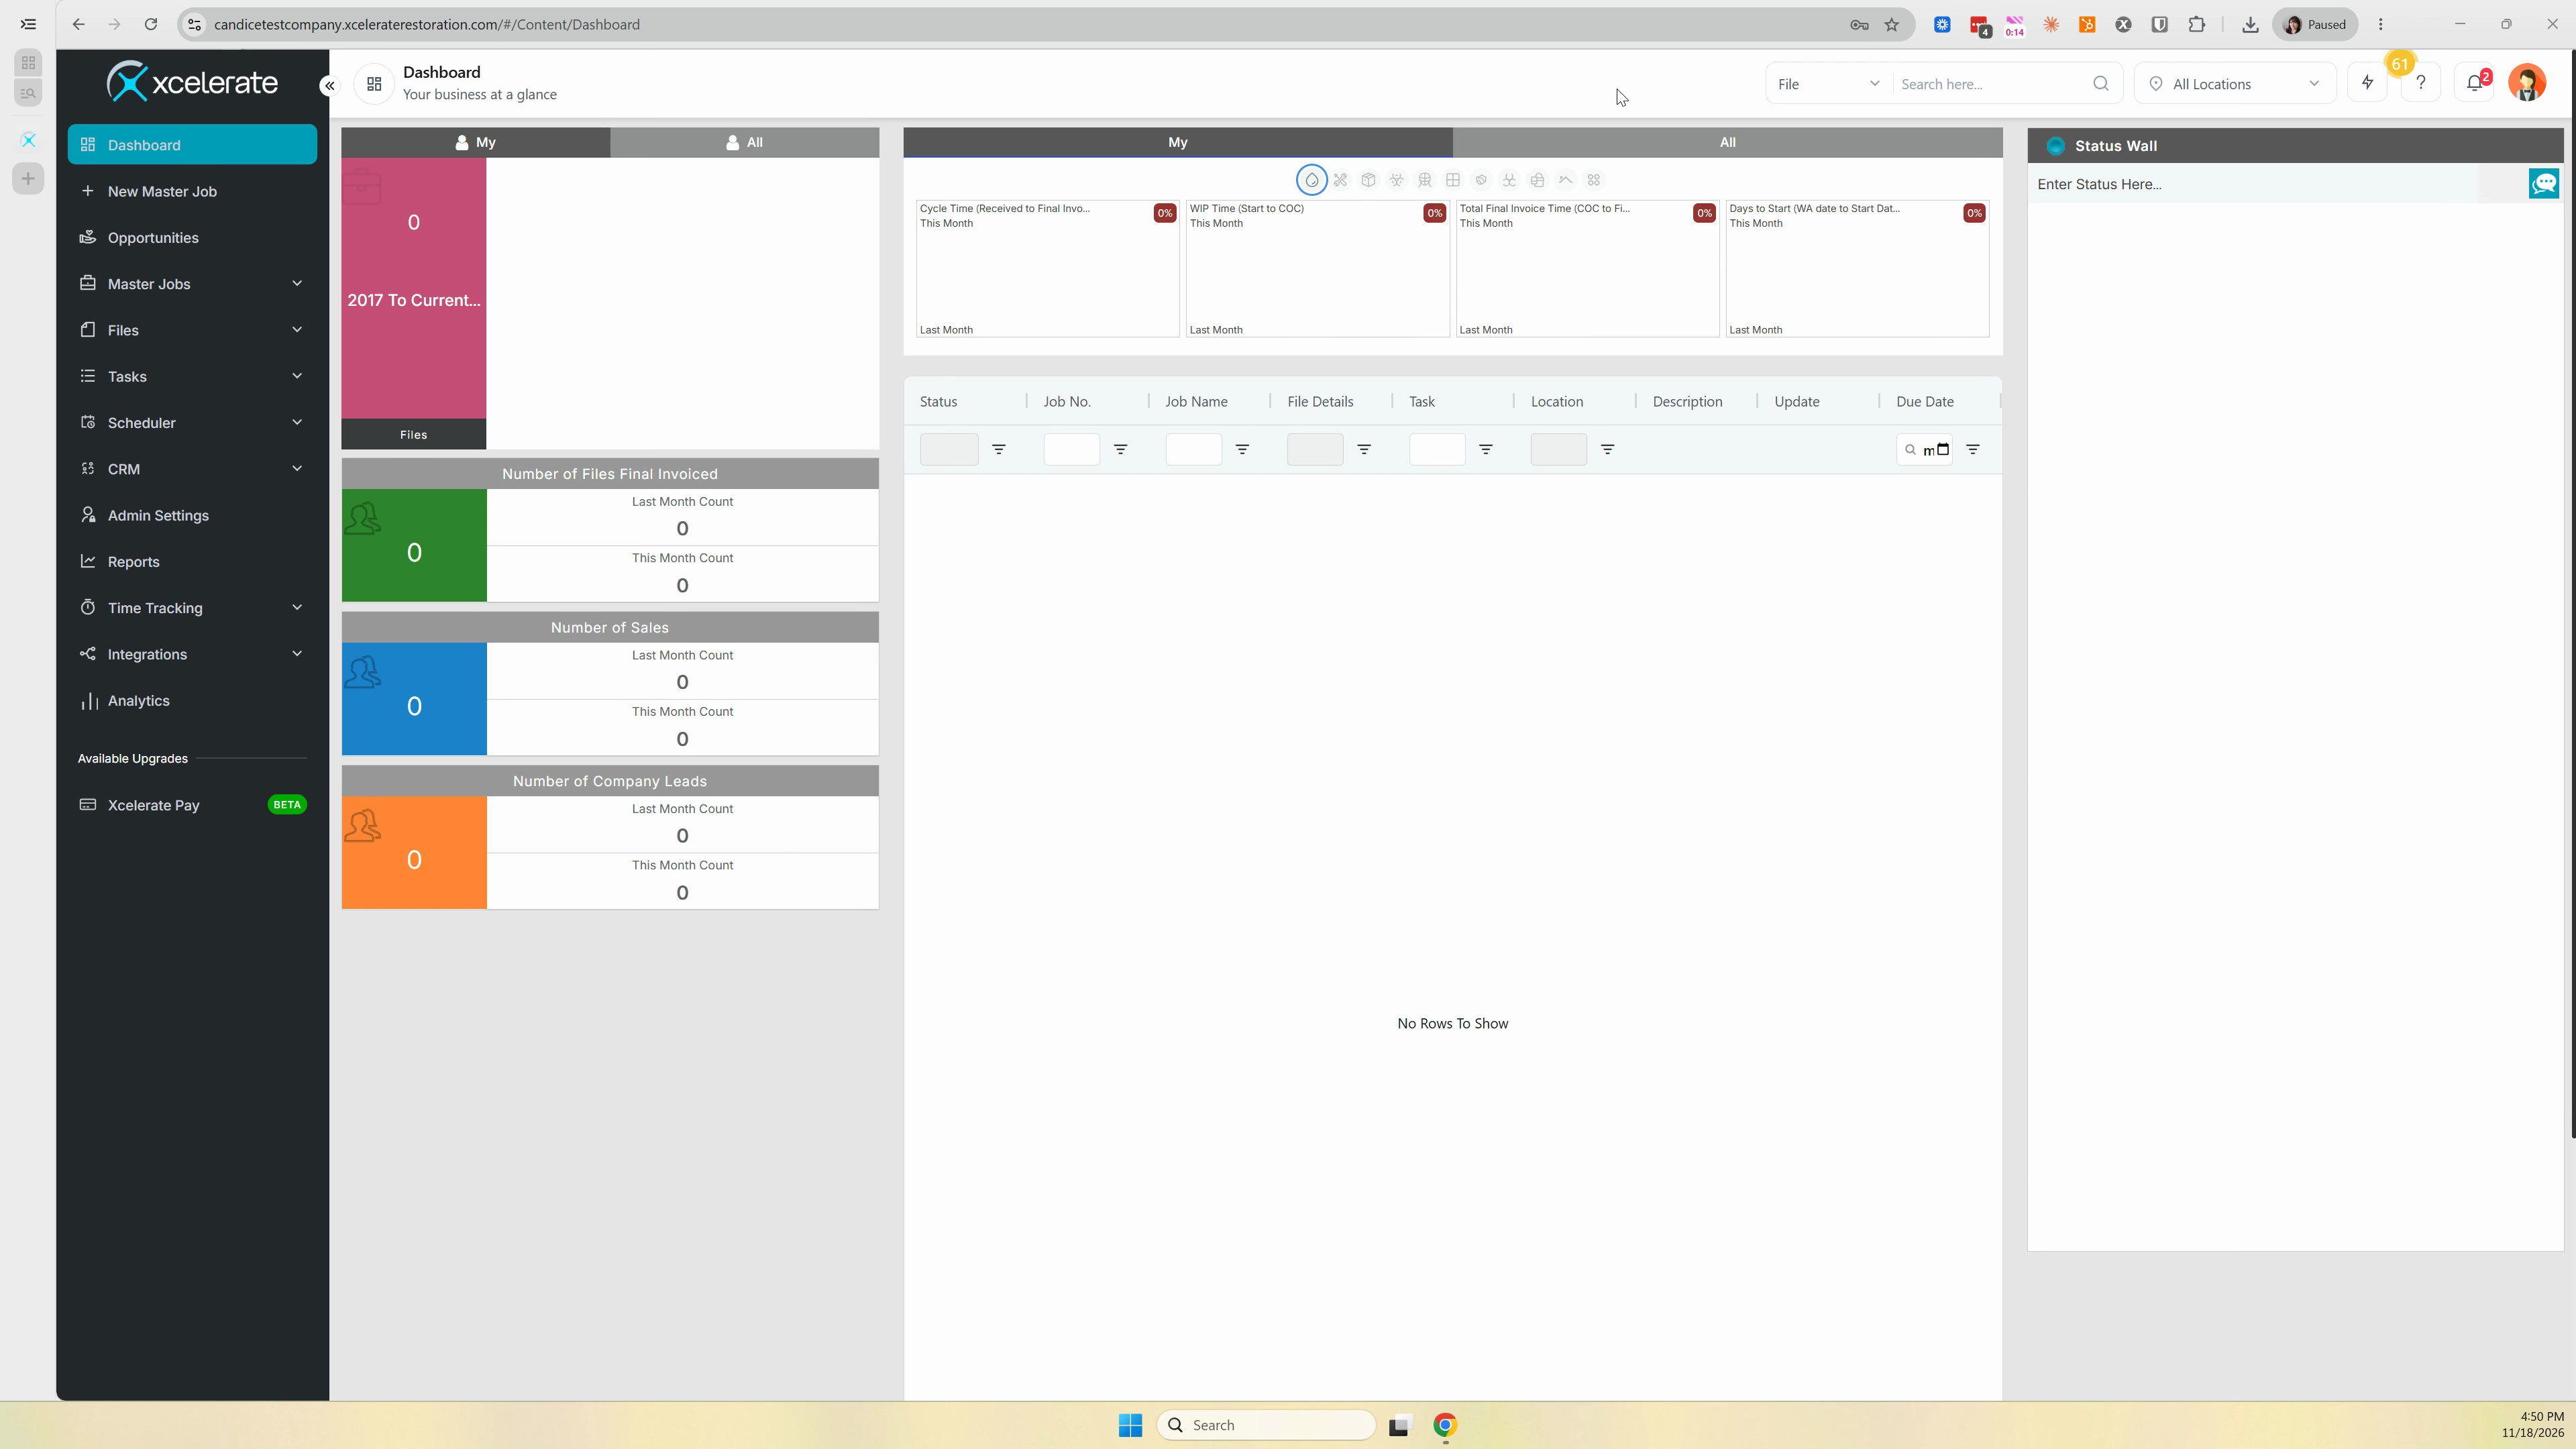
Step 2: Click your profile icon in the top right corner, then select My Profile.
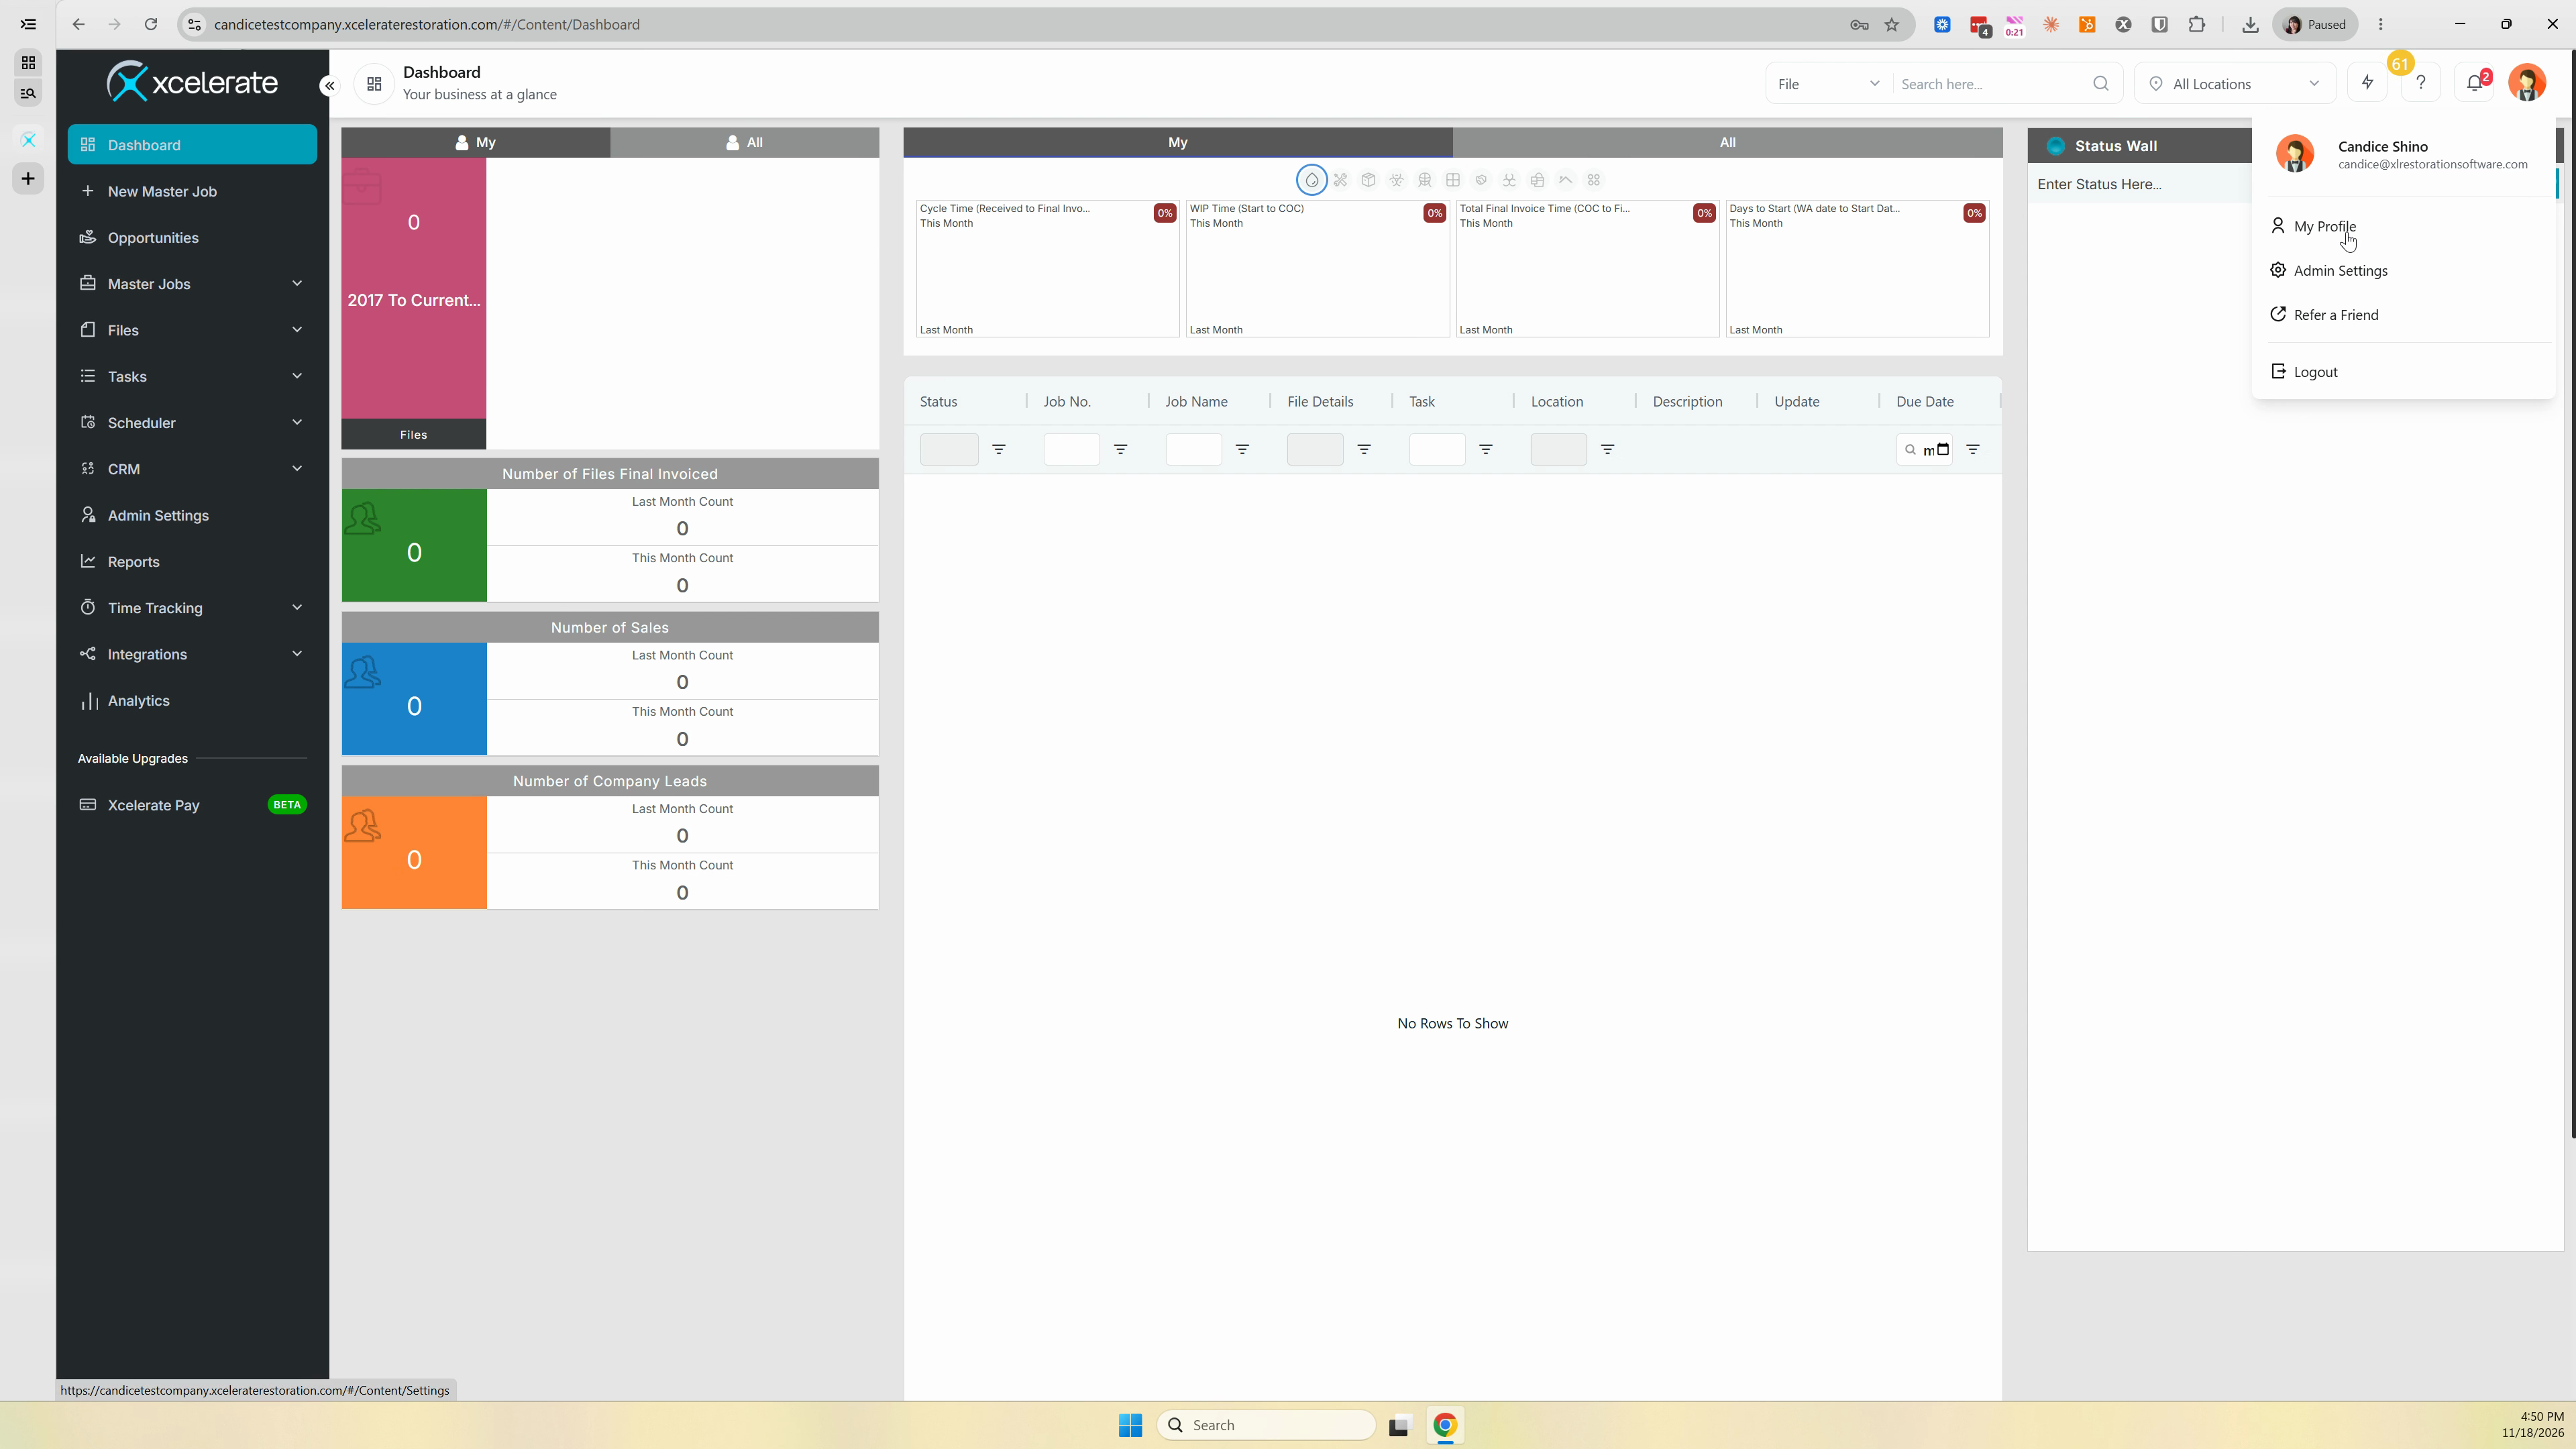
Step 3: Verify that the email address listed matches the one you're linking to Xcelerate.
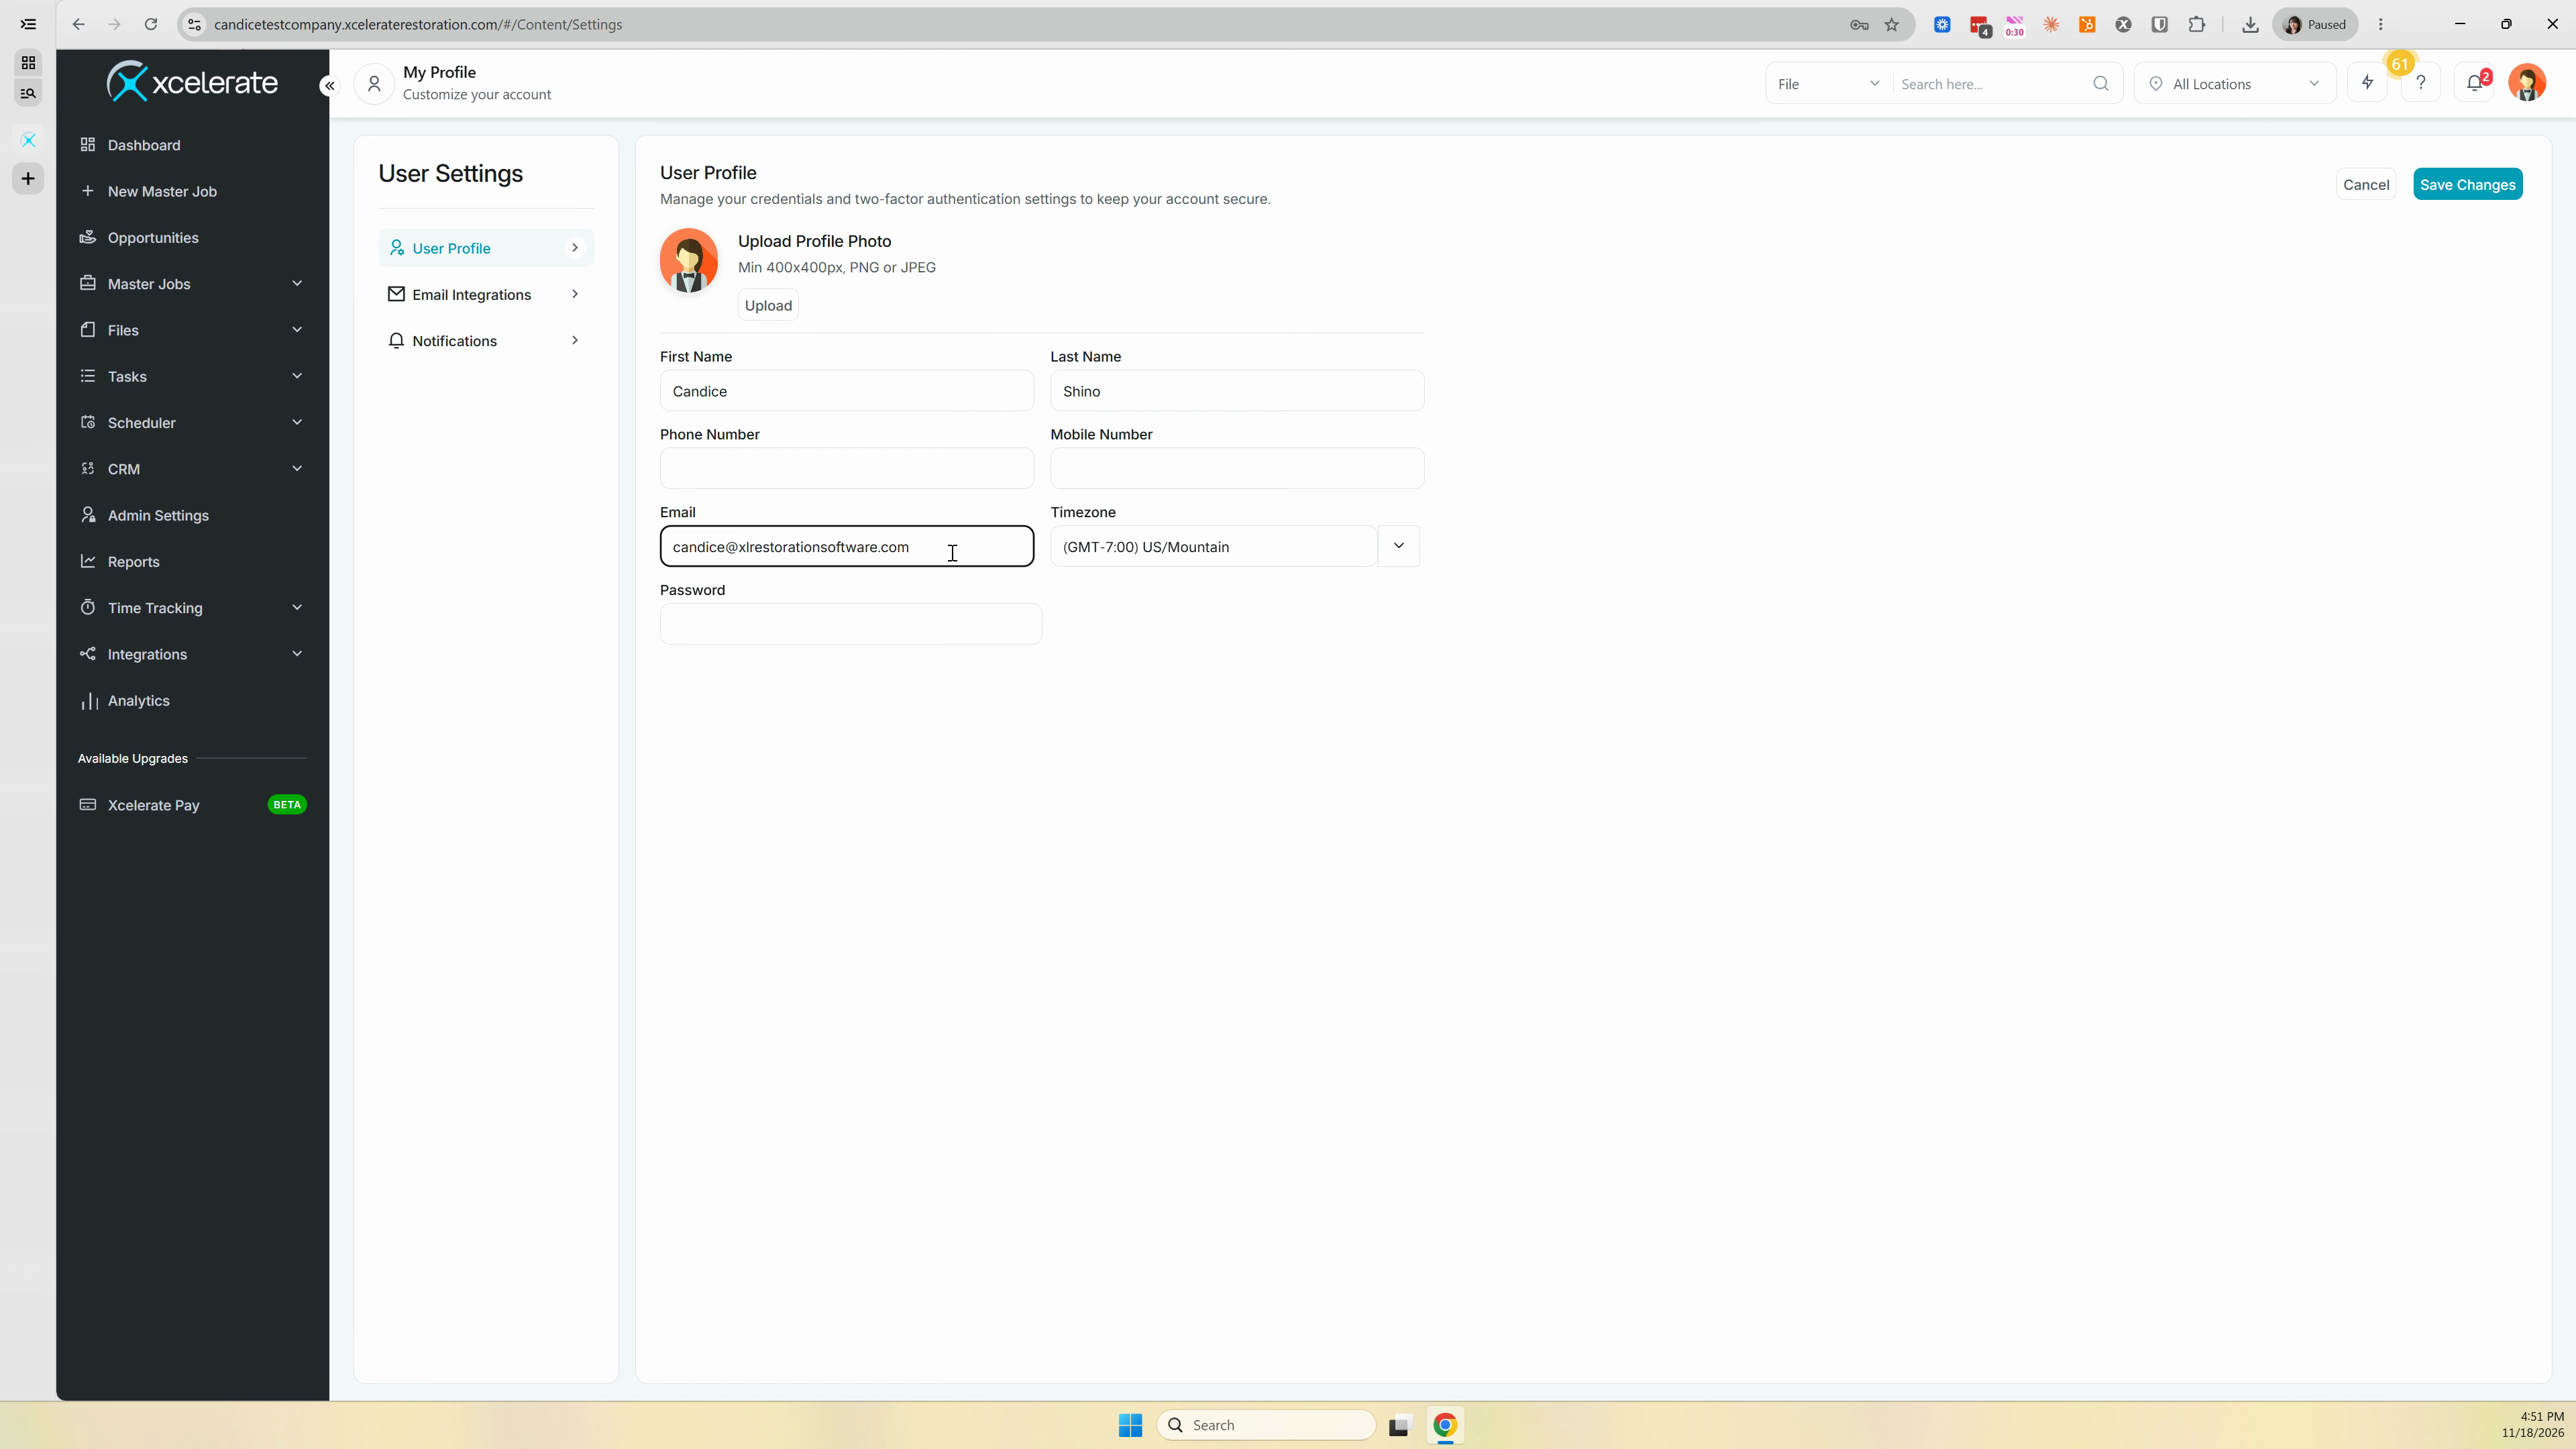
Step 4: Update the email if it's different, then click Save Changes in the top right corner.
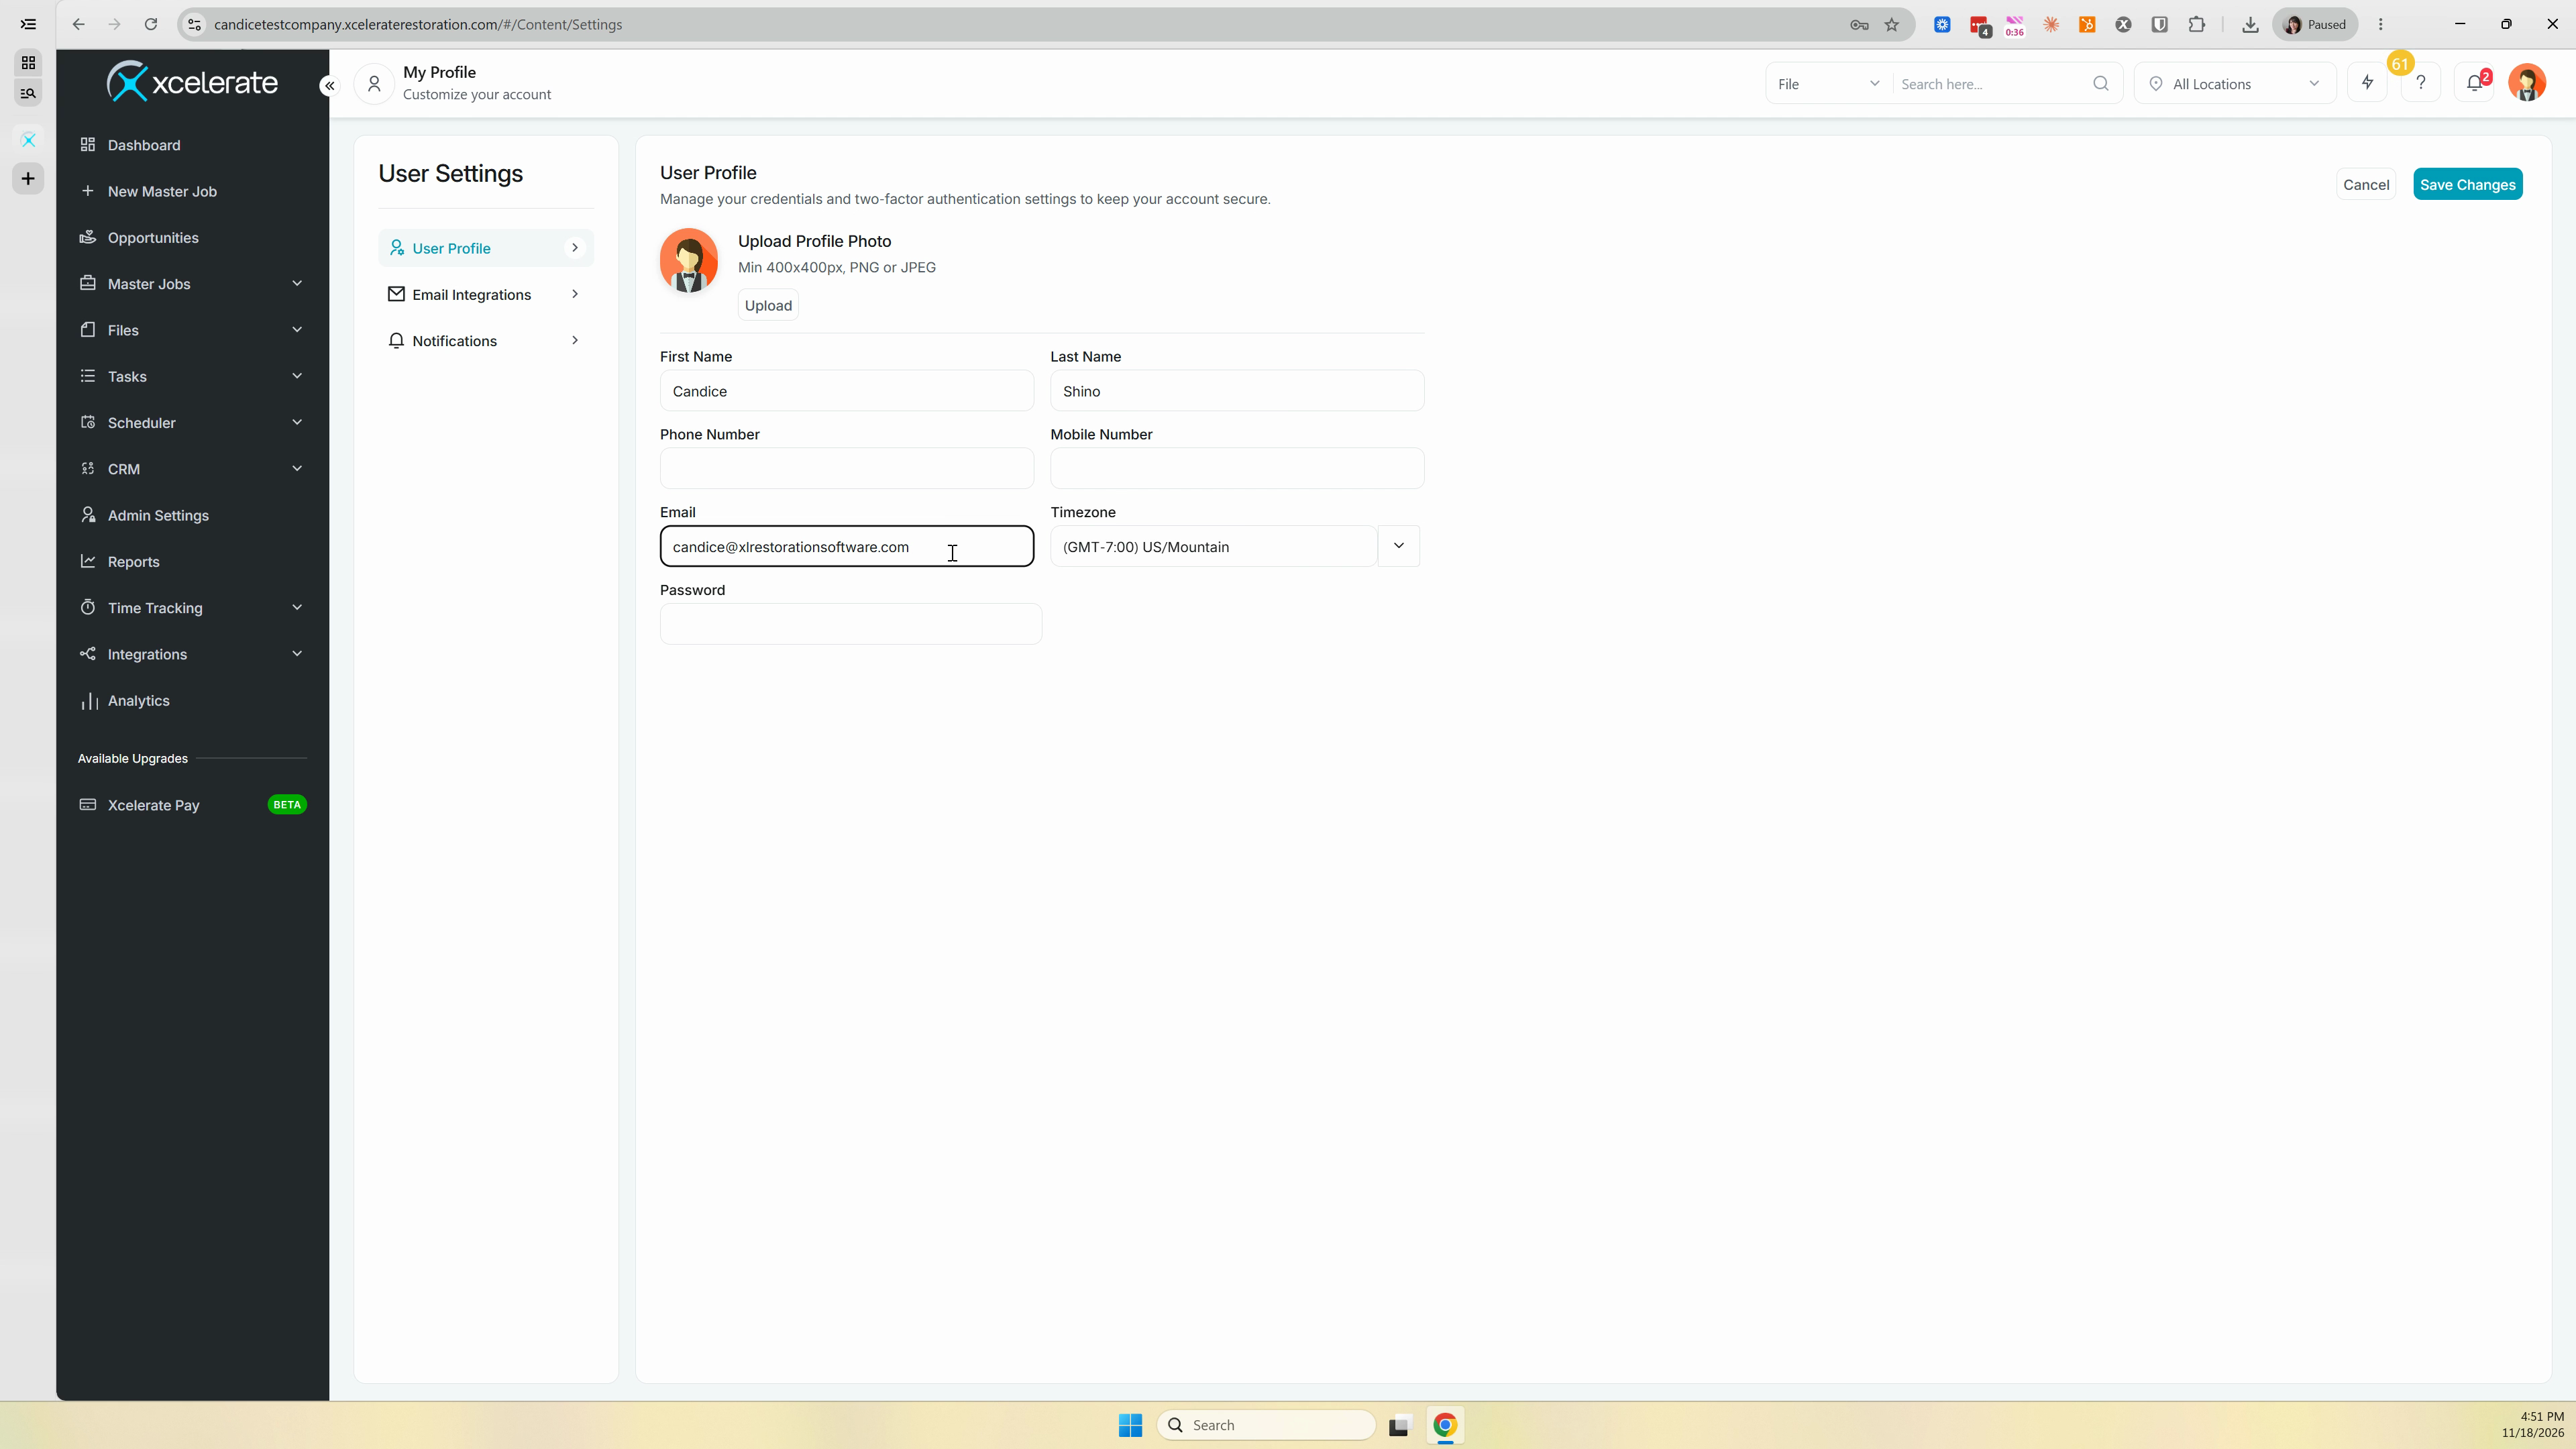
Step 5: Select Email Integrations.
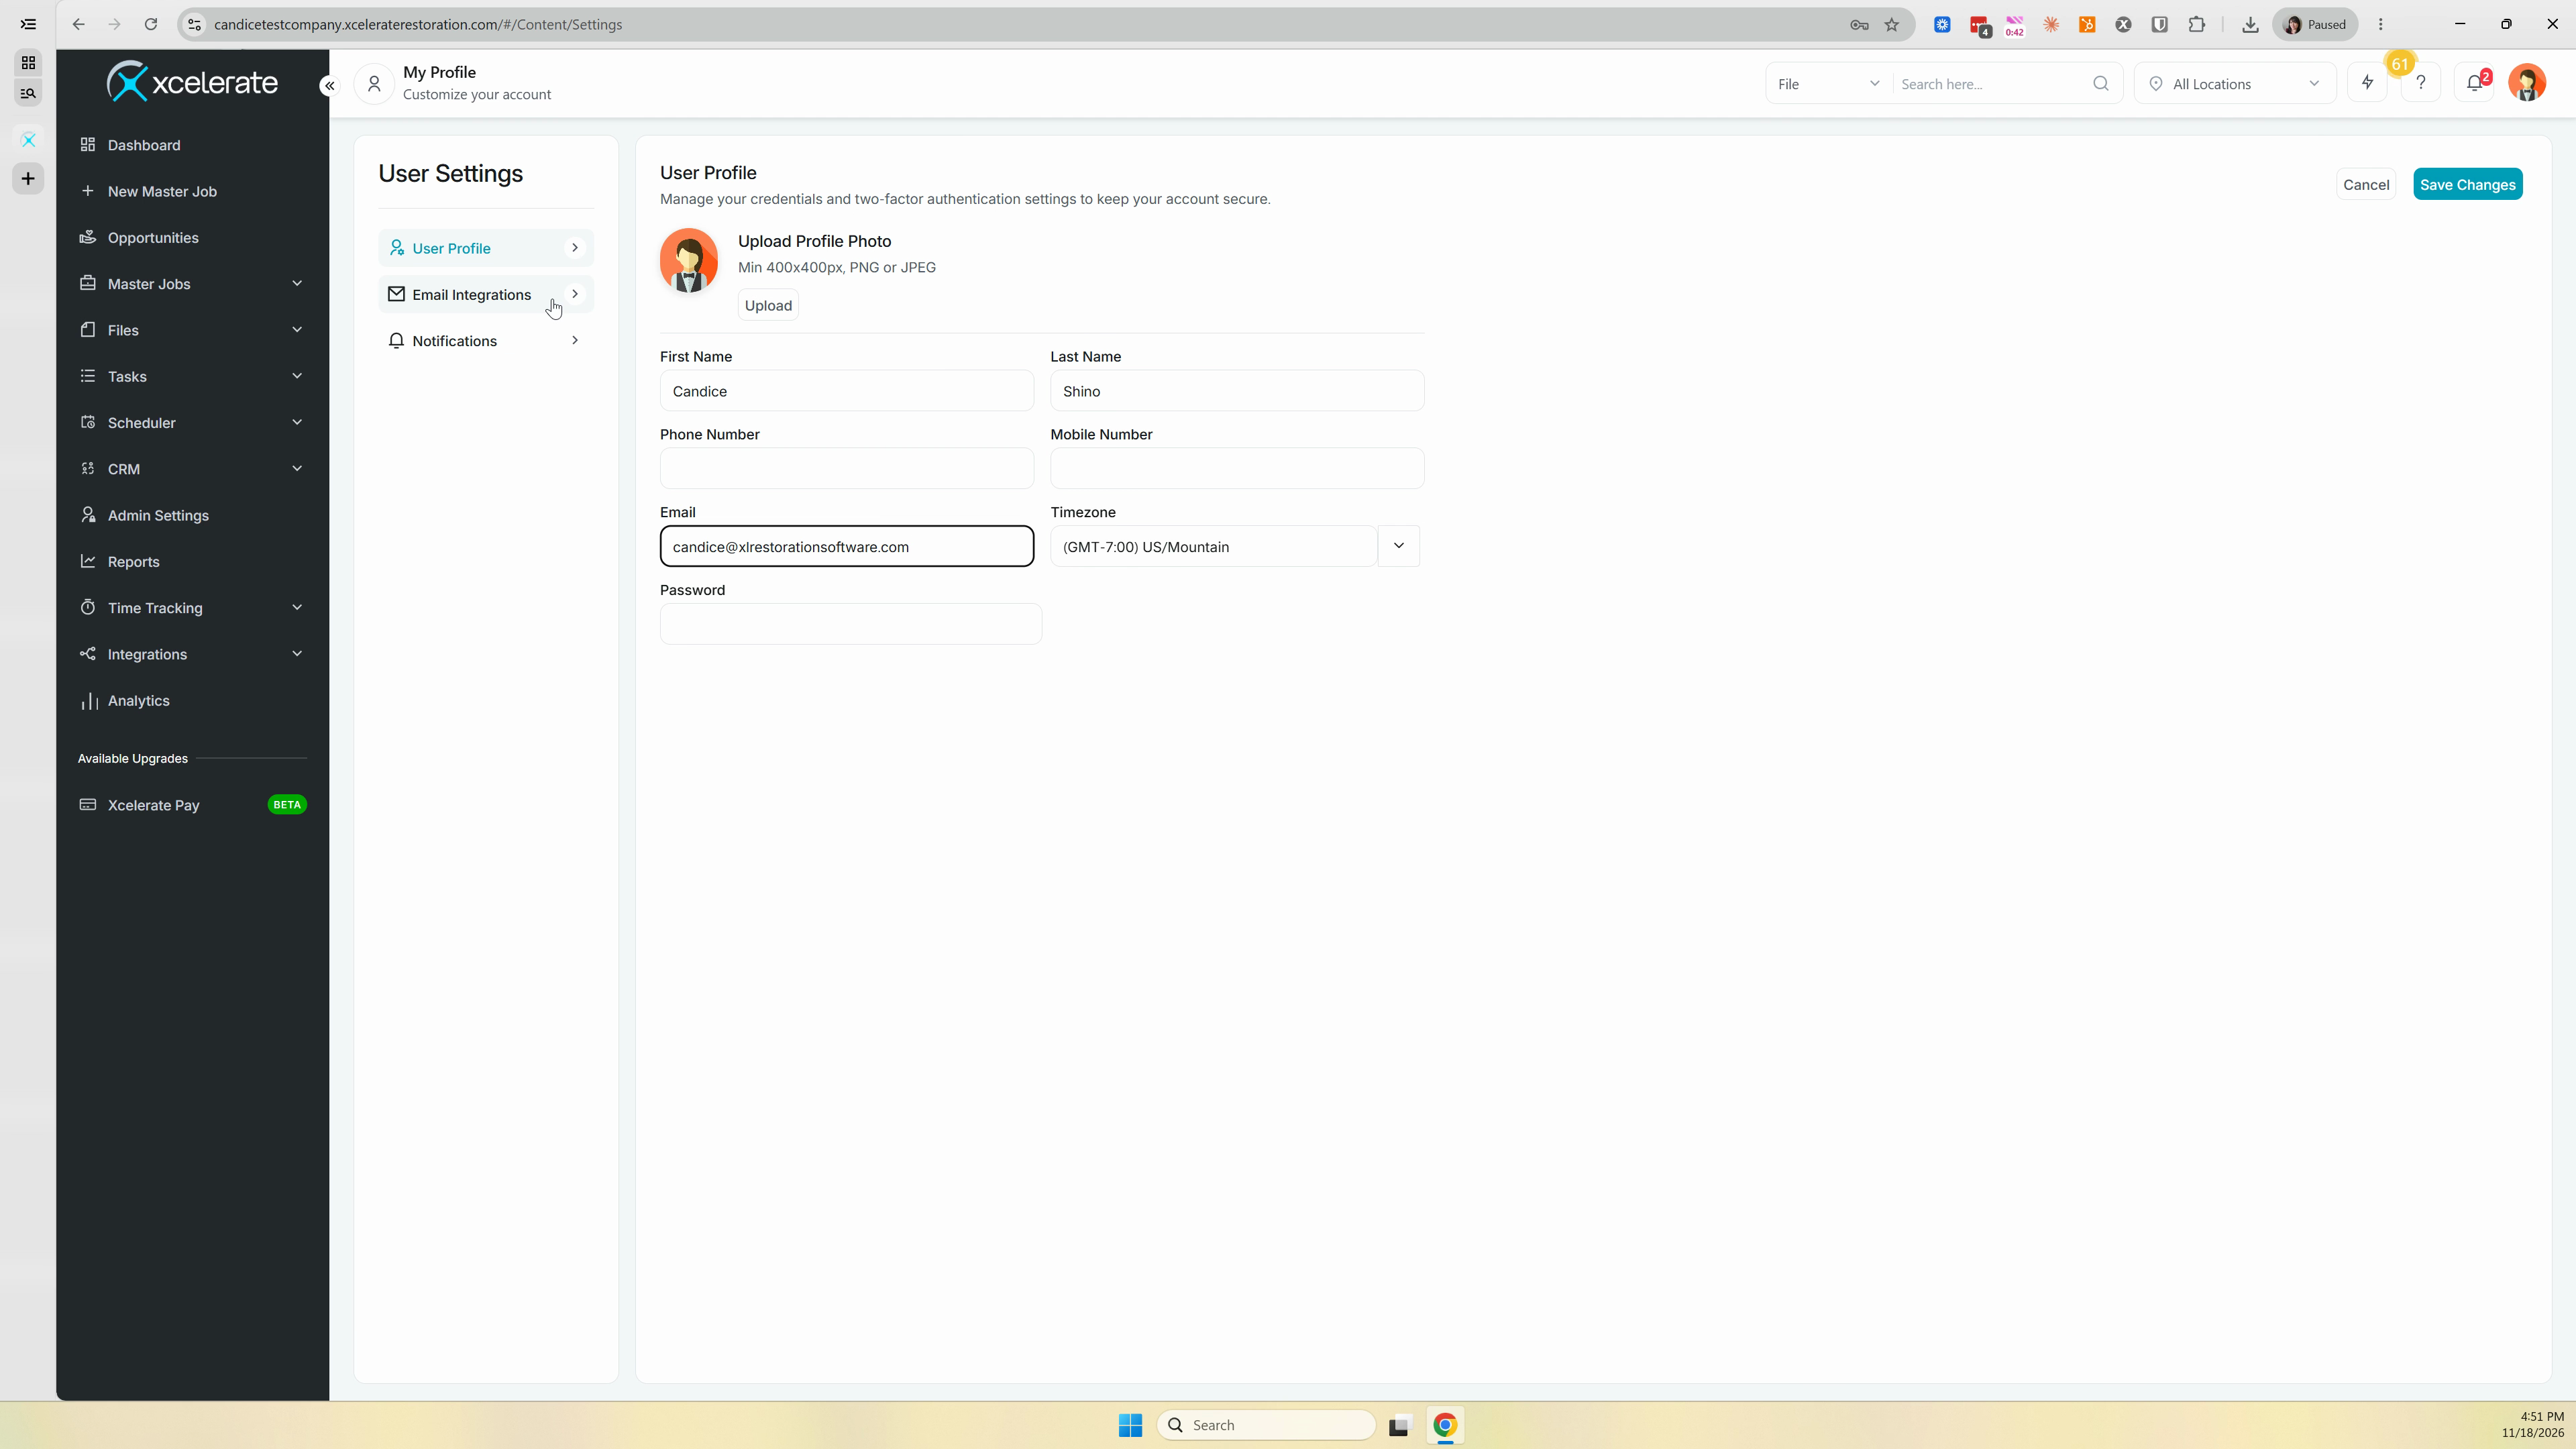
Step 6: Choose your provider. You can connect a Gmail account, or a Microsoft 365 account.
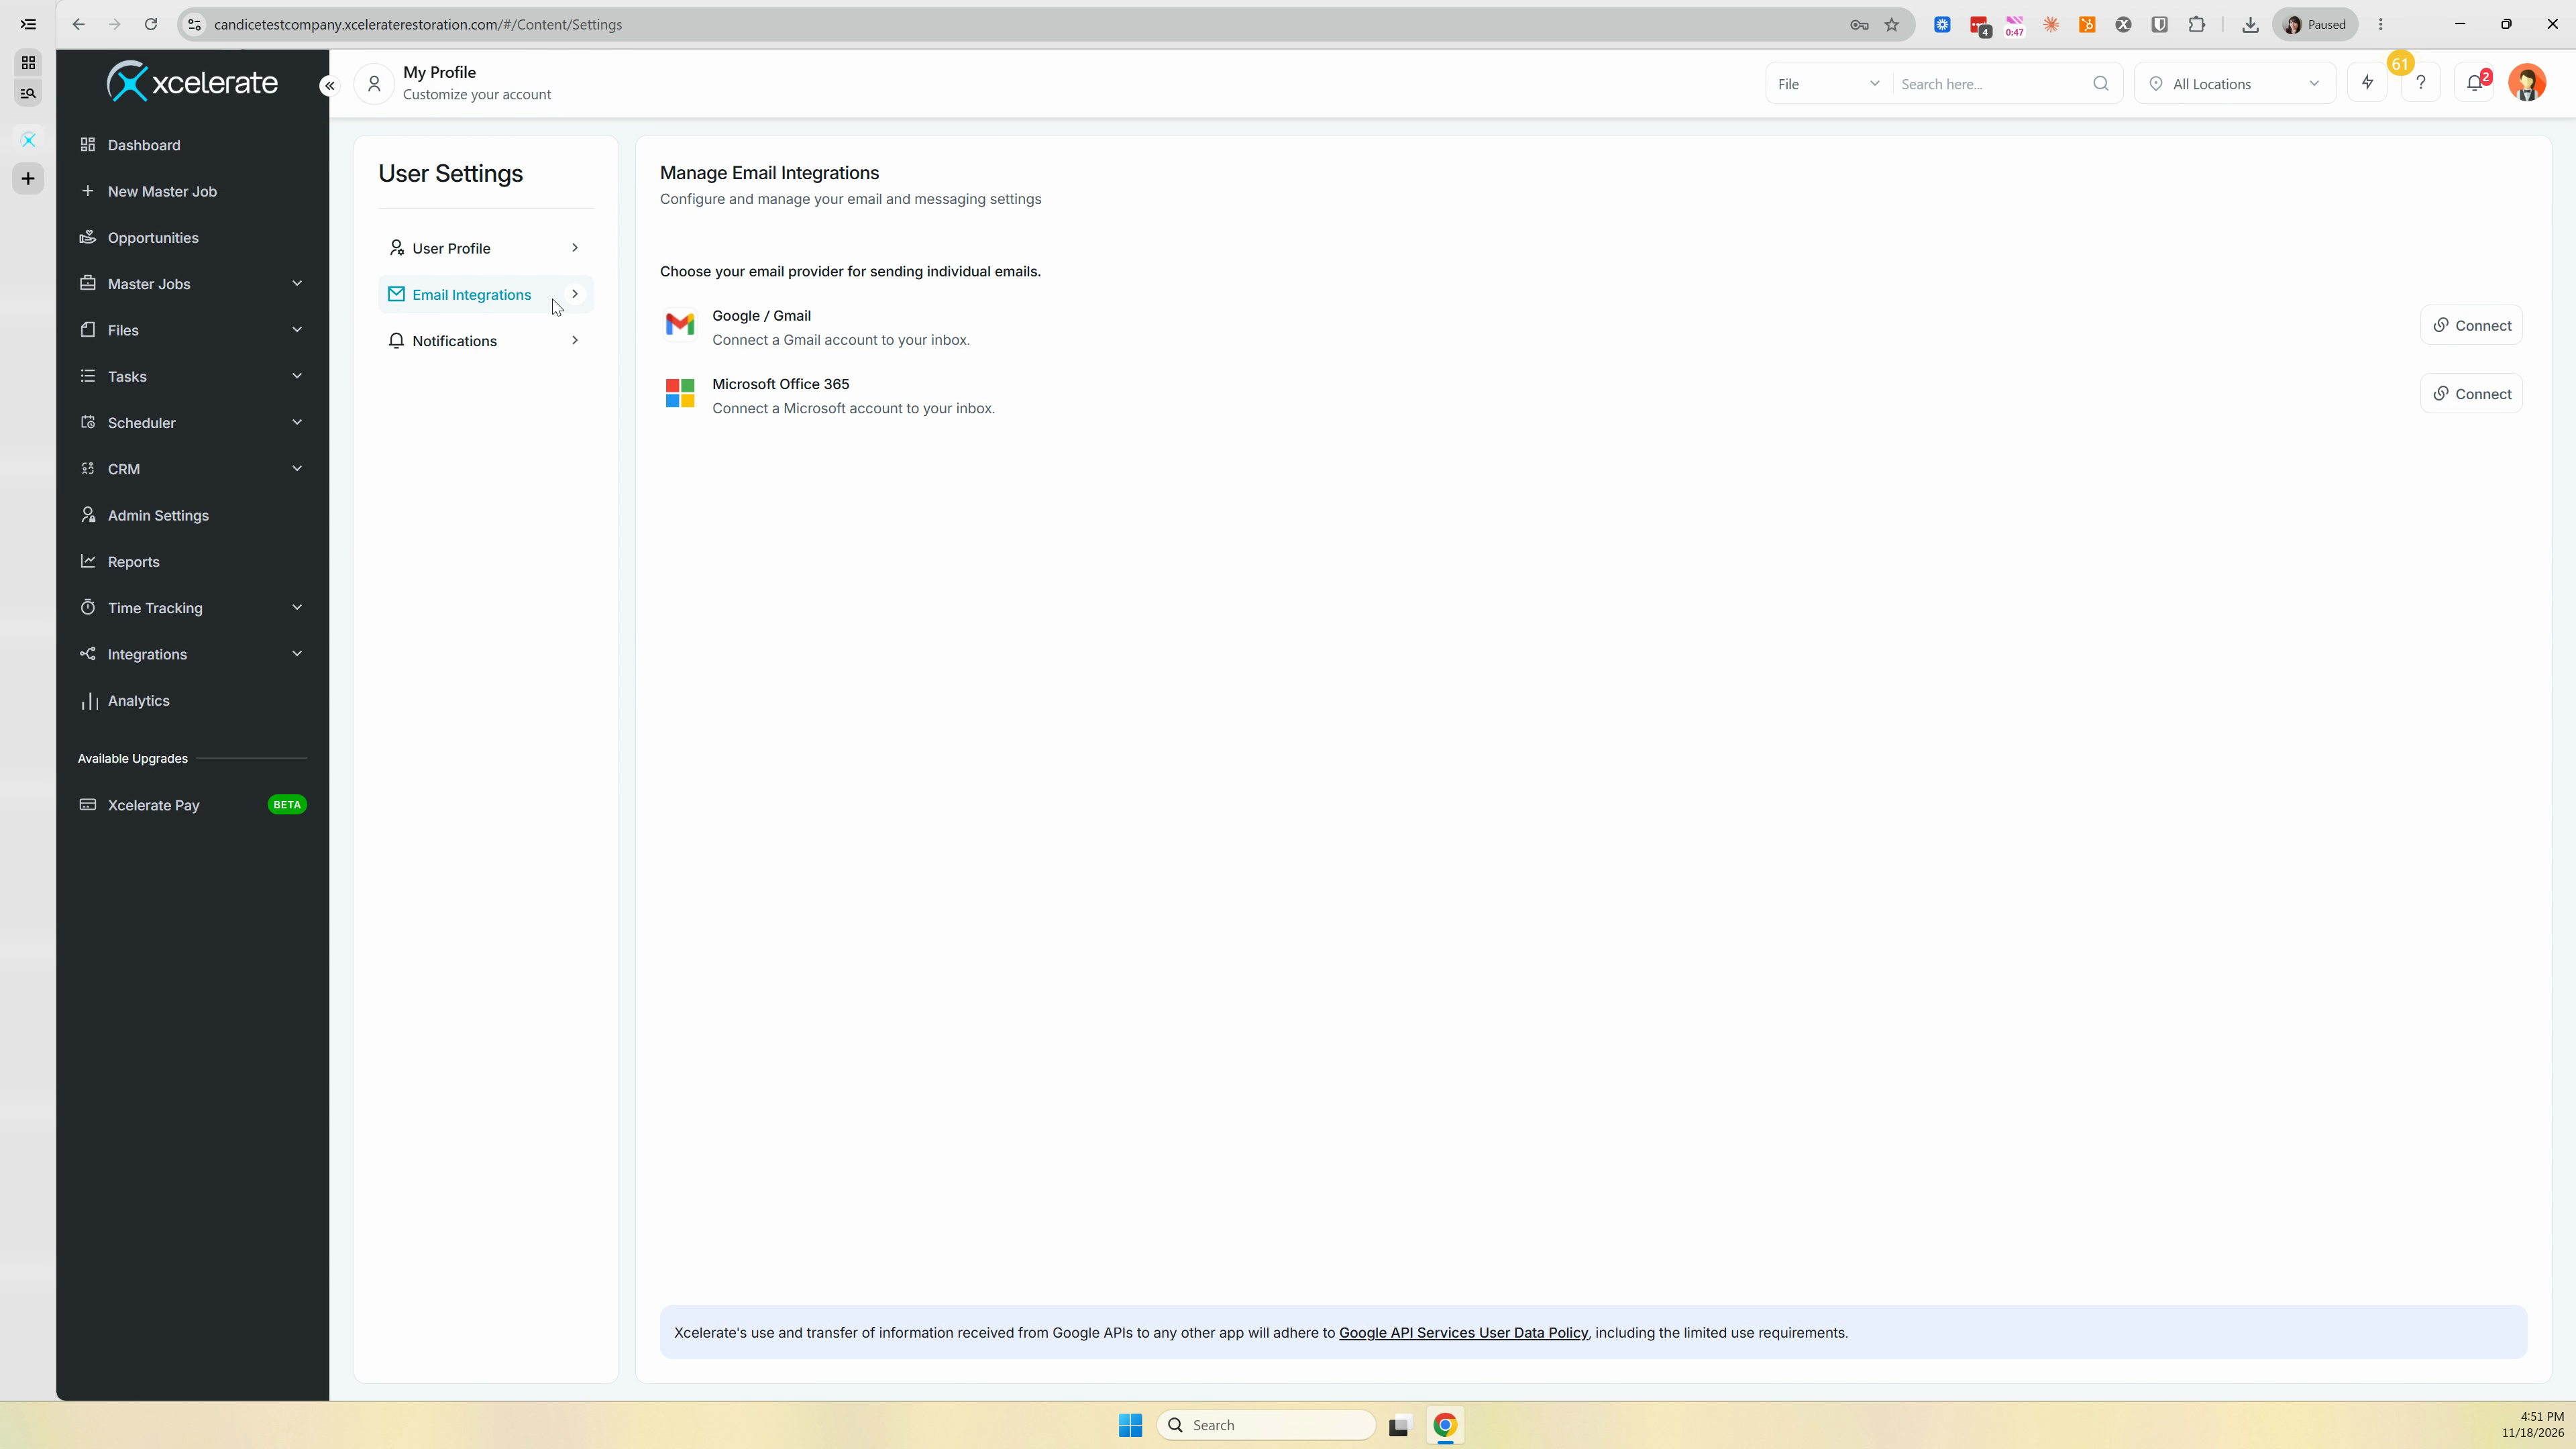
Step 7: Scroll over and click Connect. This example uses Microsoft Office 365.
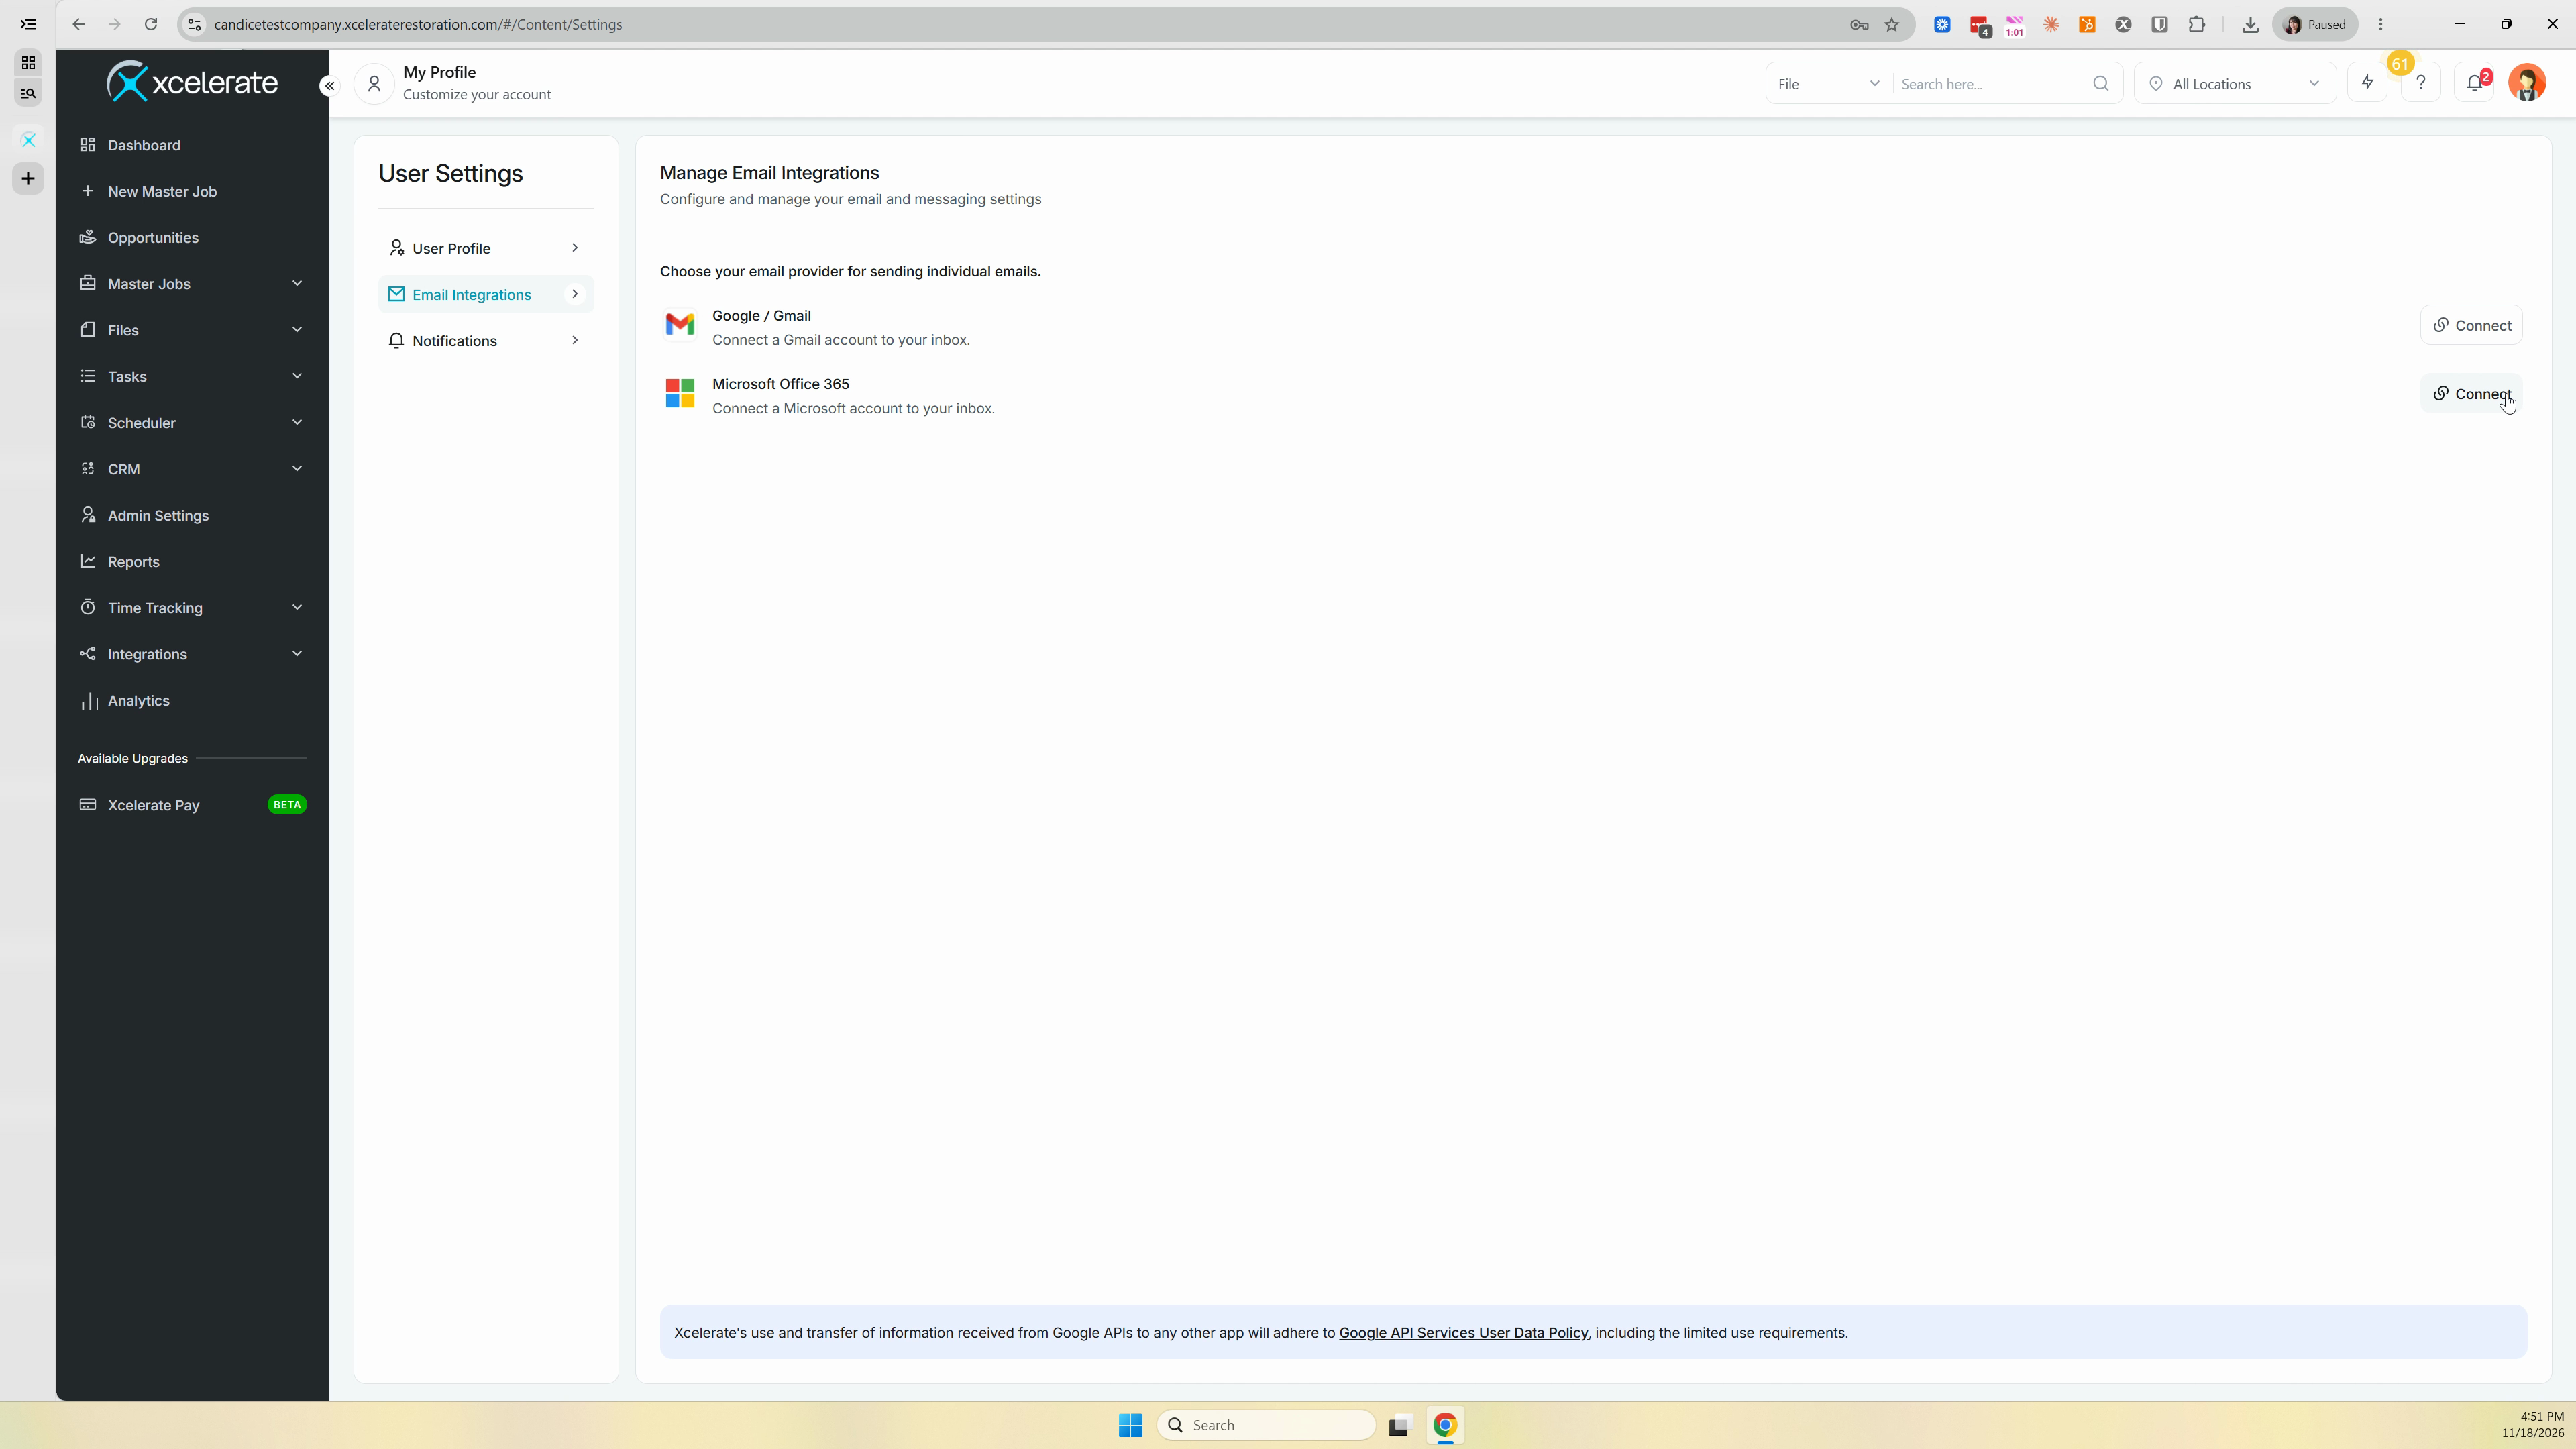
Step 8: Log in to your account & allow all permissions in the pop-up window.
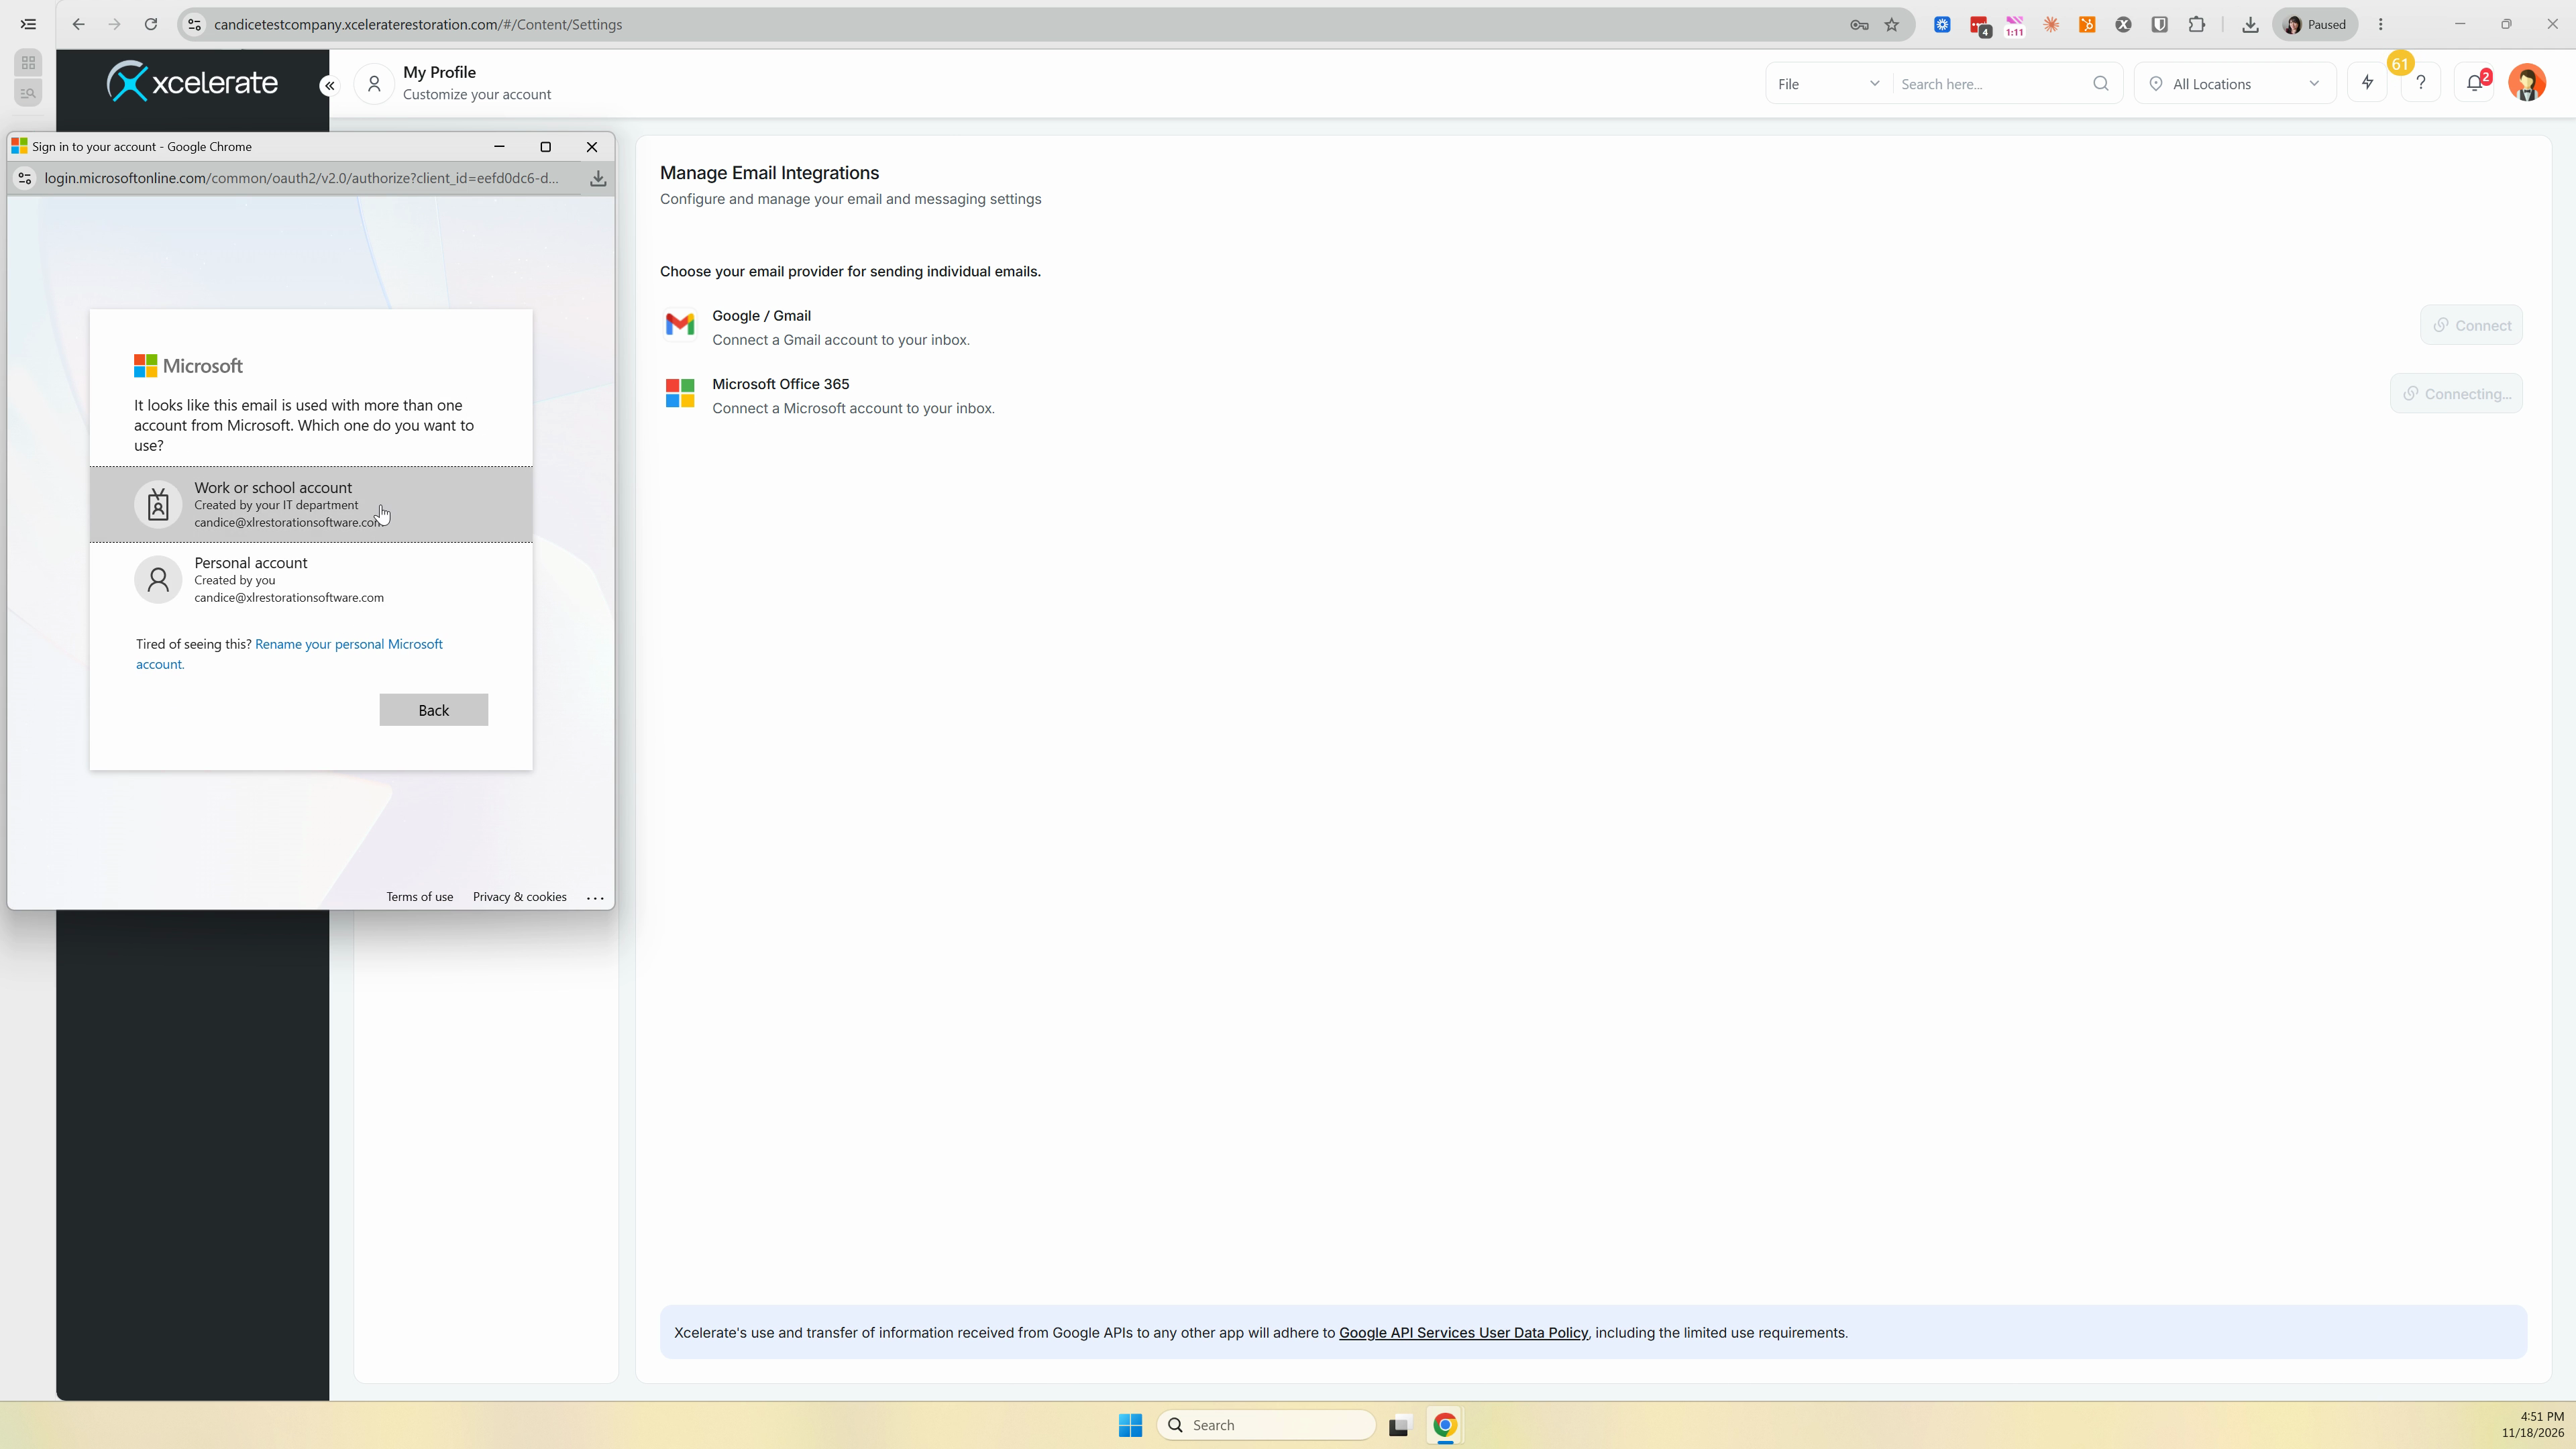
Step 9: Watch for the success message. A pop-up in Xcelerate then appears with three sync options.
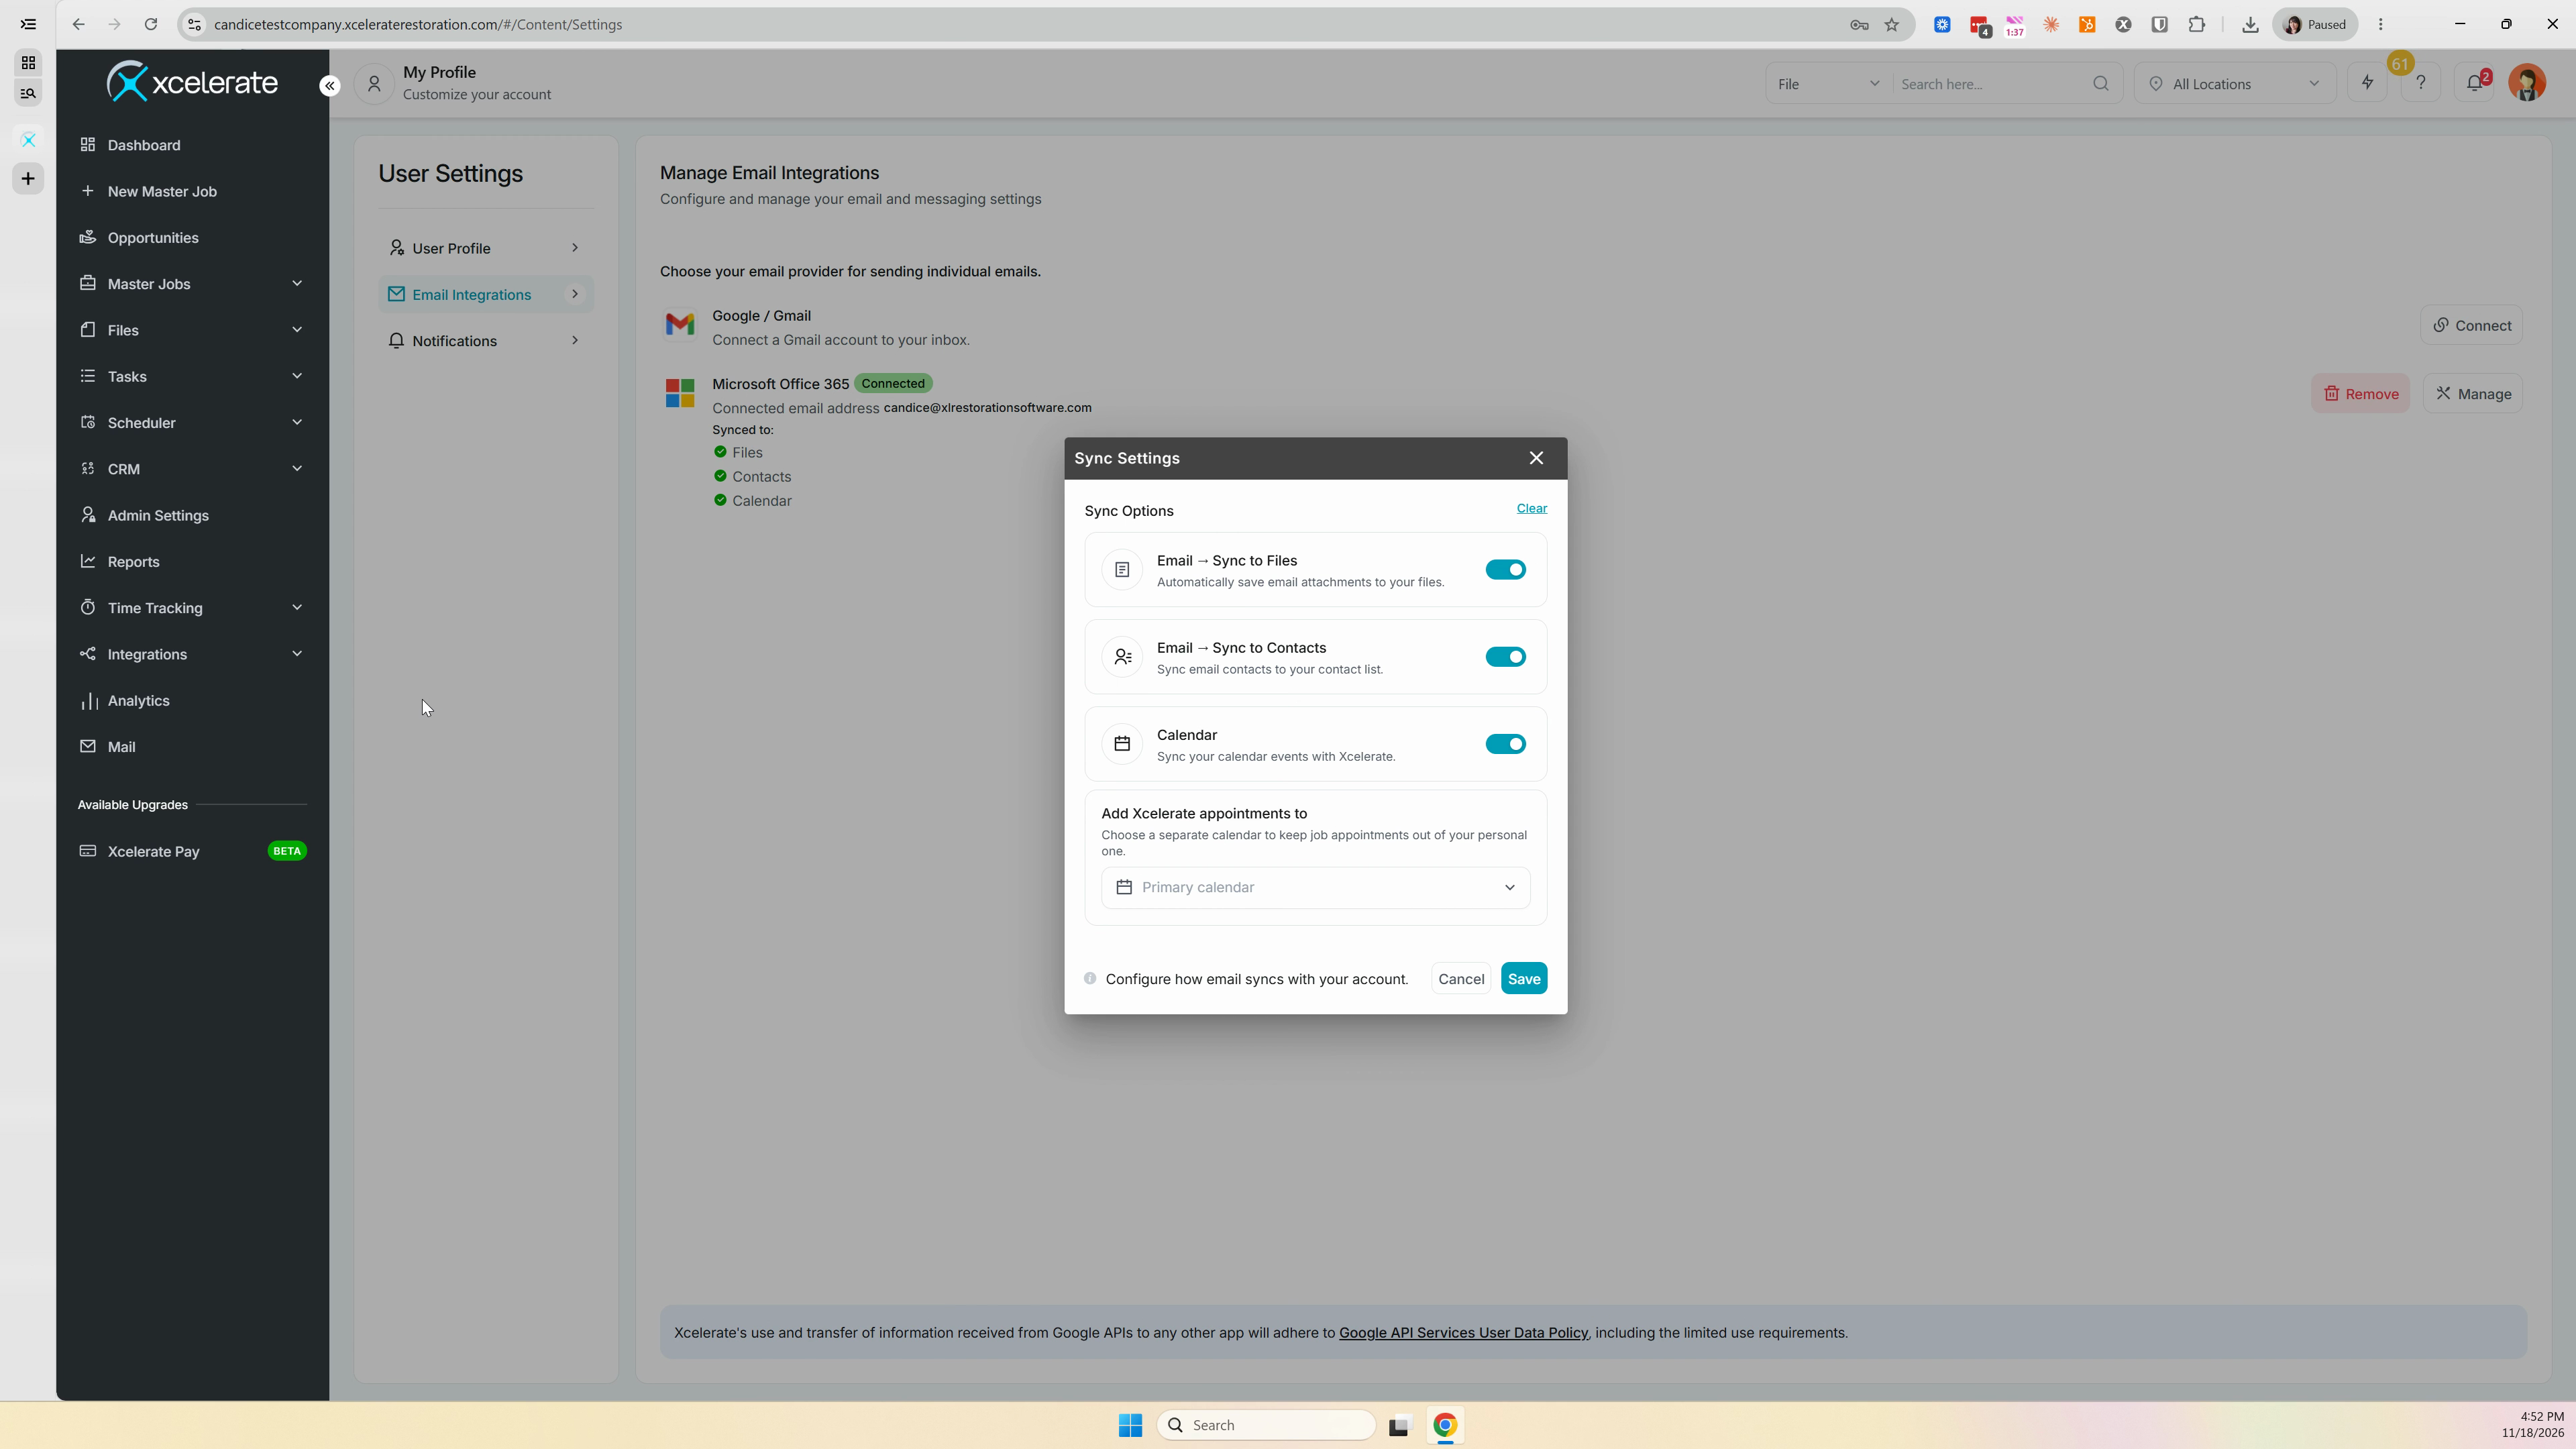
Choose What to Sync
Step 1: Turn on Email Sync to Files to add emails to a file's notes. Once the integration is set up, include the file number in your email's subject line. If the file lists a claim number, you can use that in the subject line instead.
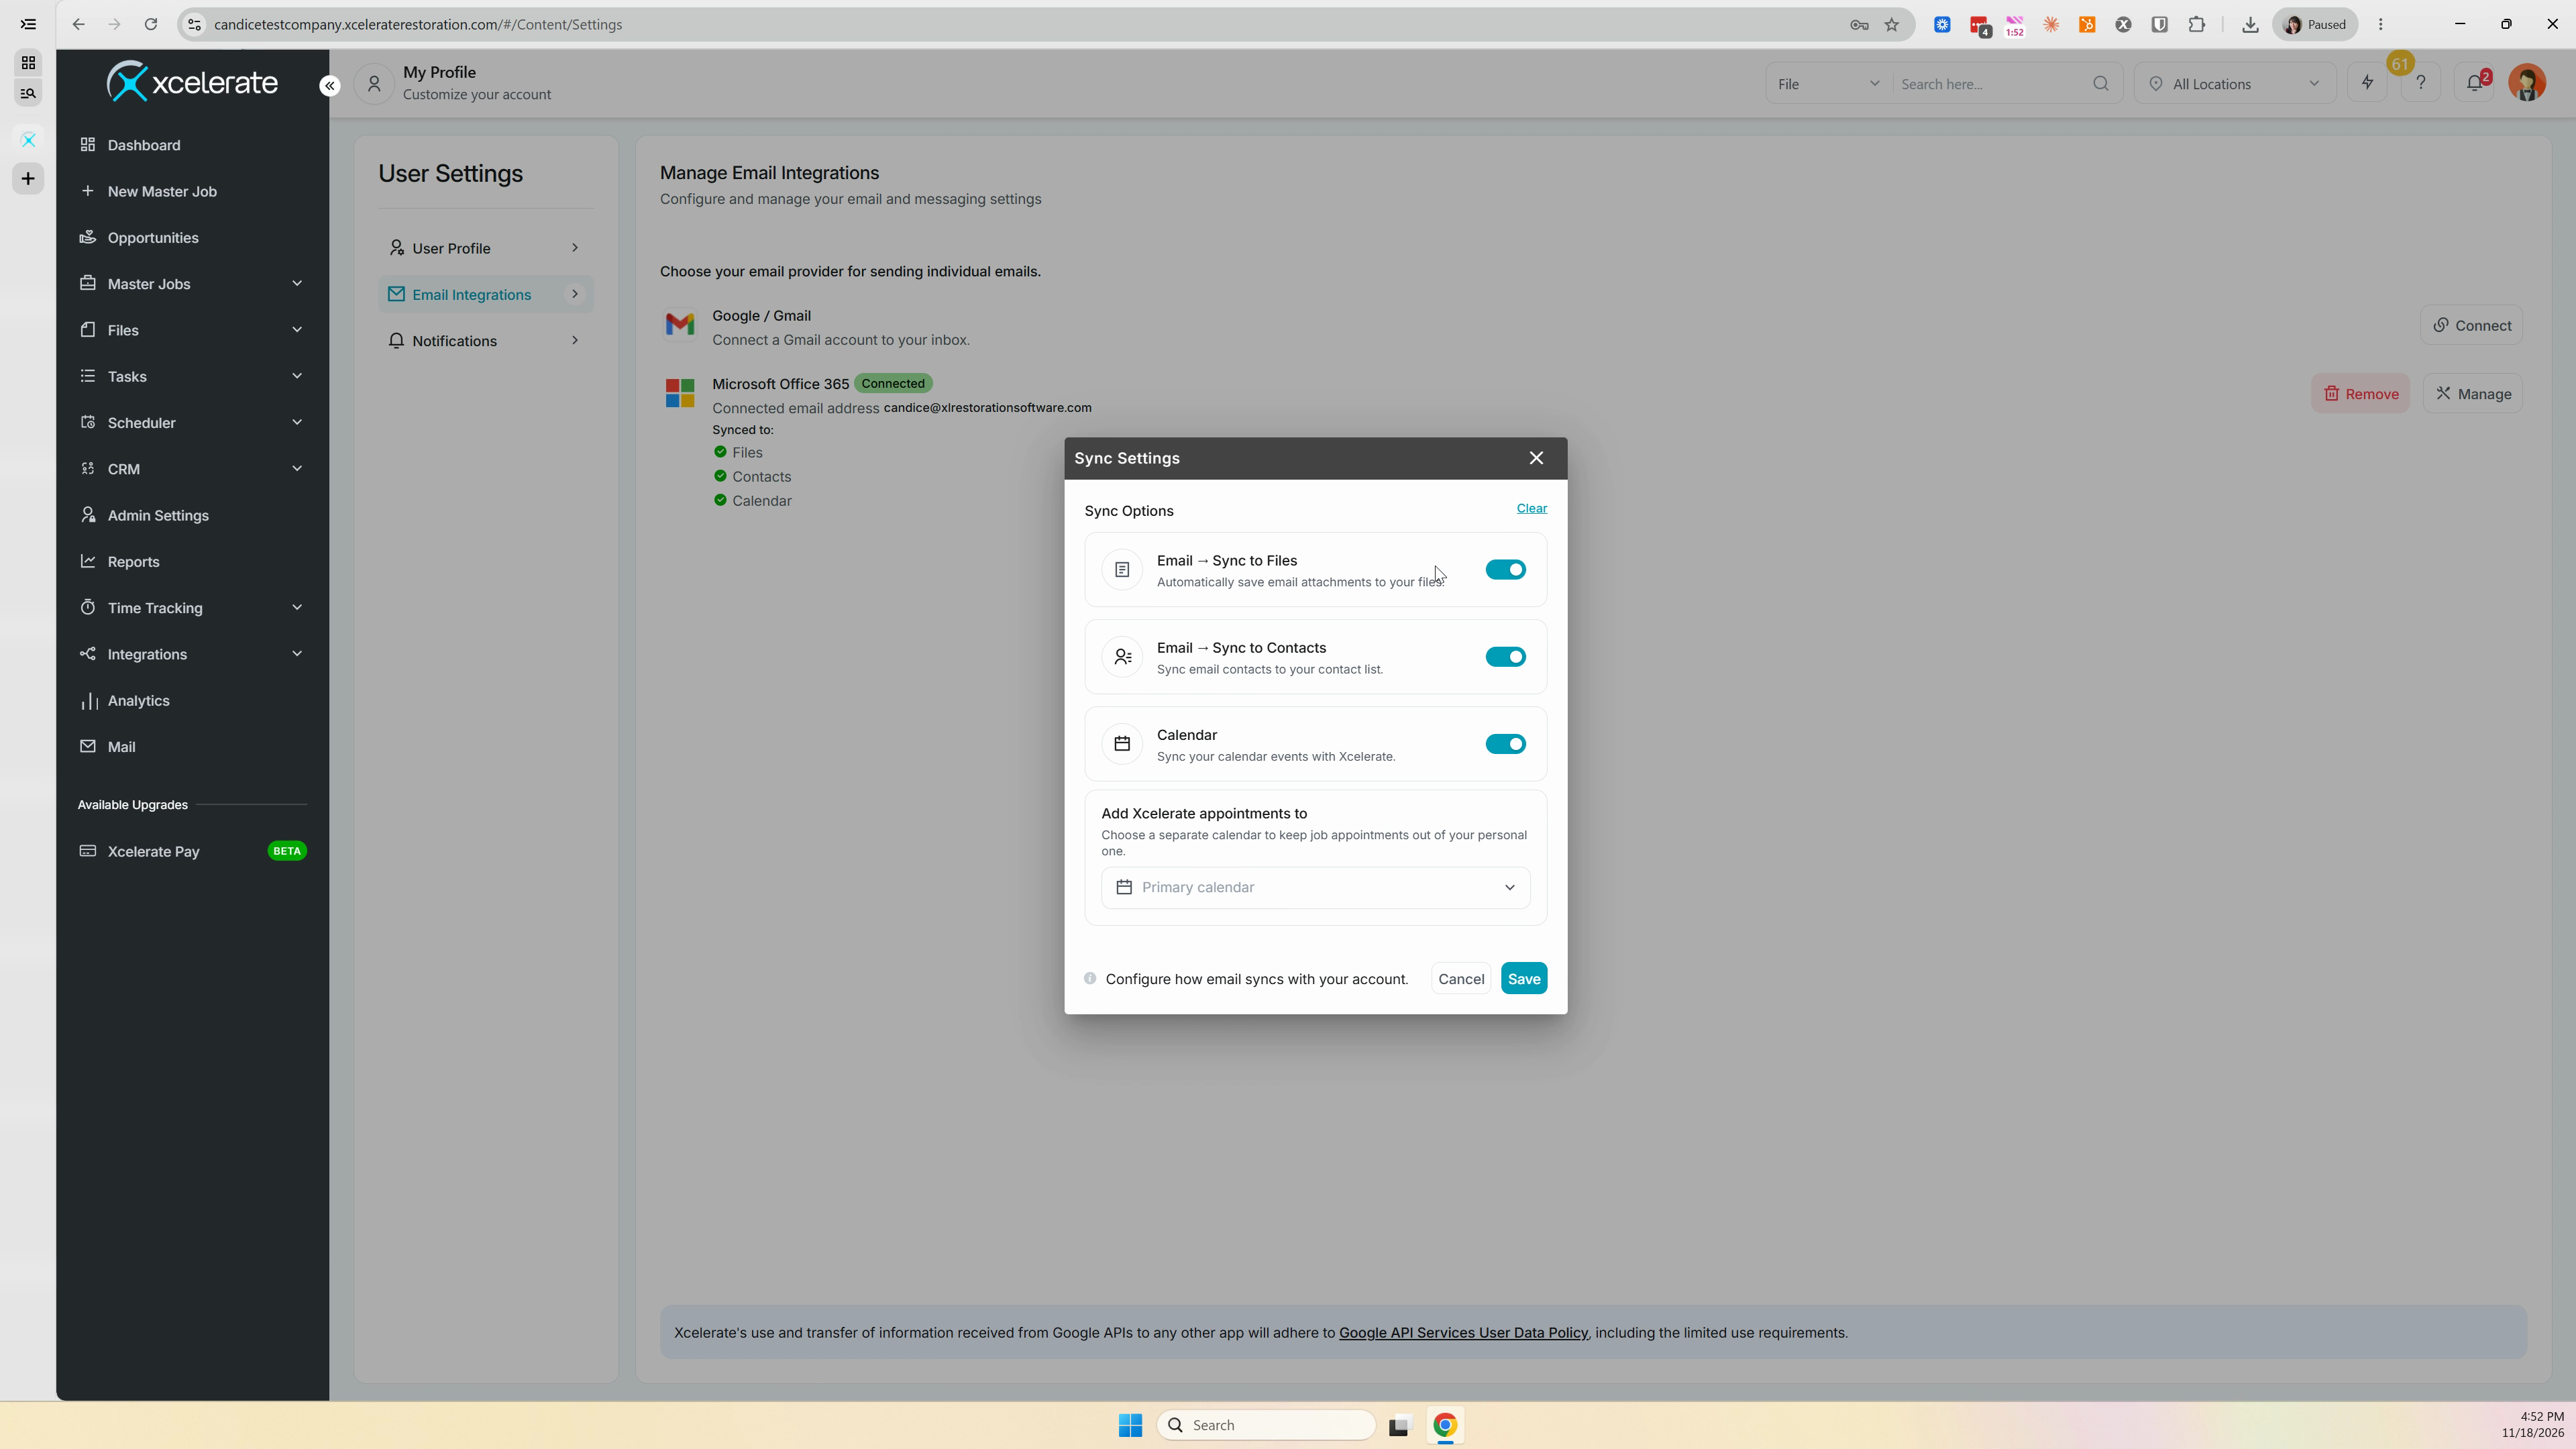
Step 2: Turn on Email Sync to Contacts to add emails to contact notes. When you send an email to someone in your CRM, Xcelerate adds it to that contact's notes.
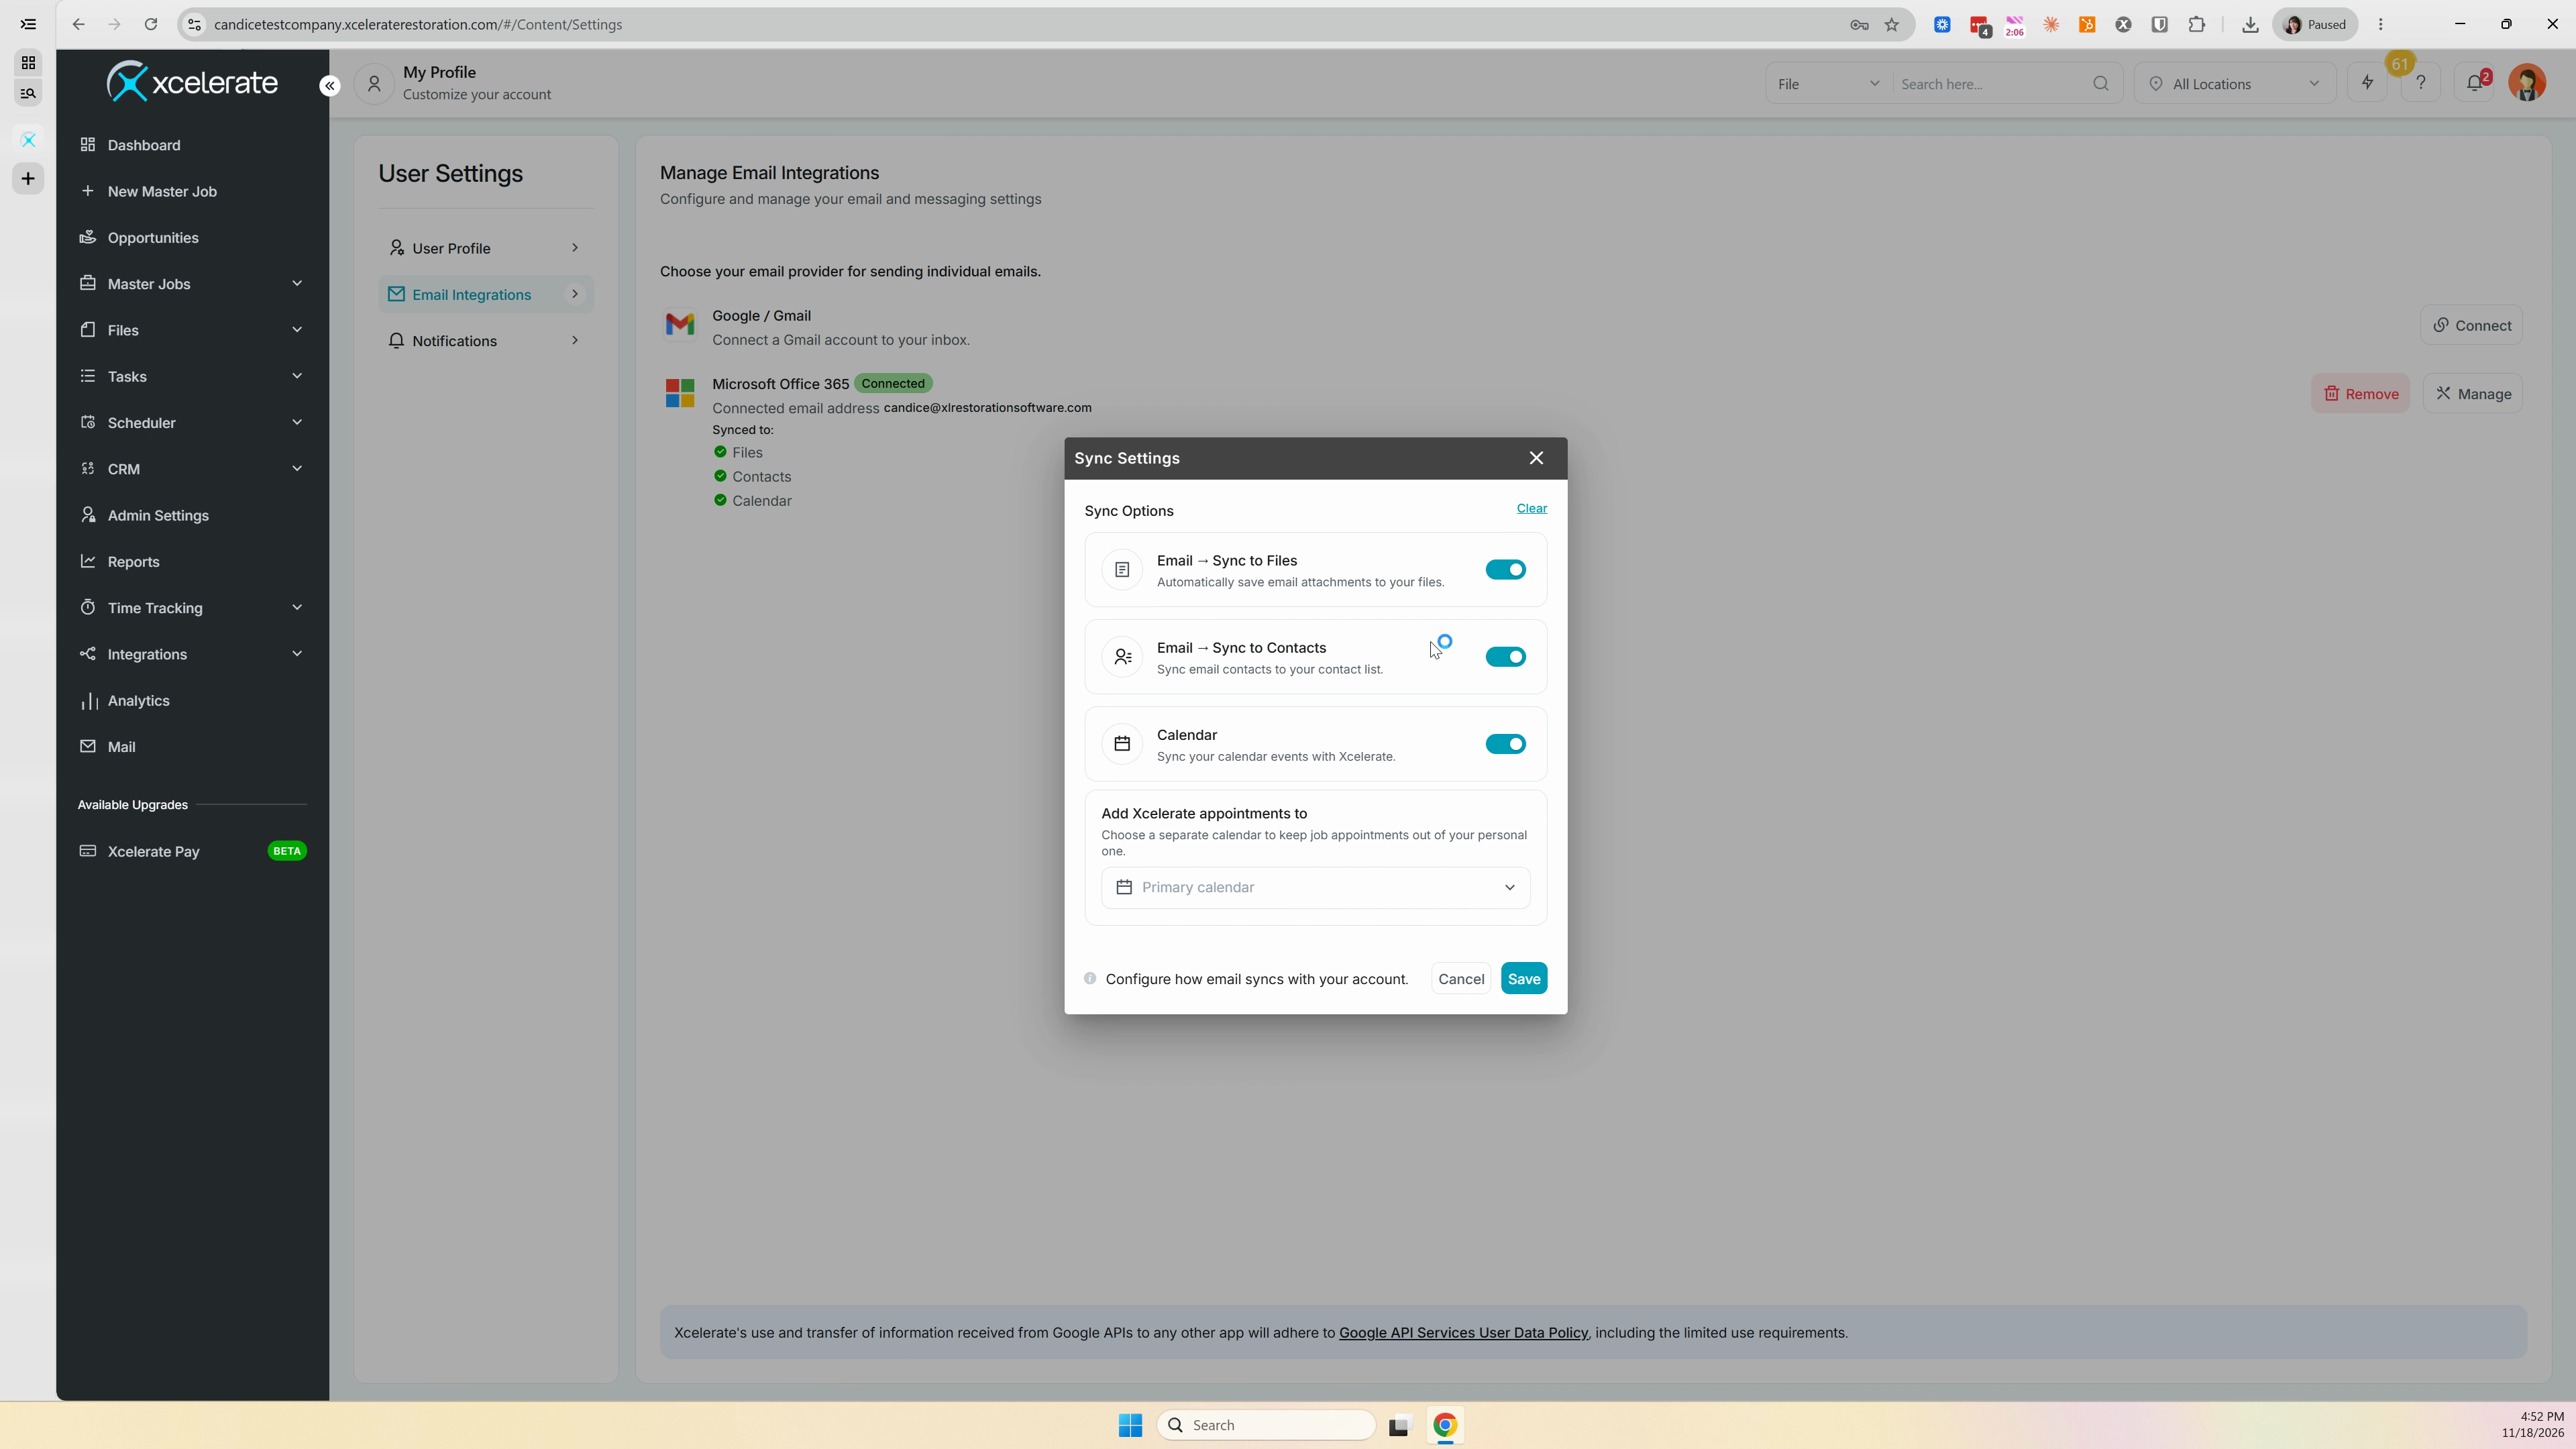
Step 3: Turn on Calendar sync to sync appointments back and forth between Xcelerate and your calendar.
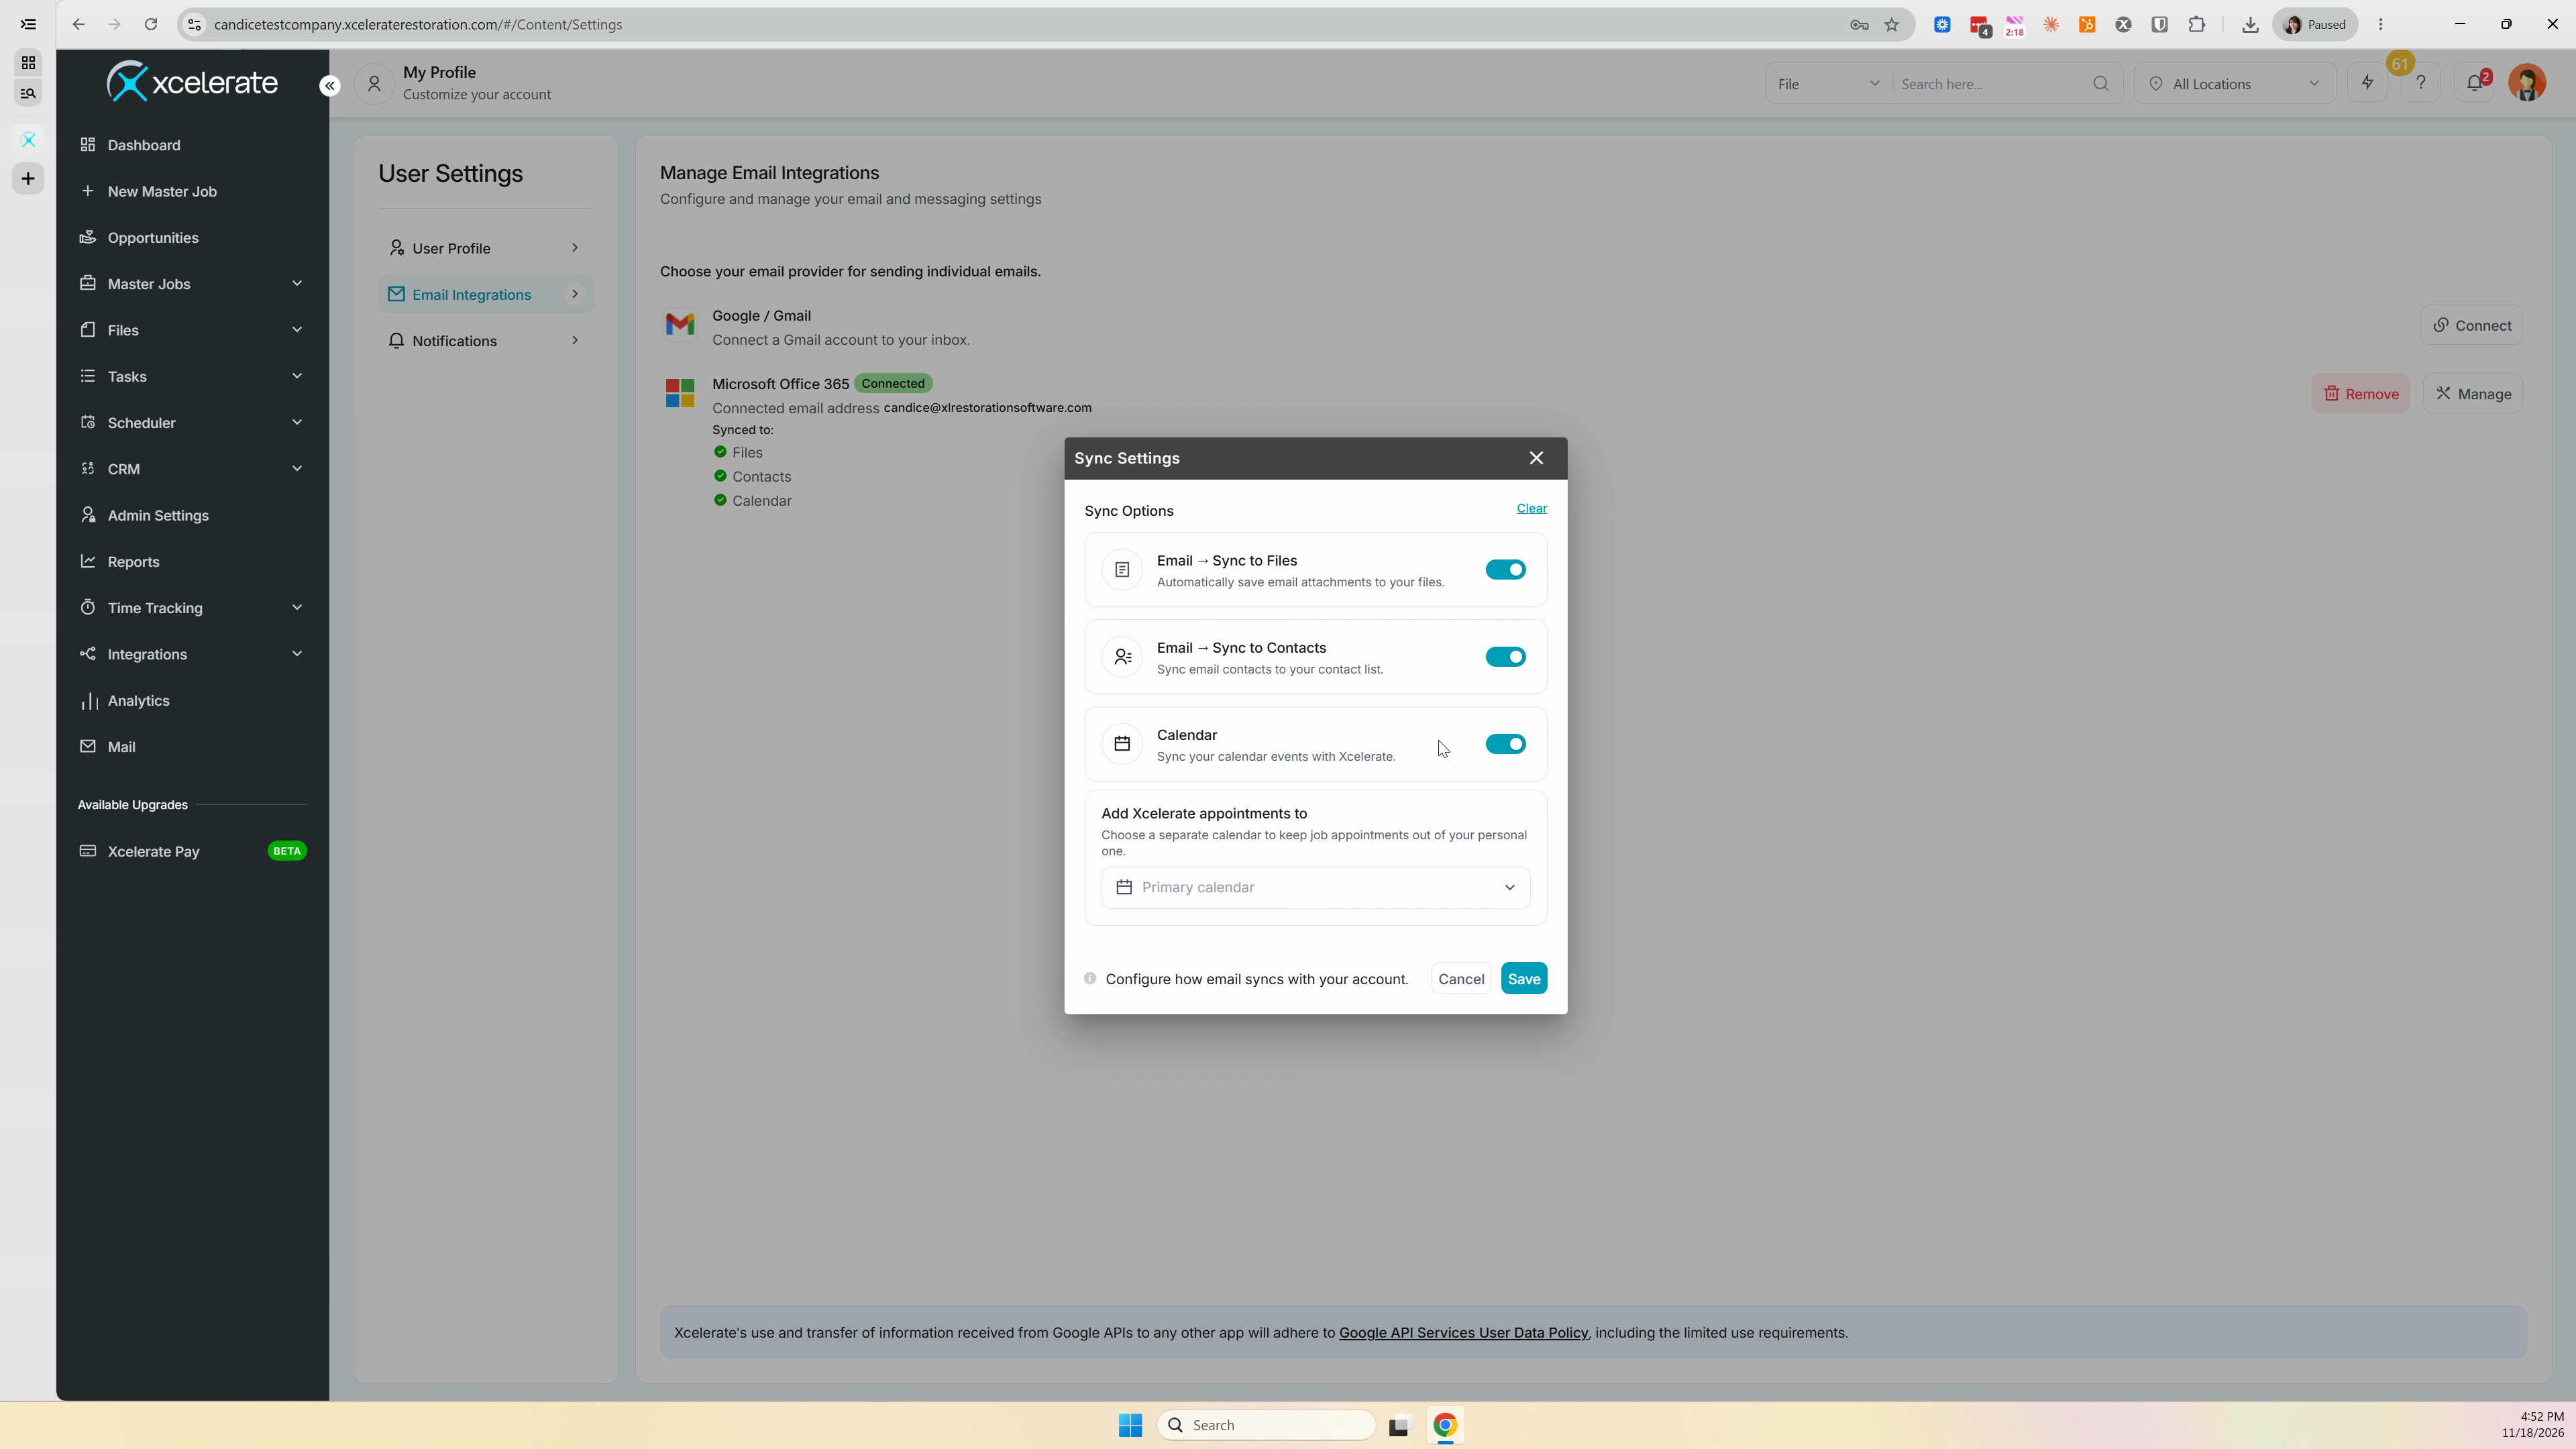
Step 4: Select the calendar you want to sync with. The primary calendar is selected here, but you can choose a separate one instead. For example, pick your technician calendar if you schedule on-site visits there, and your appointments show up on it.
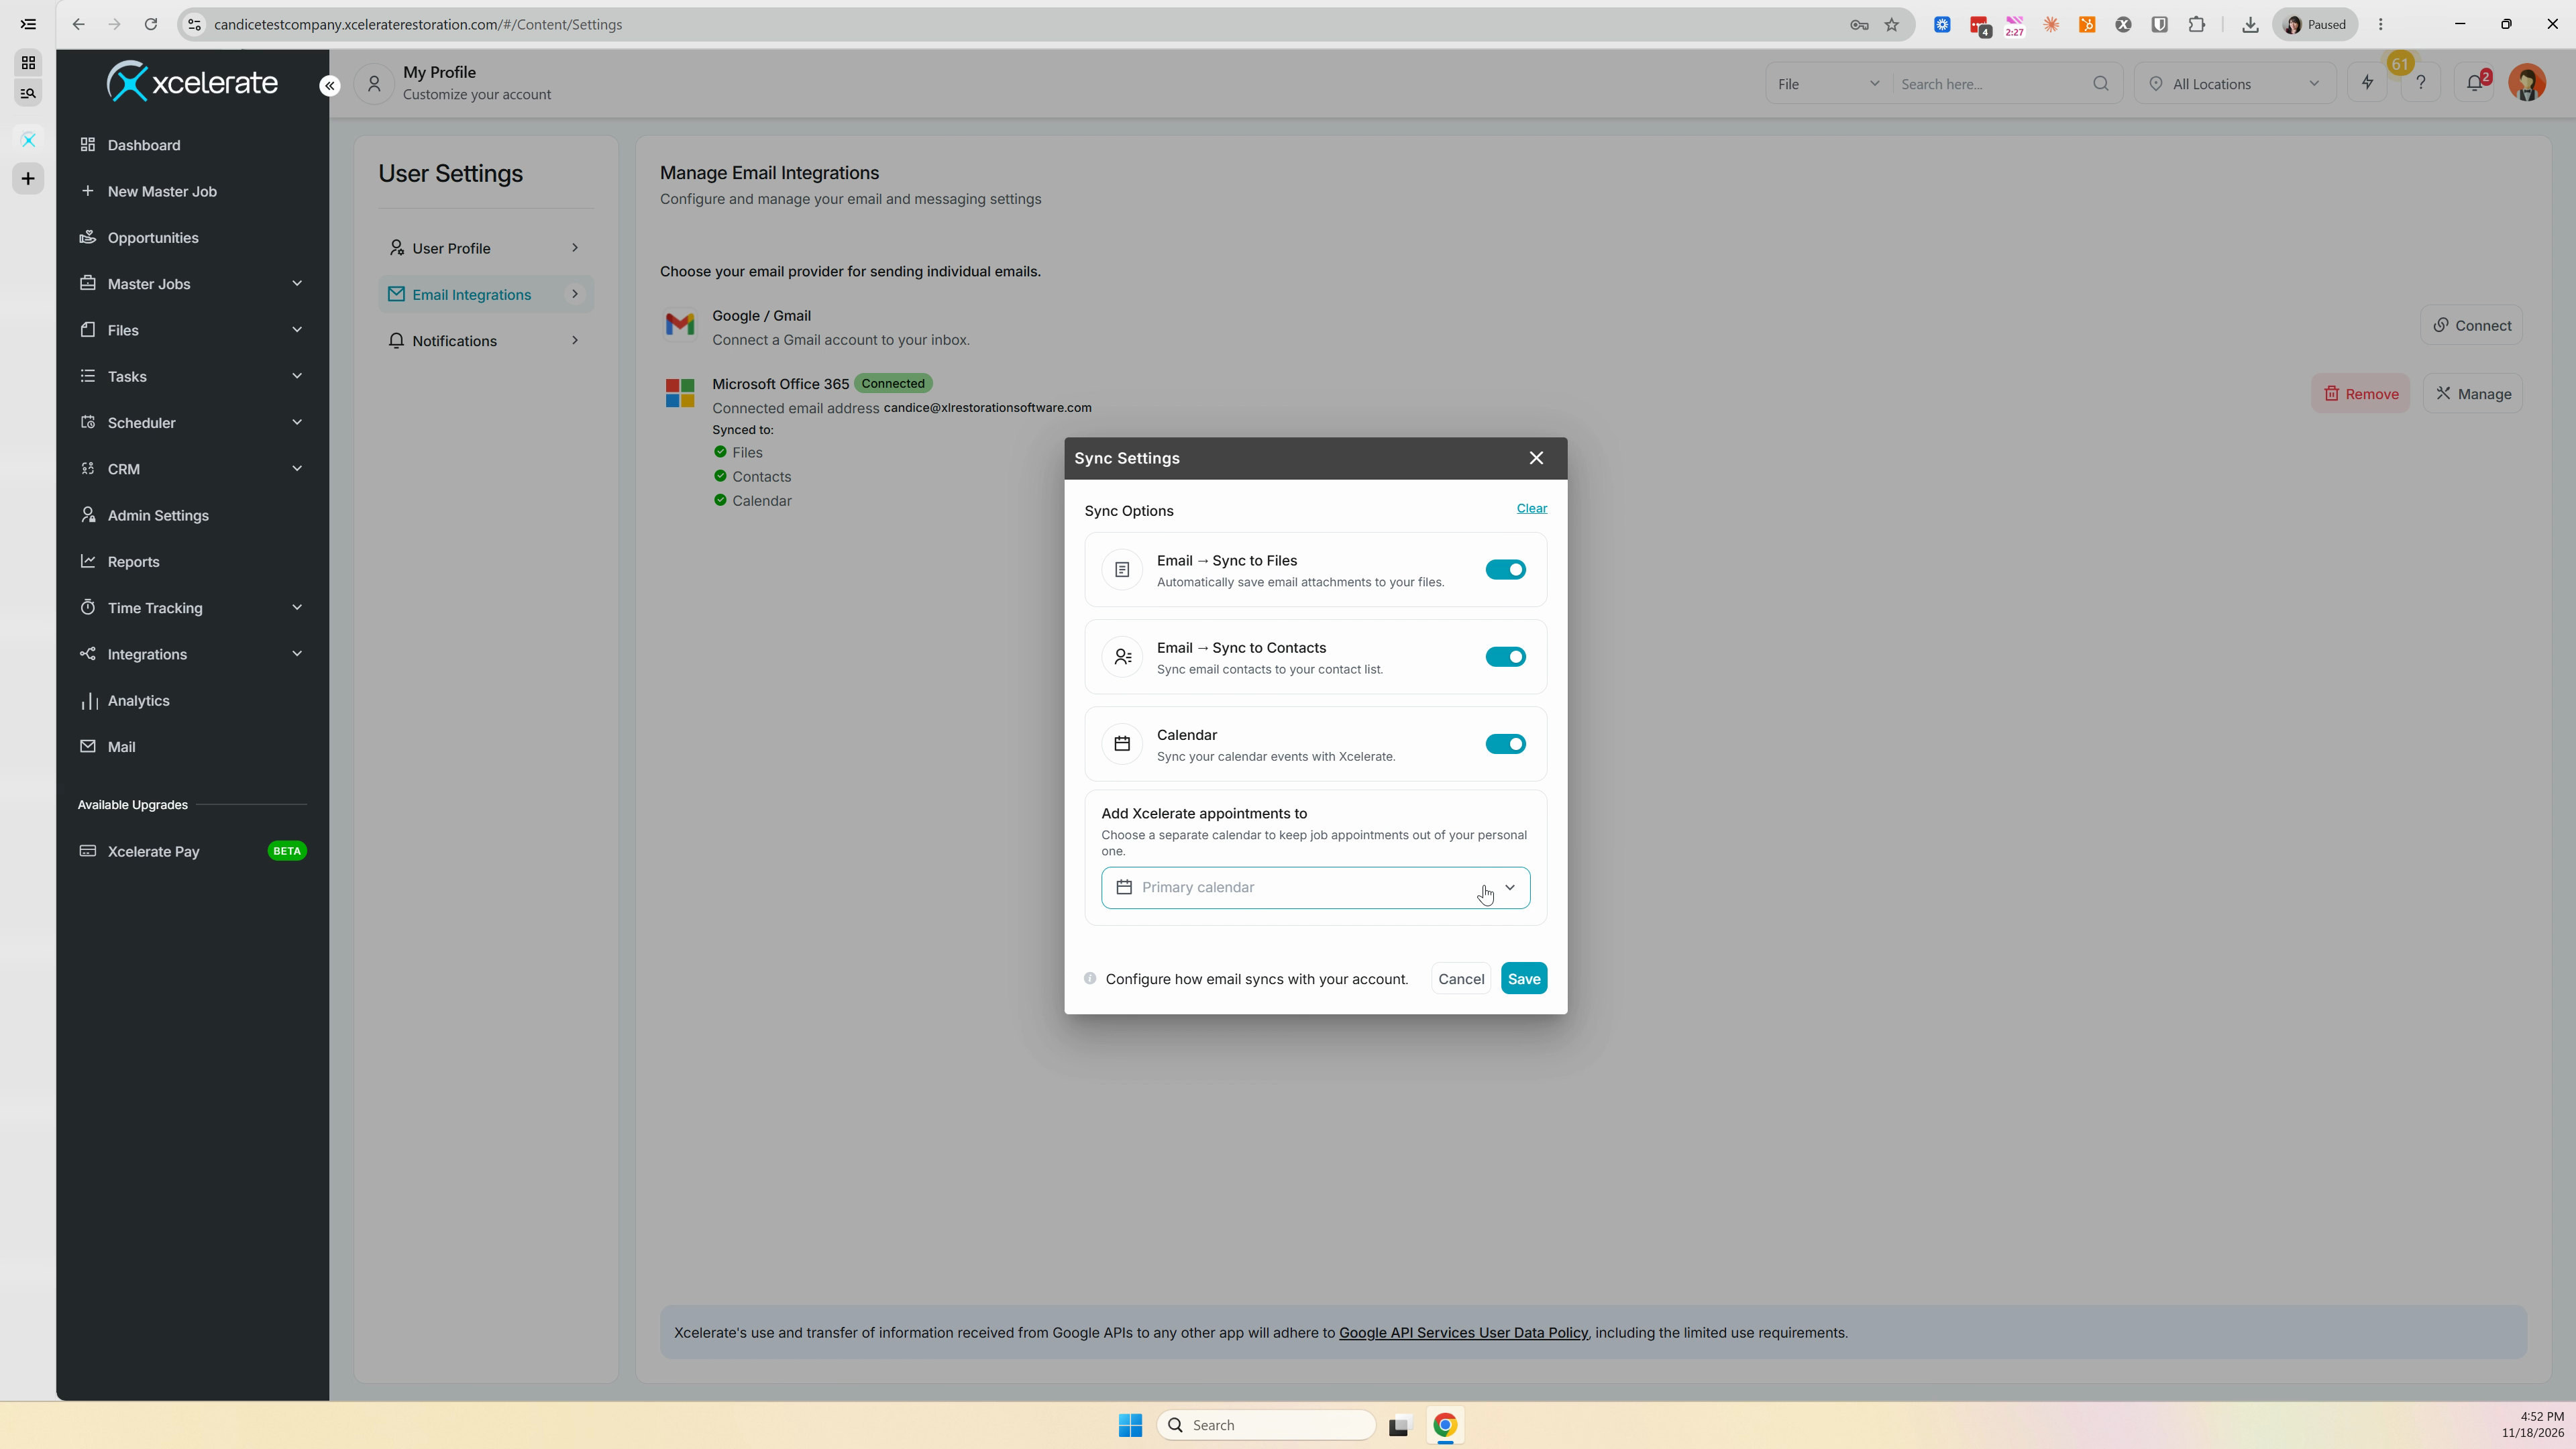
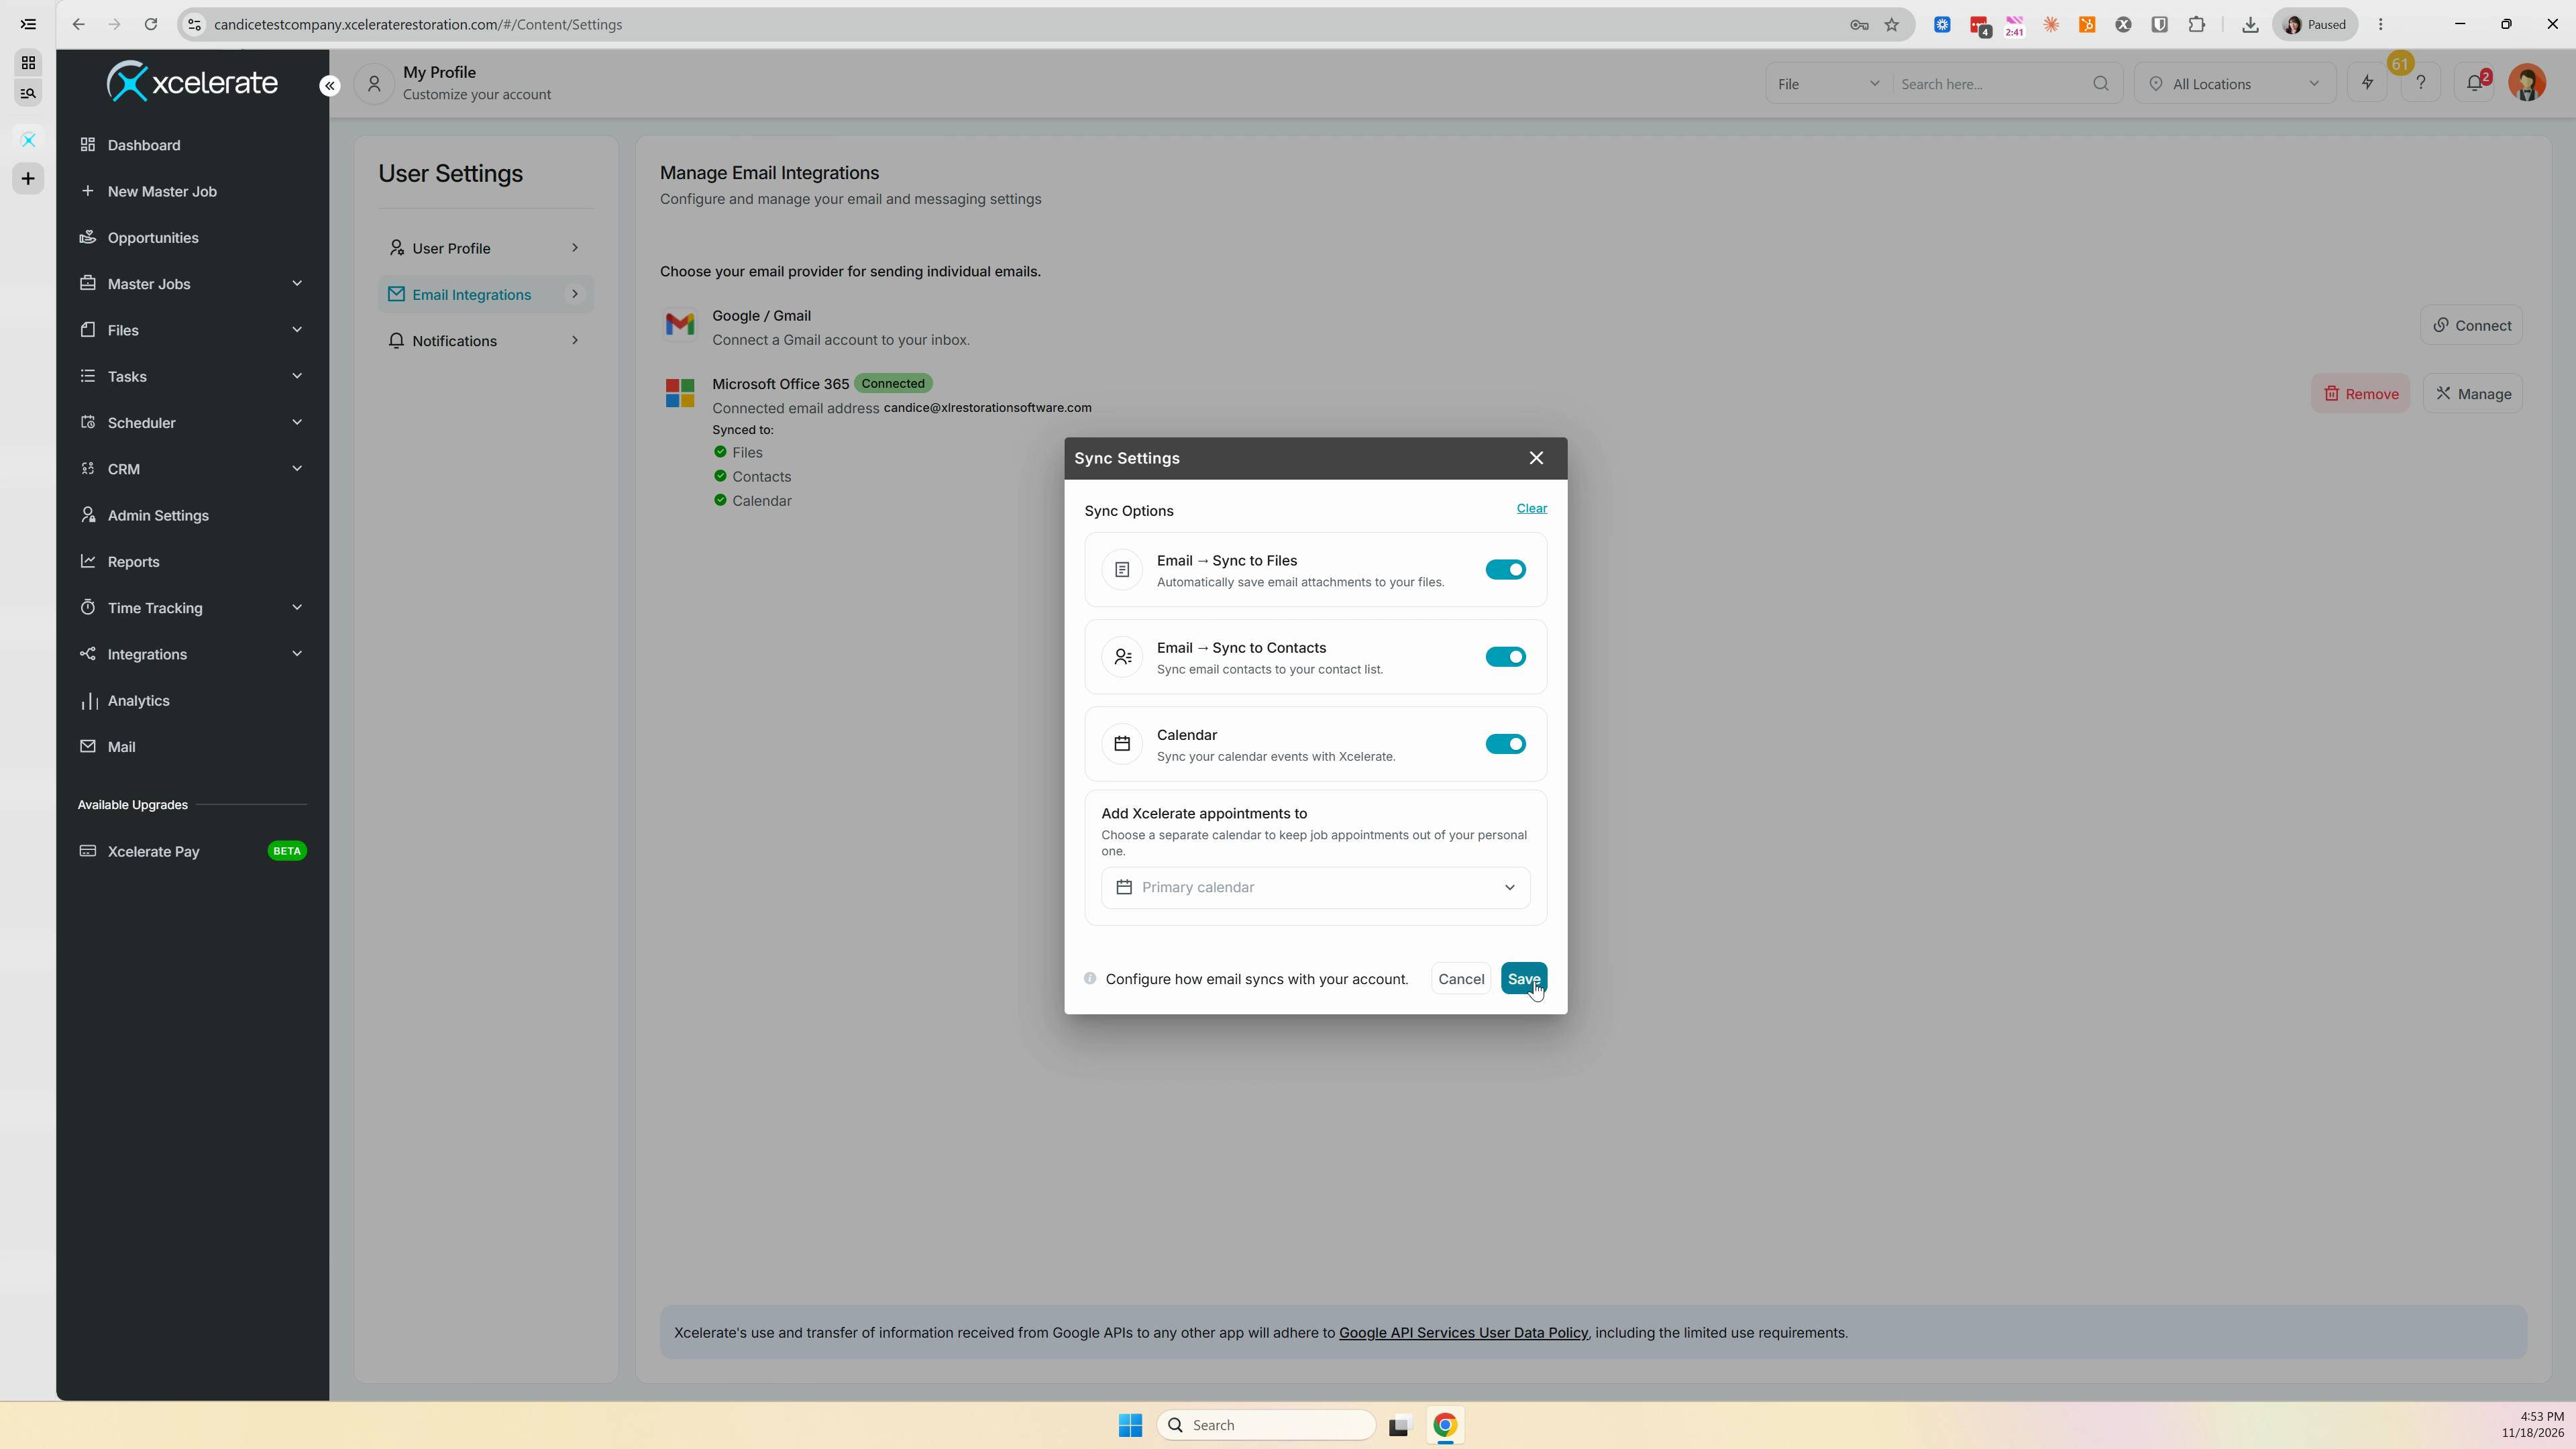
Step 5: Click Save.
Step 6: Confirm your setup. Your Microsoft Office 365 account now appears as connected, along with the sync options you selected.
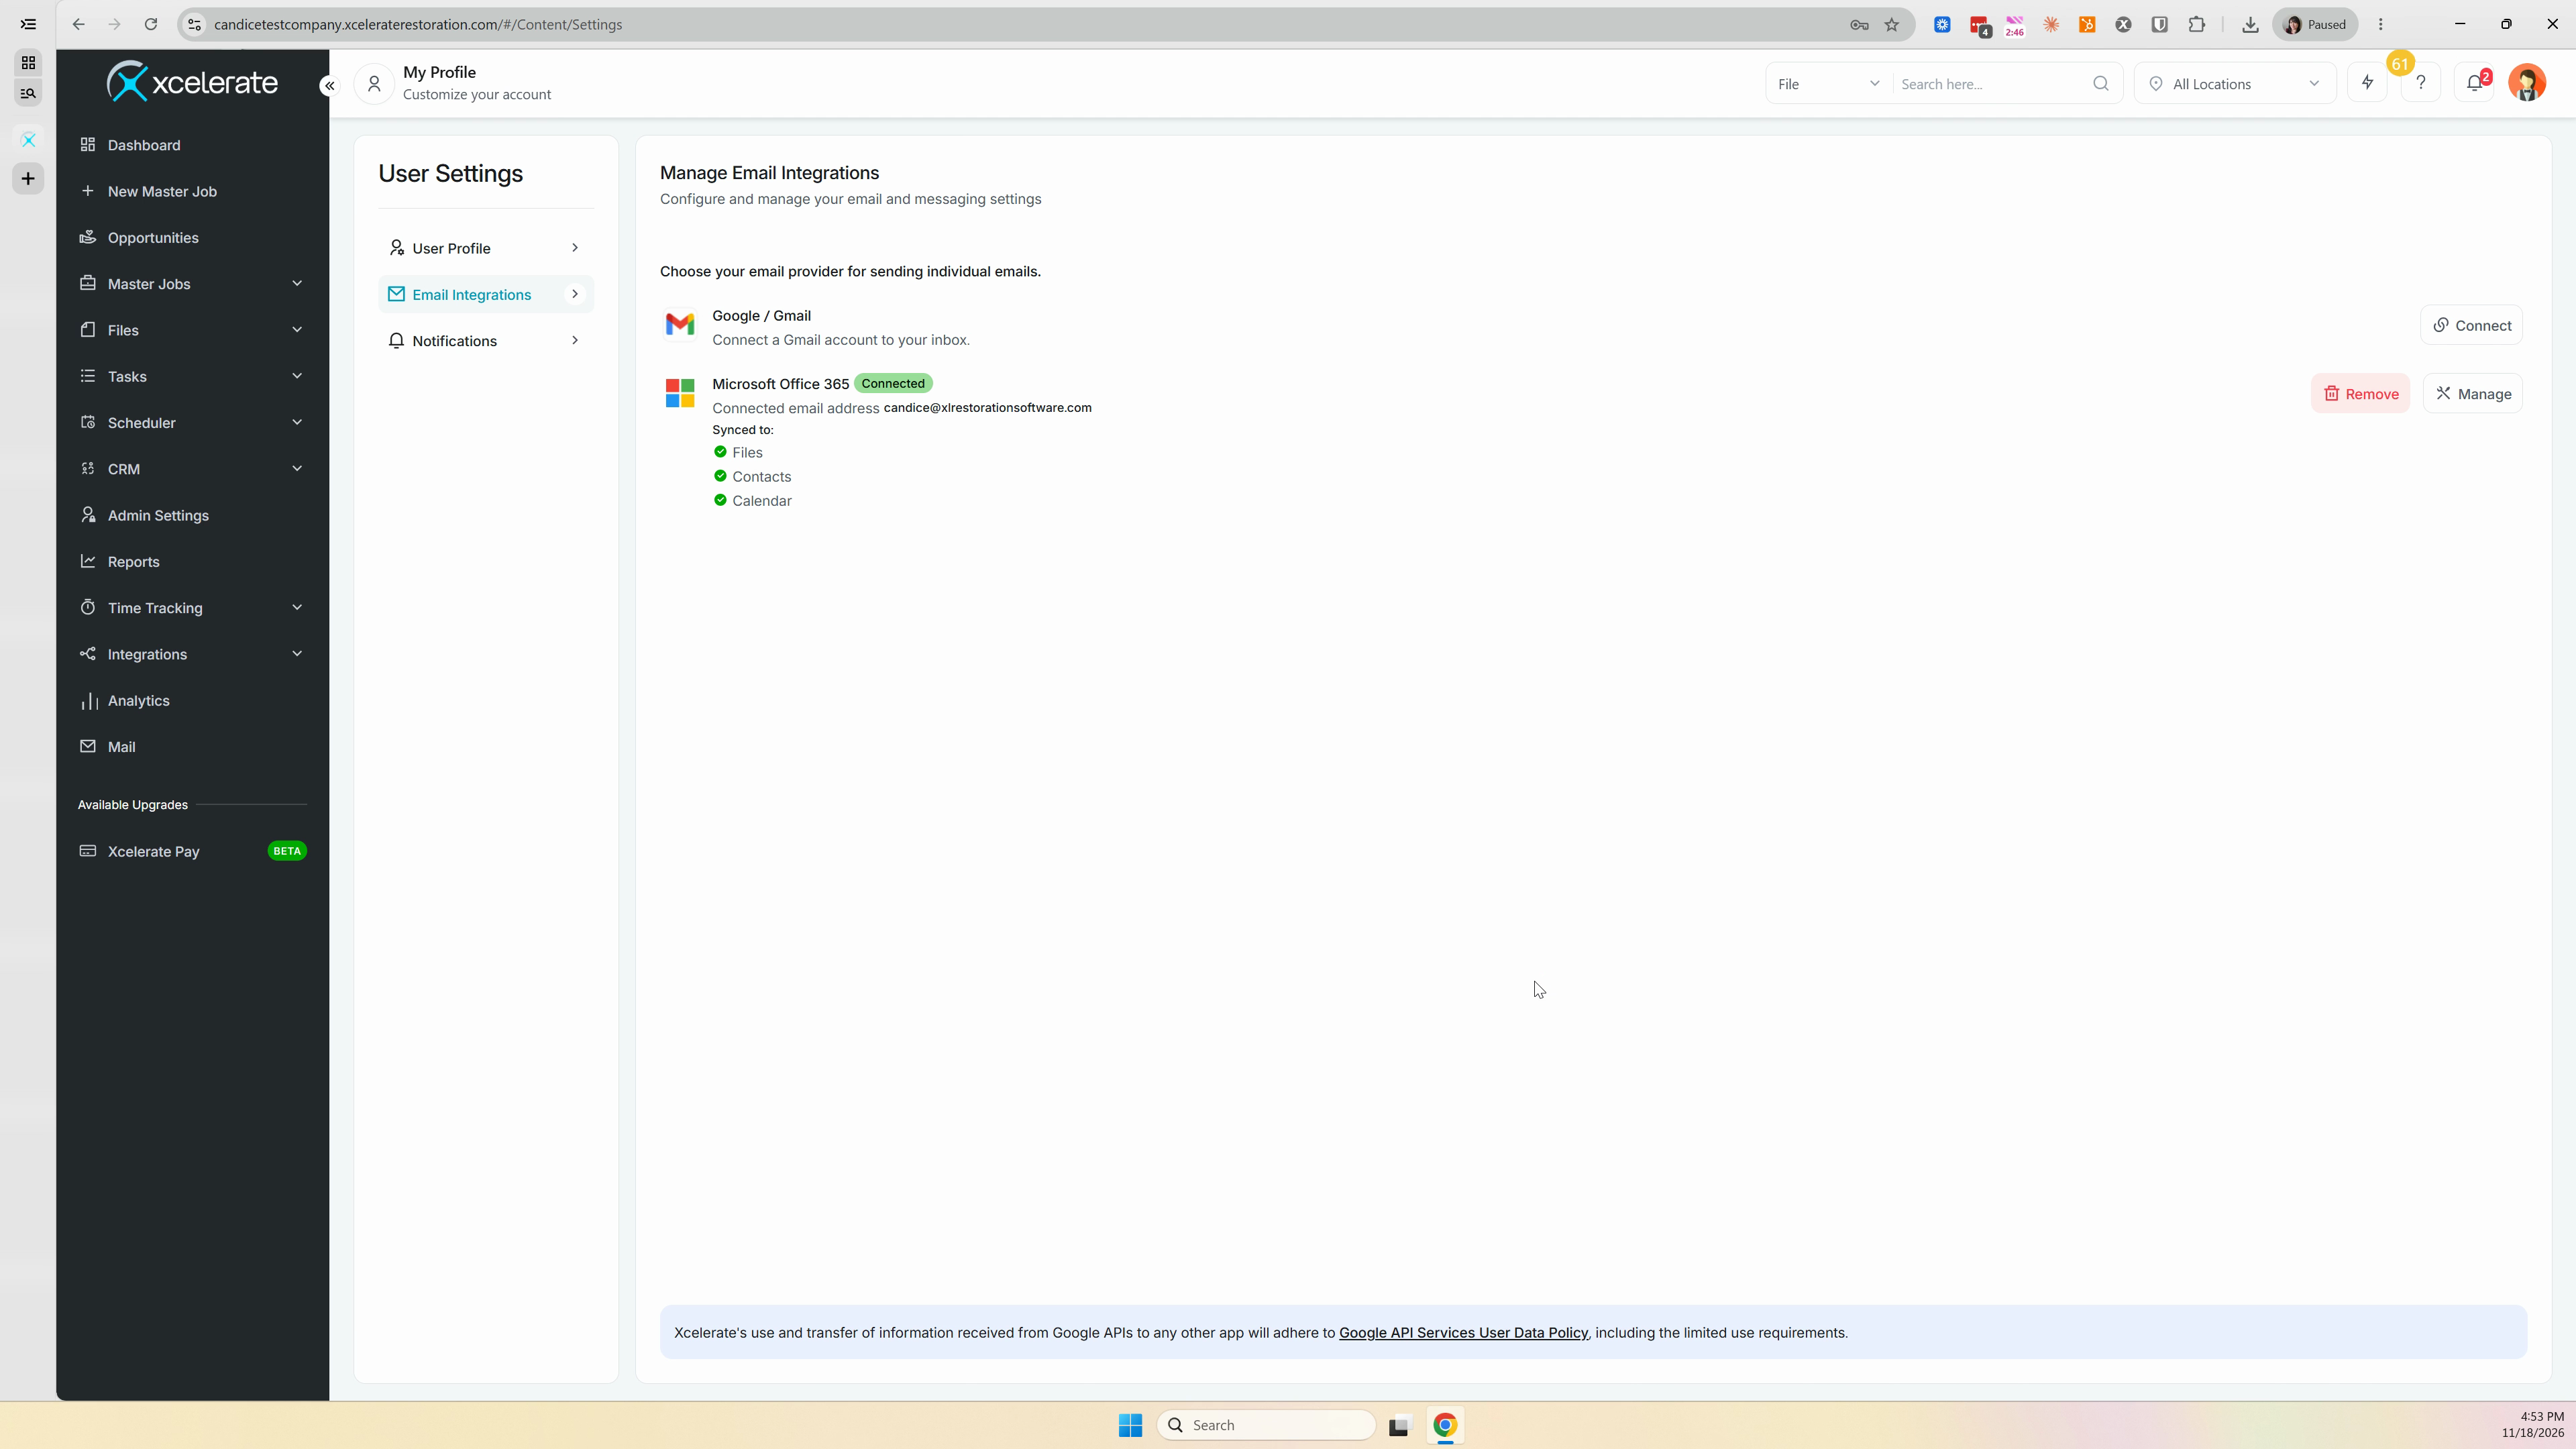
Step 7: Look for the new mail icon in your menu bar. It's another sign the integration is working.
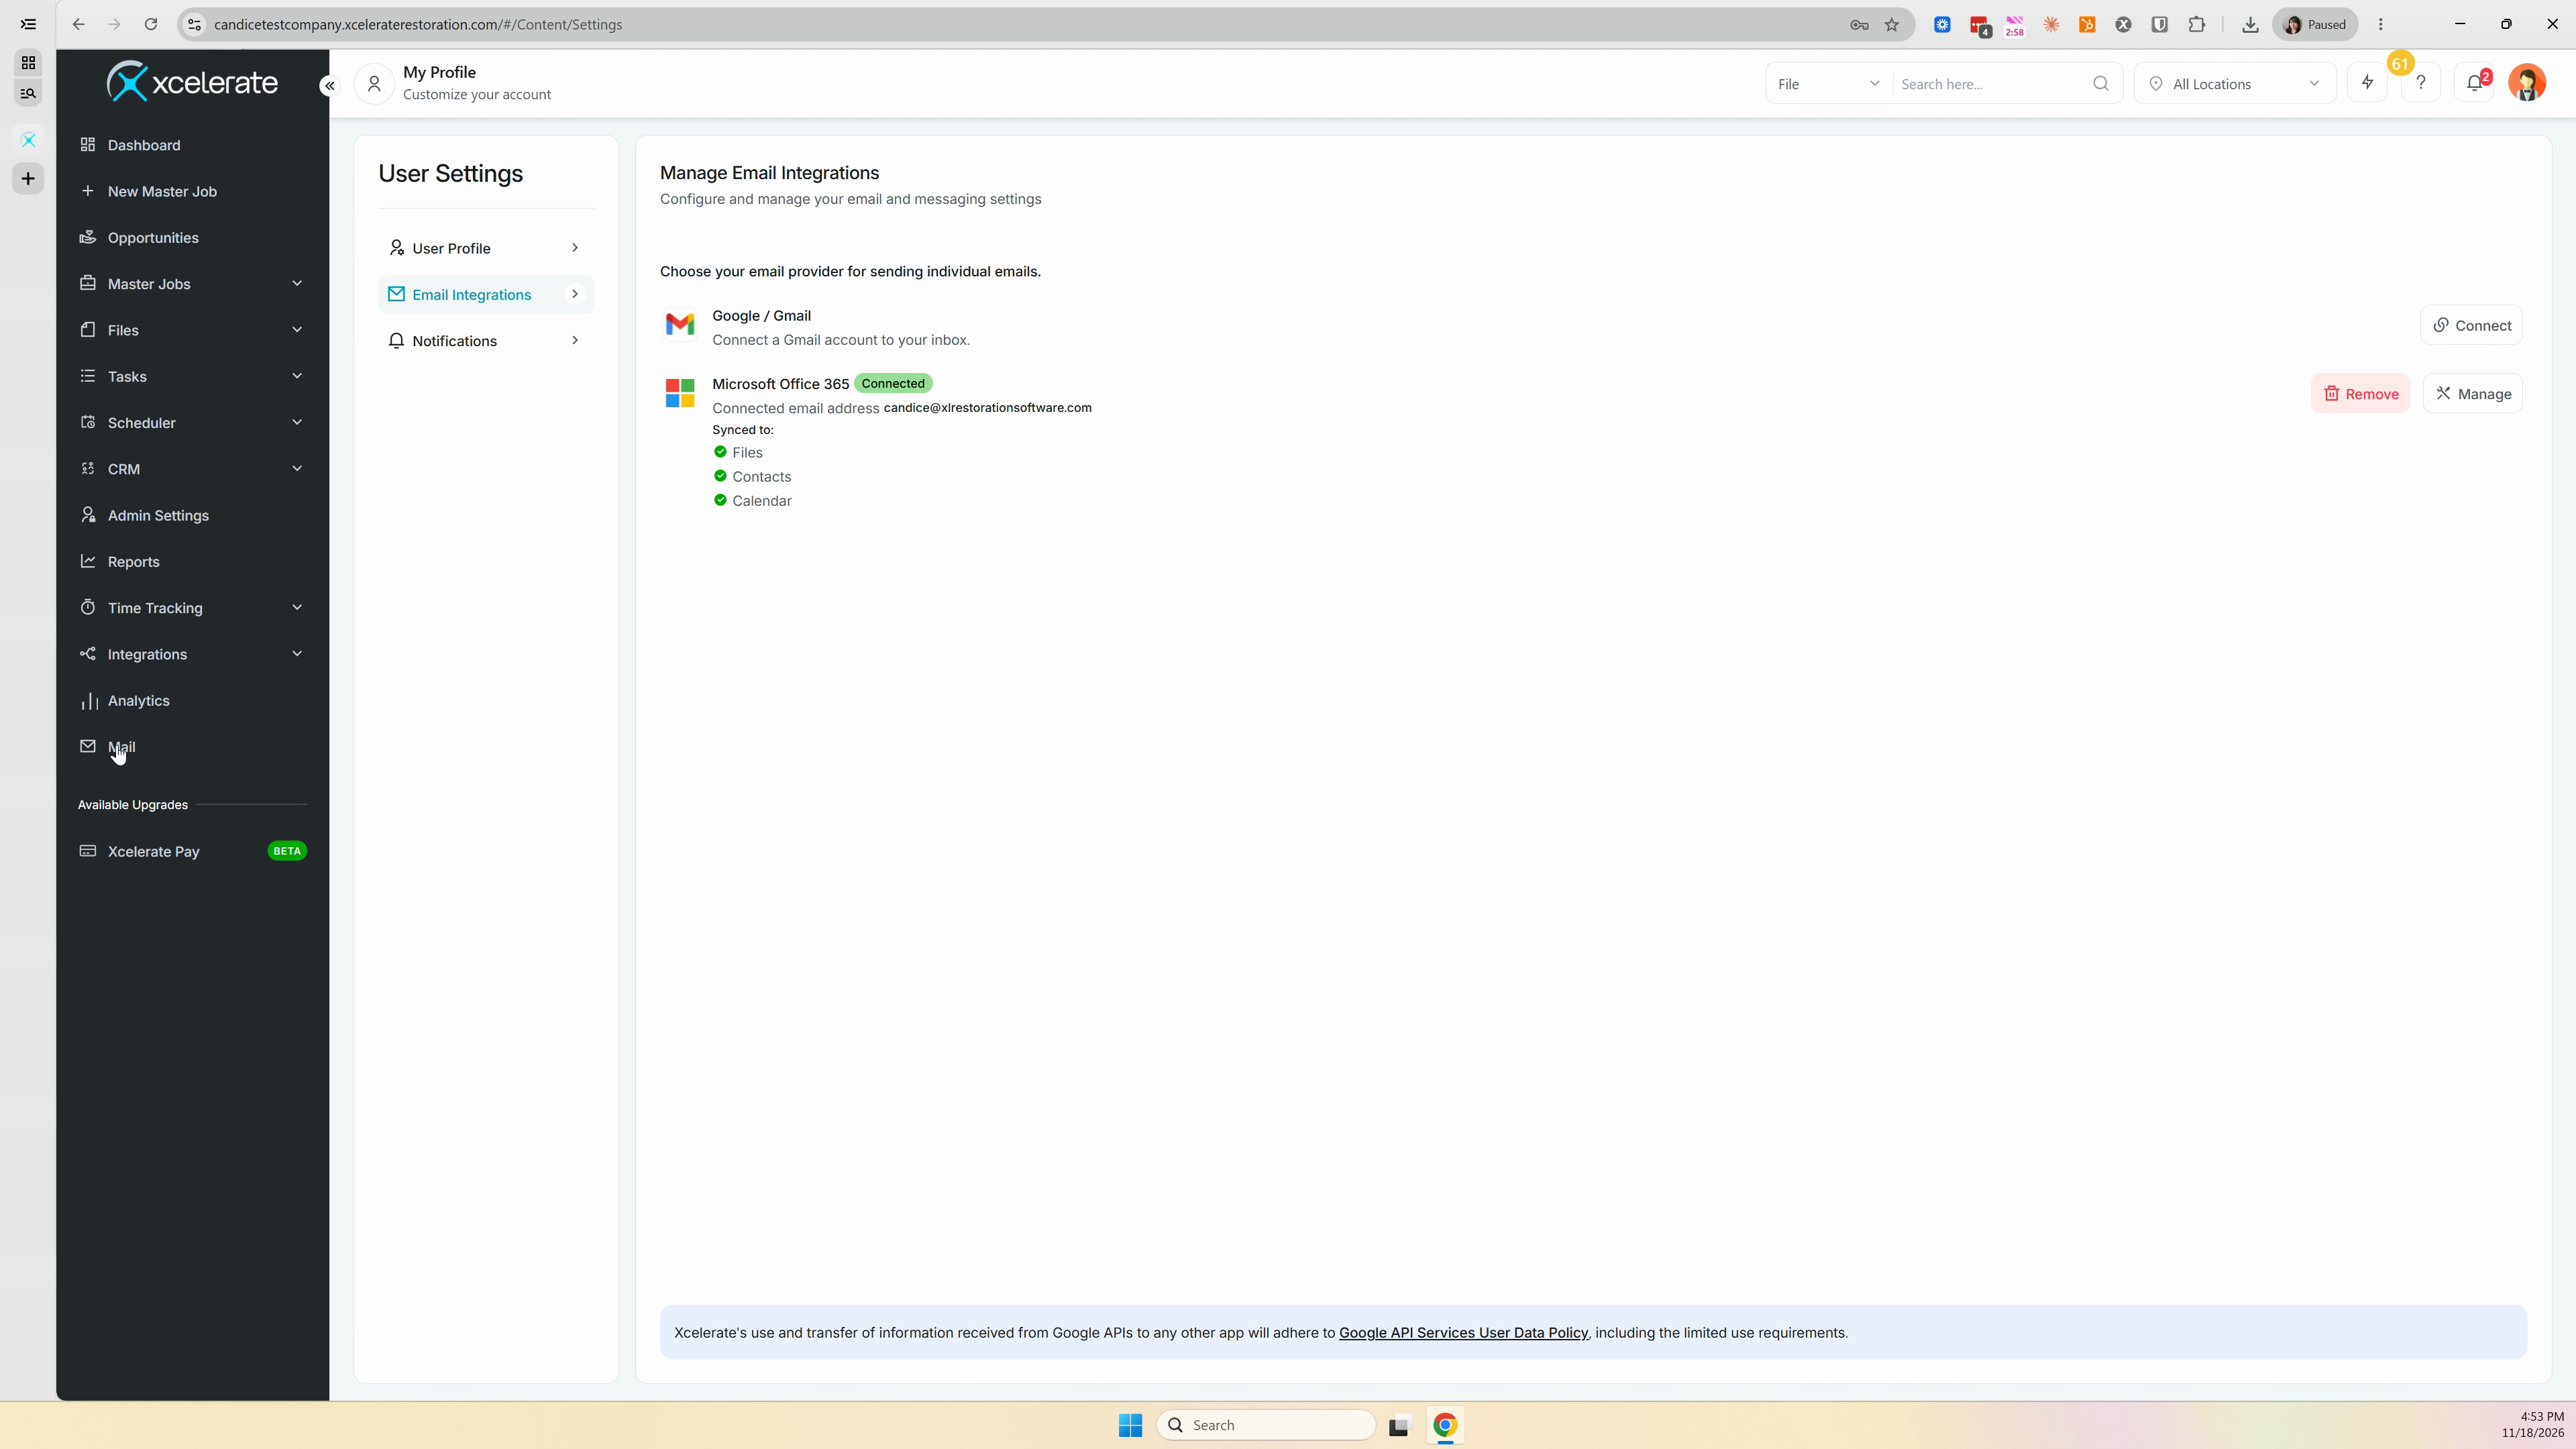
Use Mail in Xcelerate
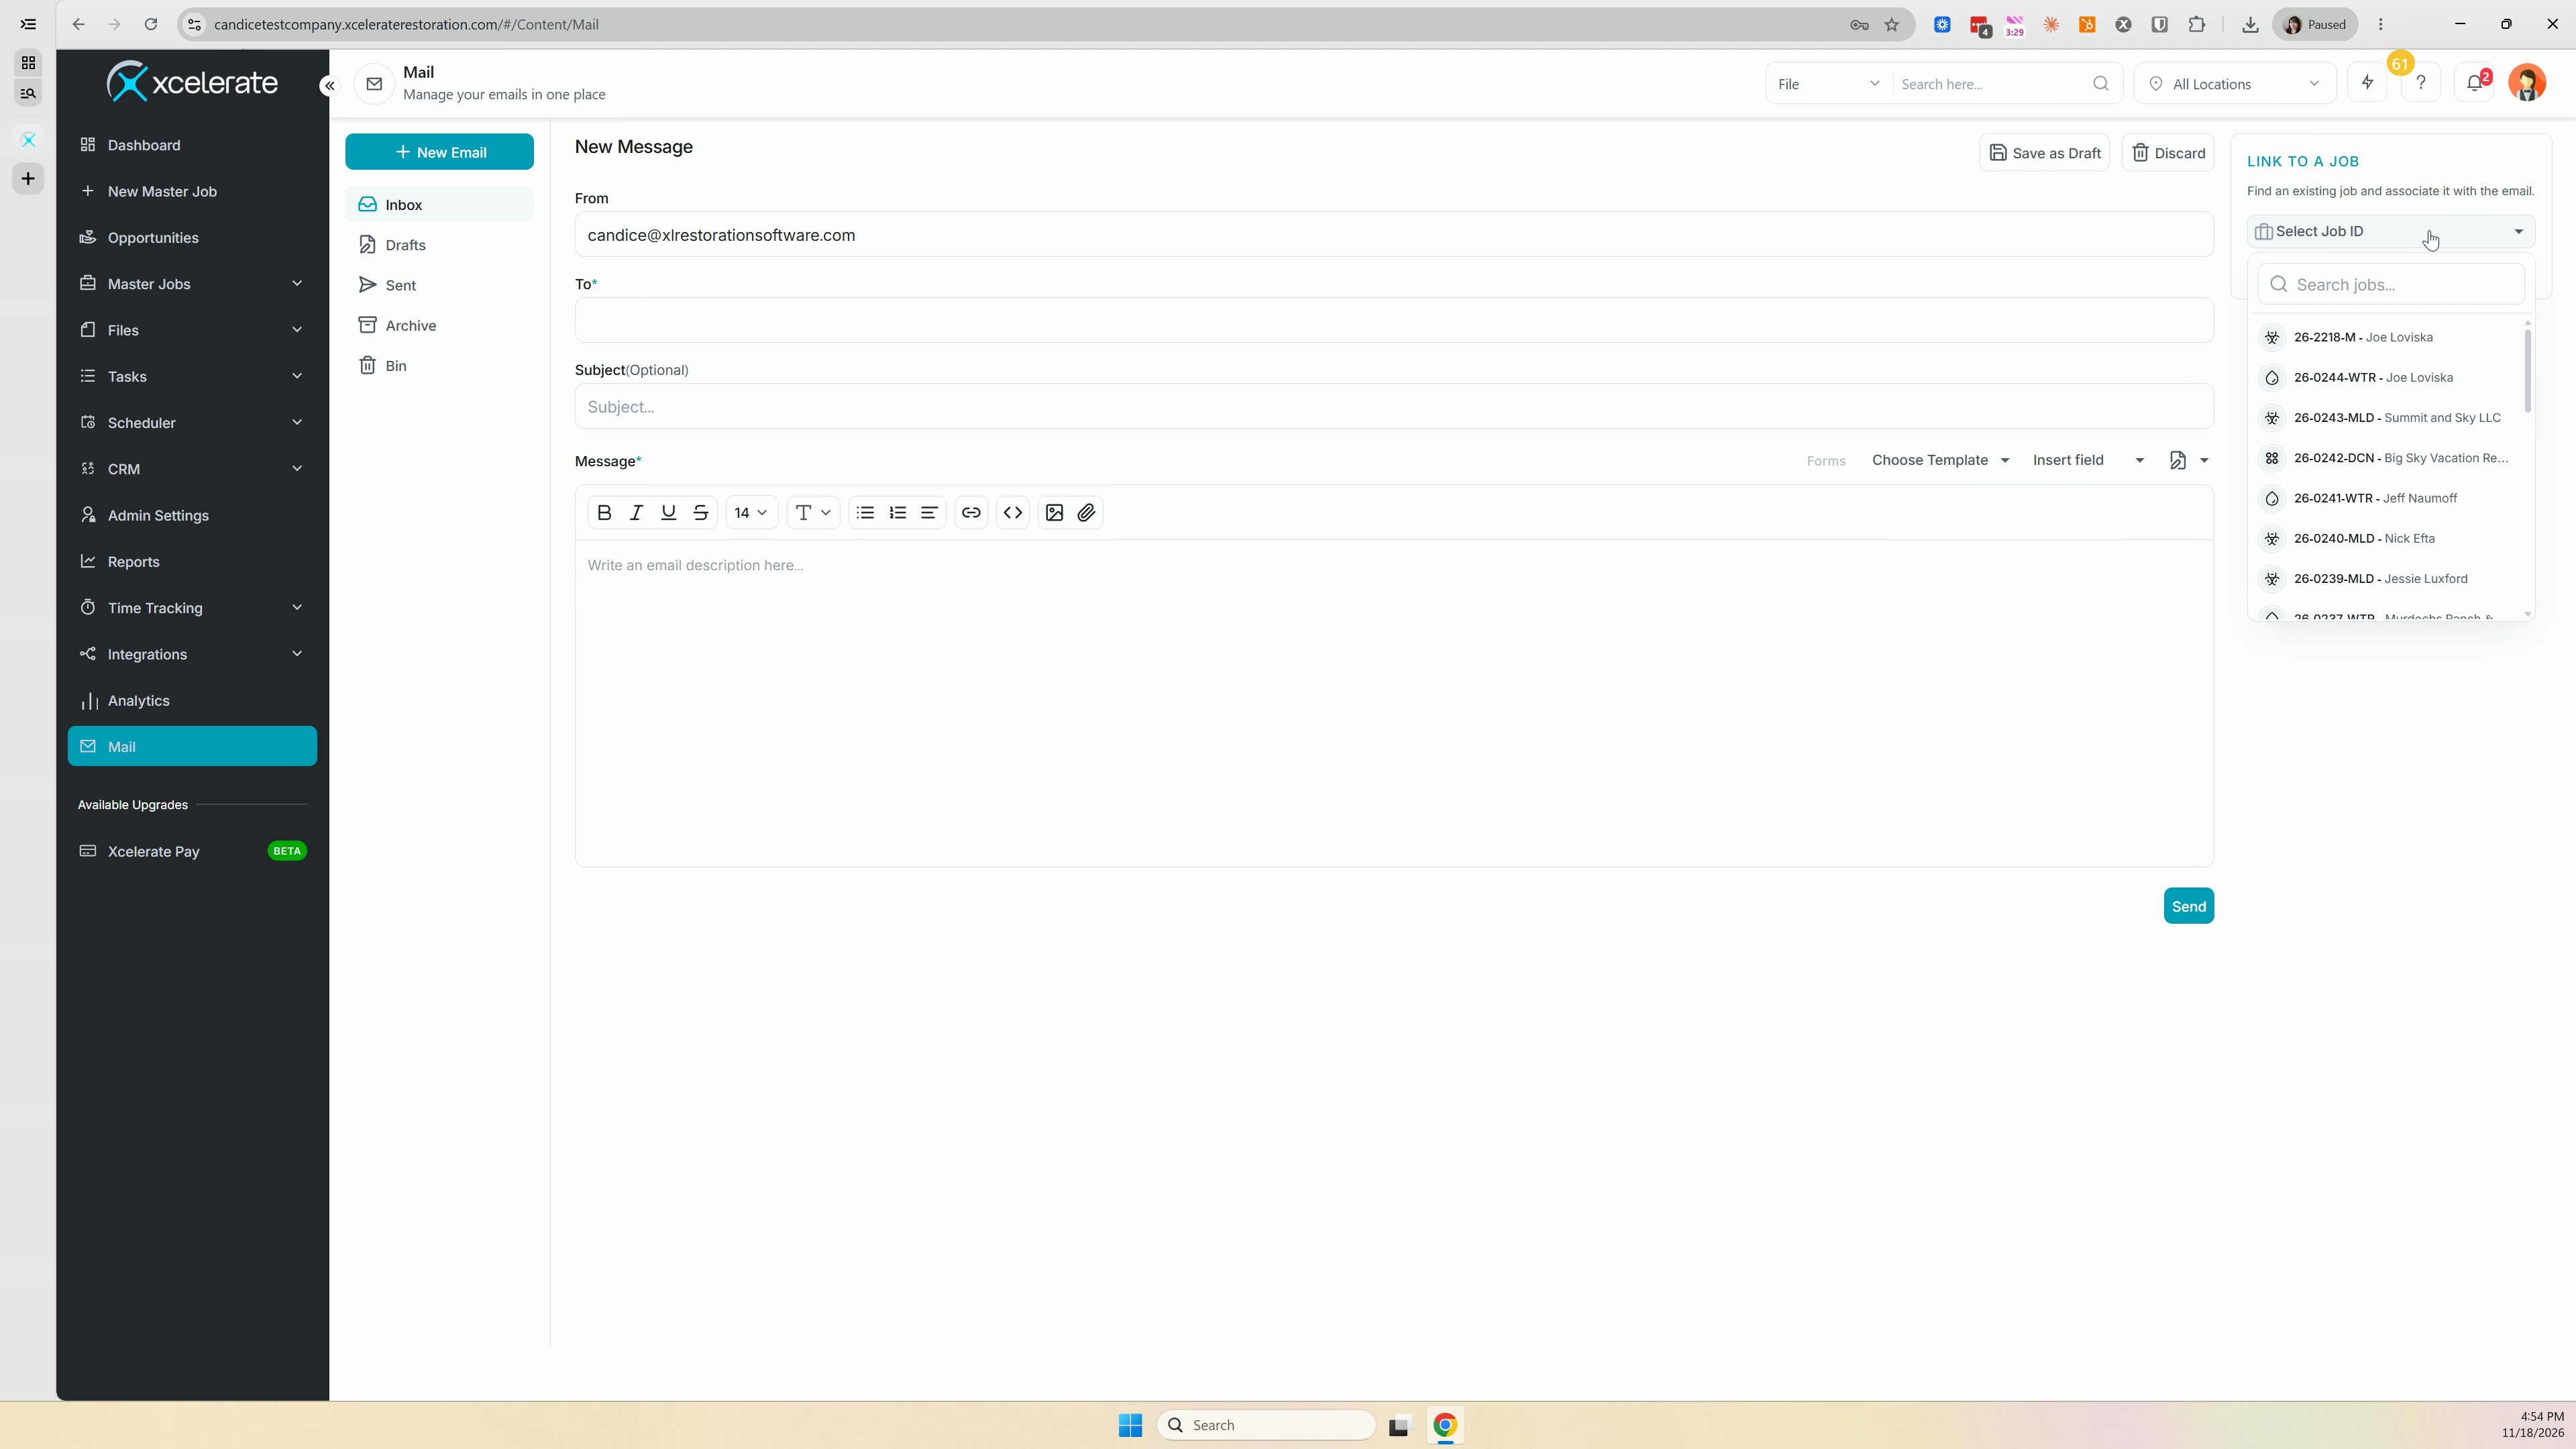
Step 1: Select the Mail icon in the menu bar. Your emails load here.
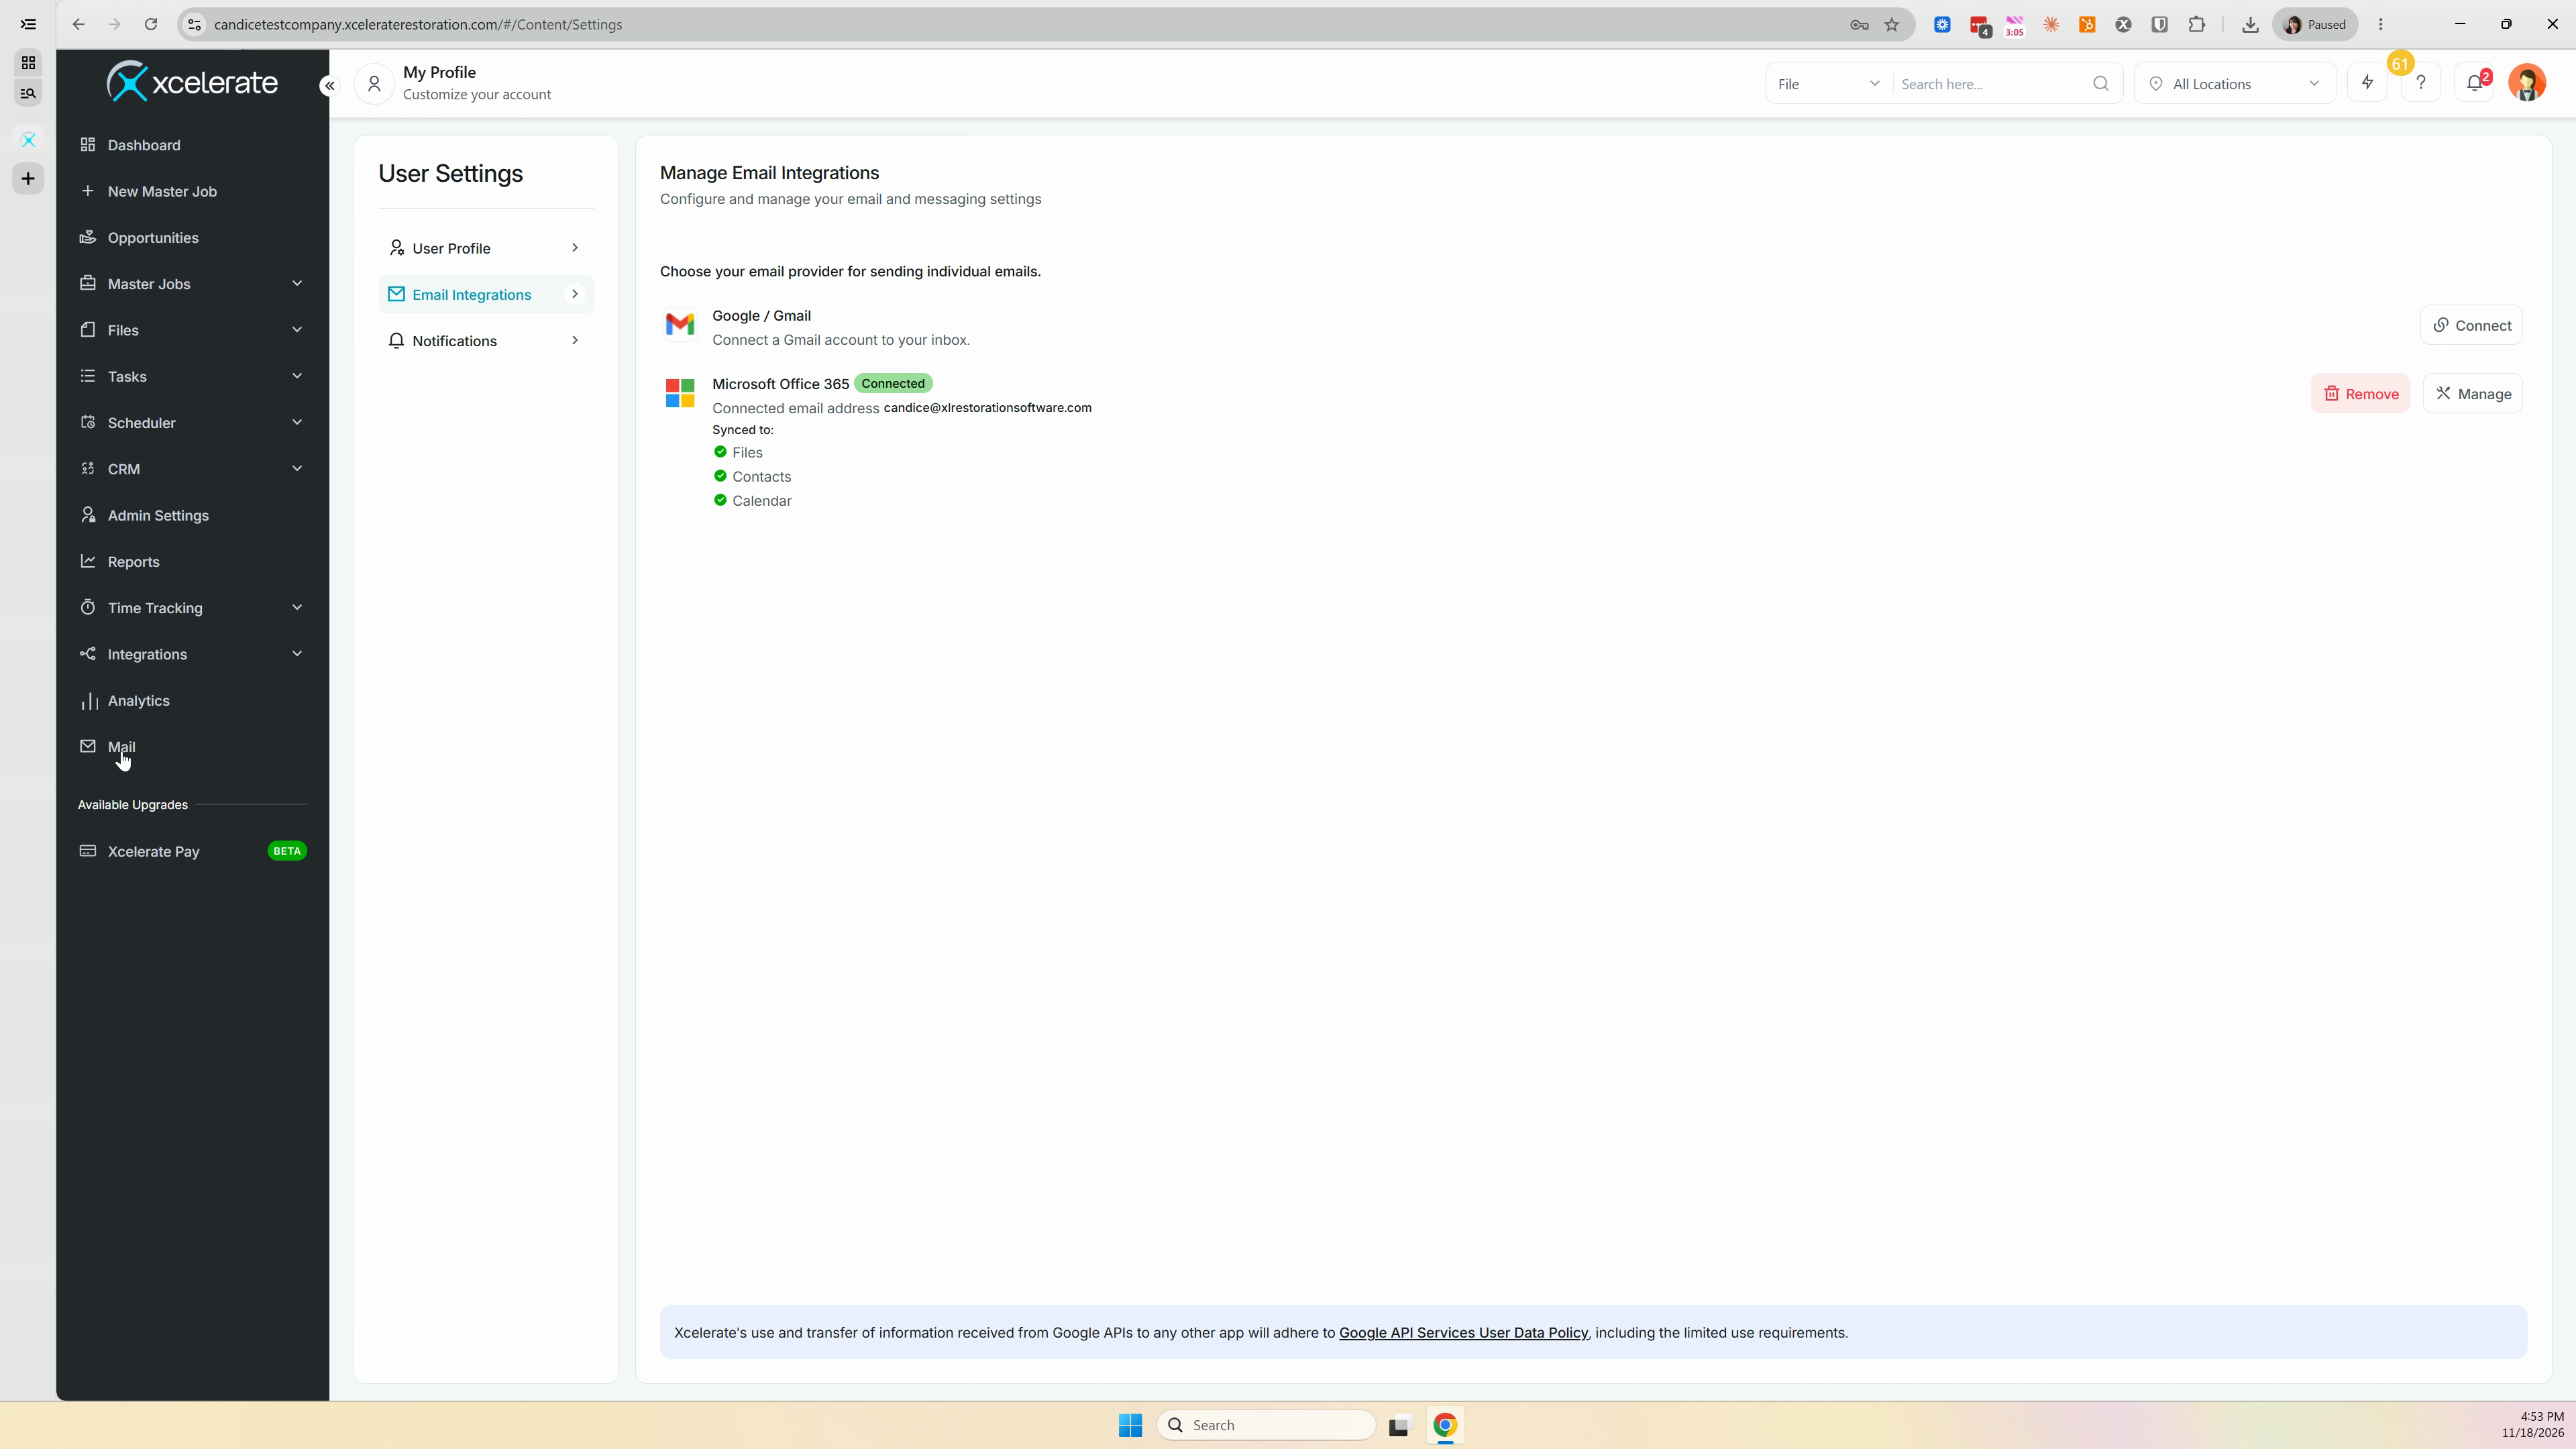
Step 2: Compose a new email from this screen.
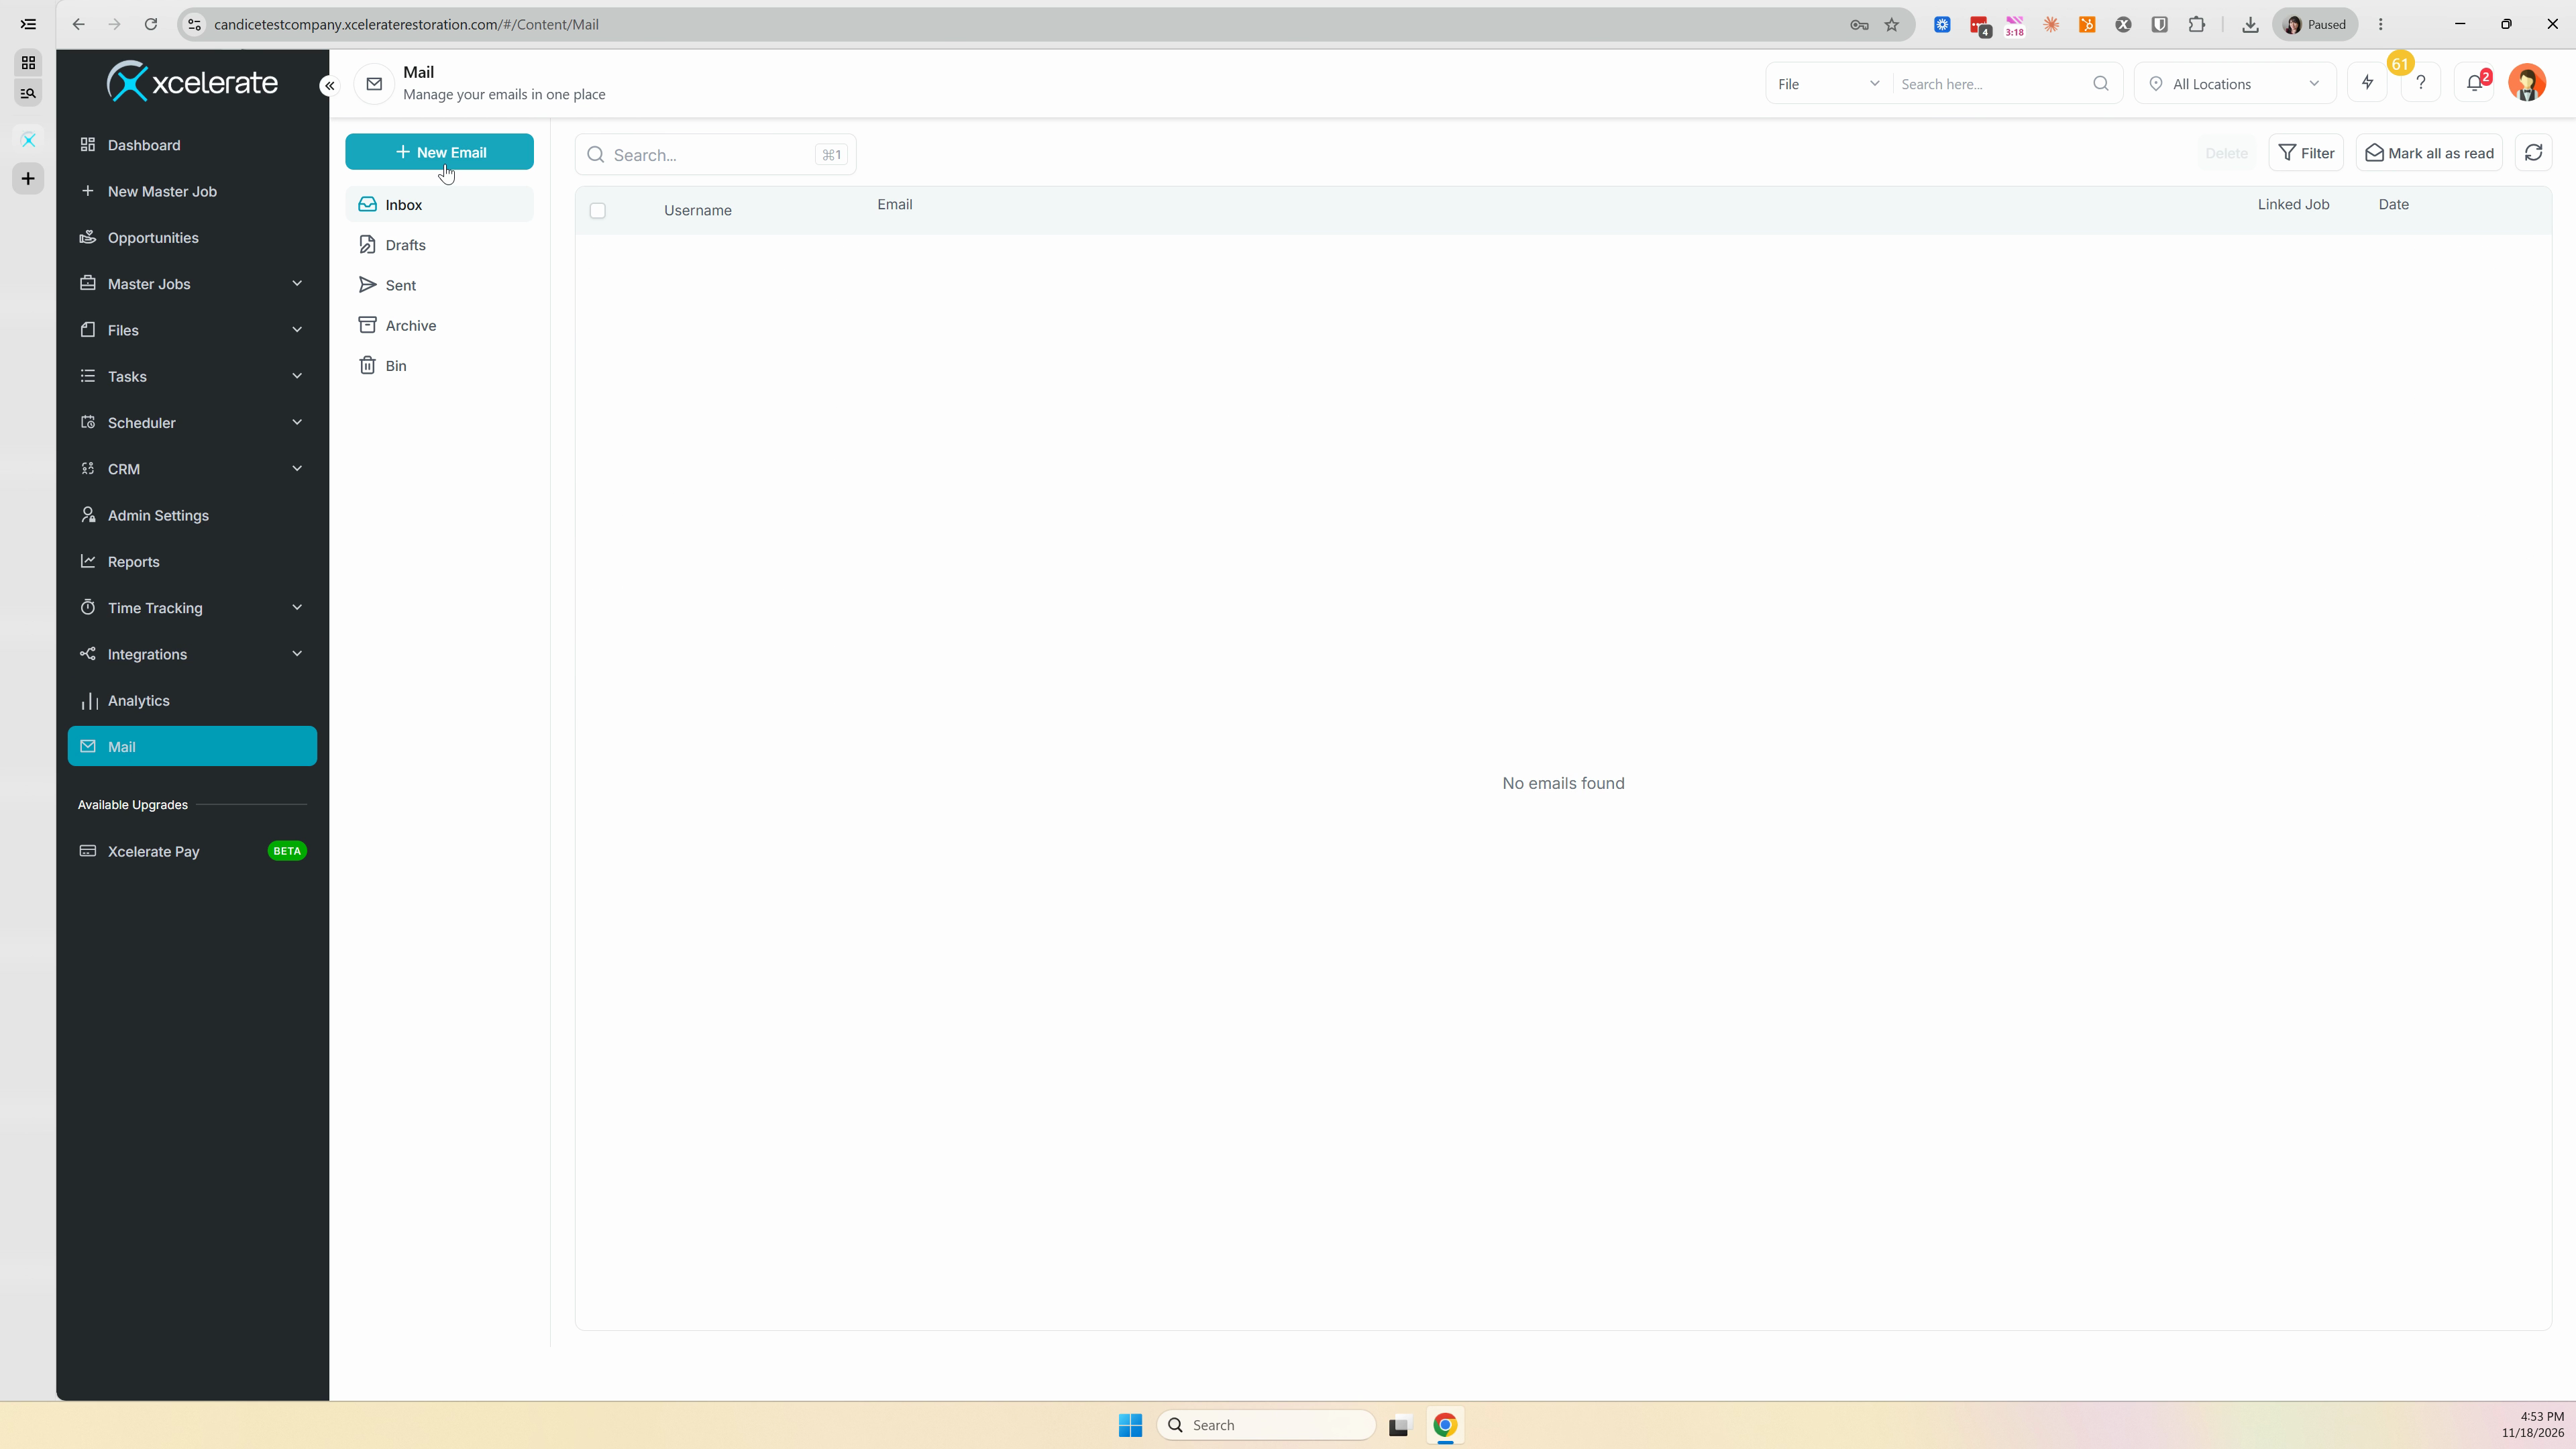
Step 3: Set up different templates.
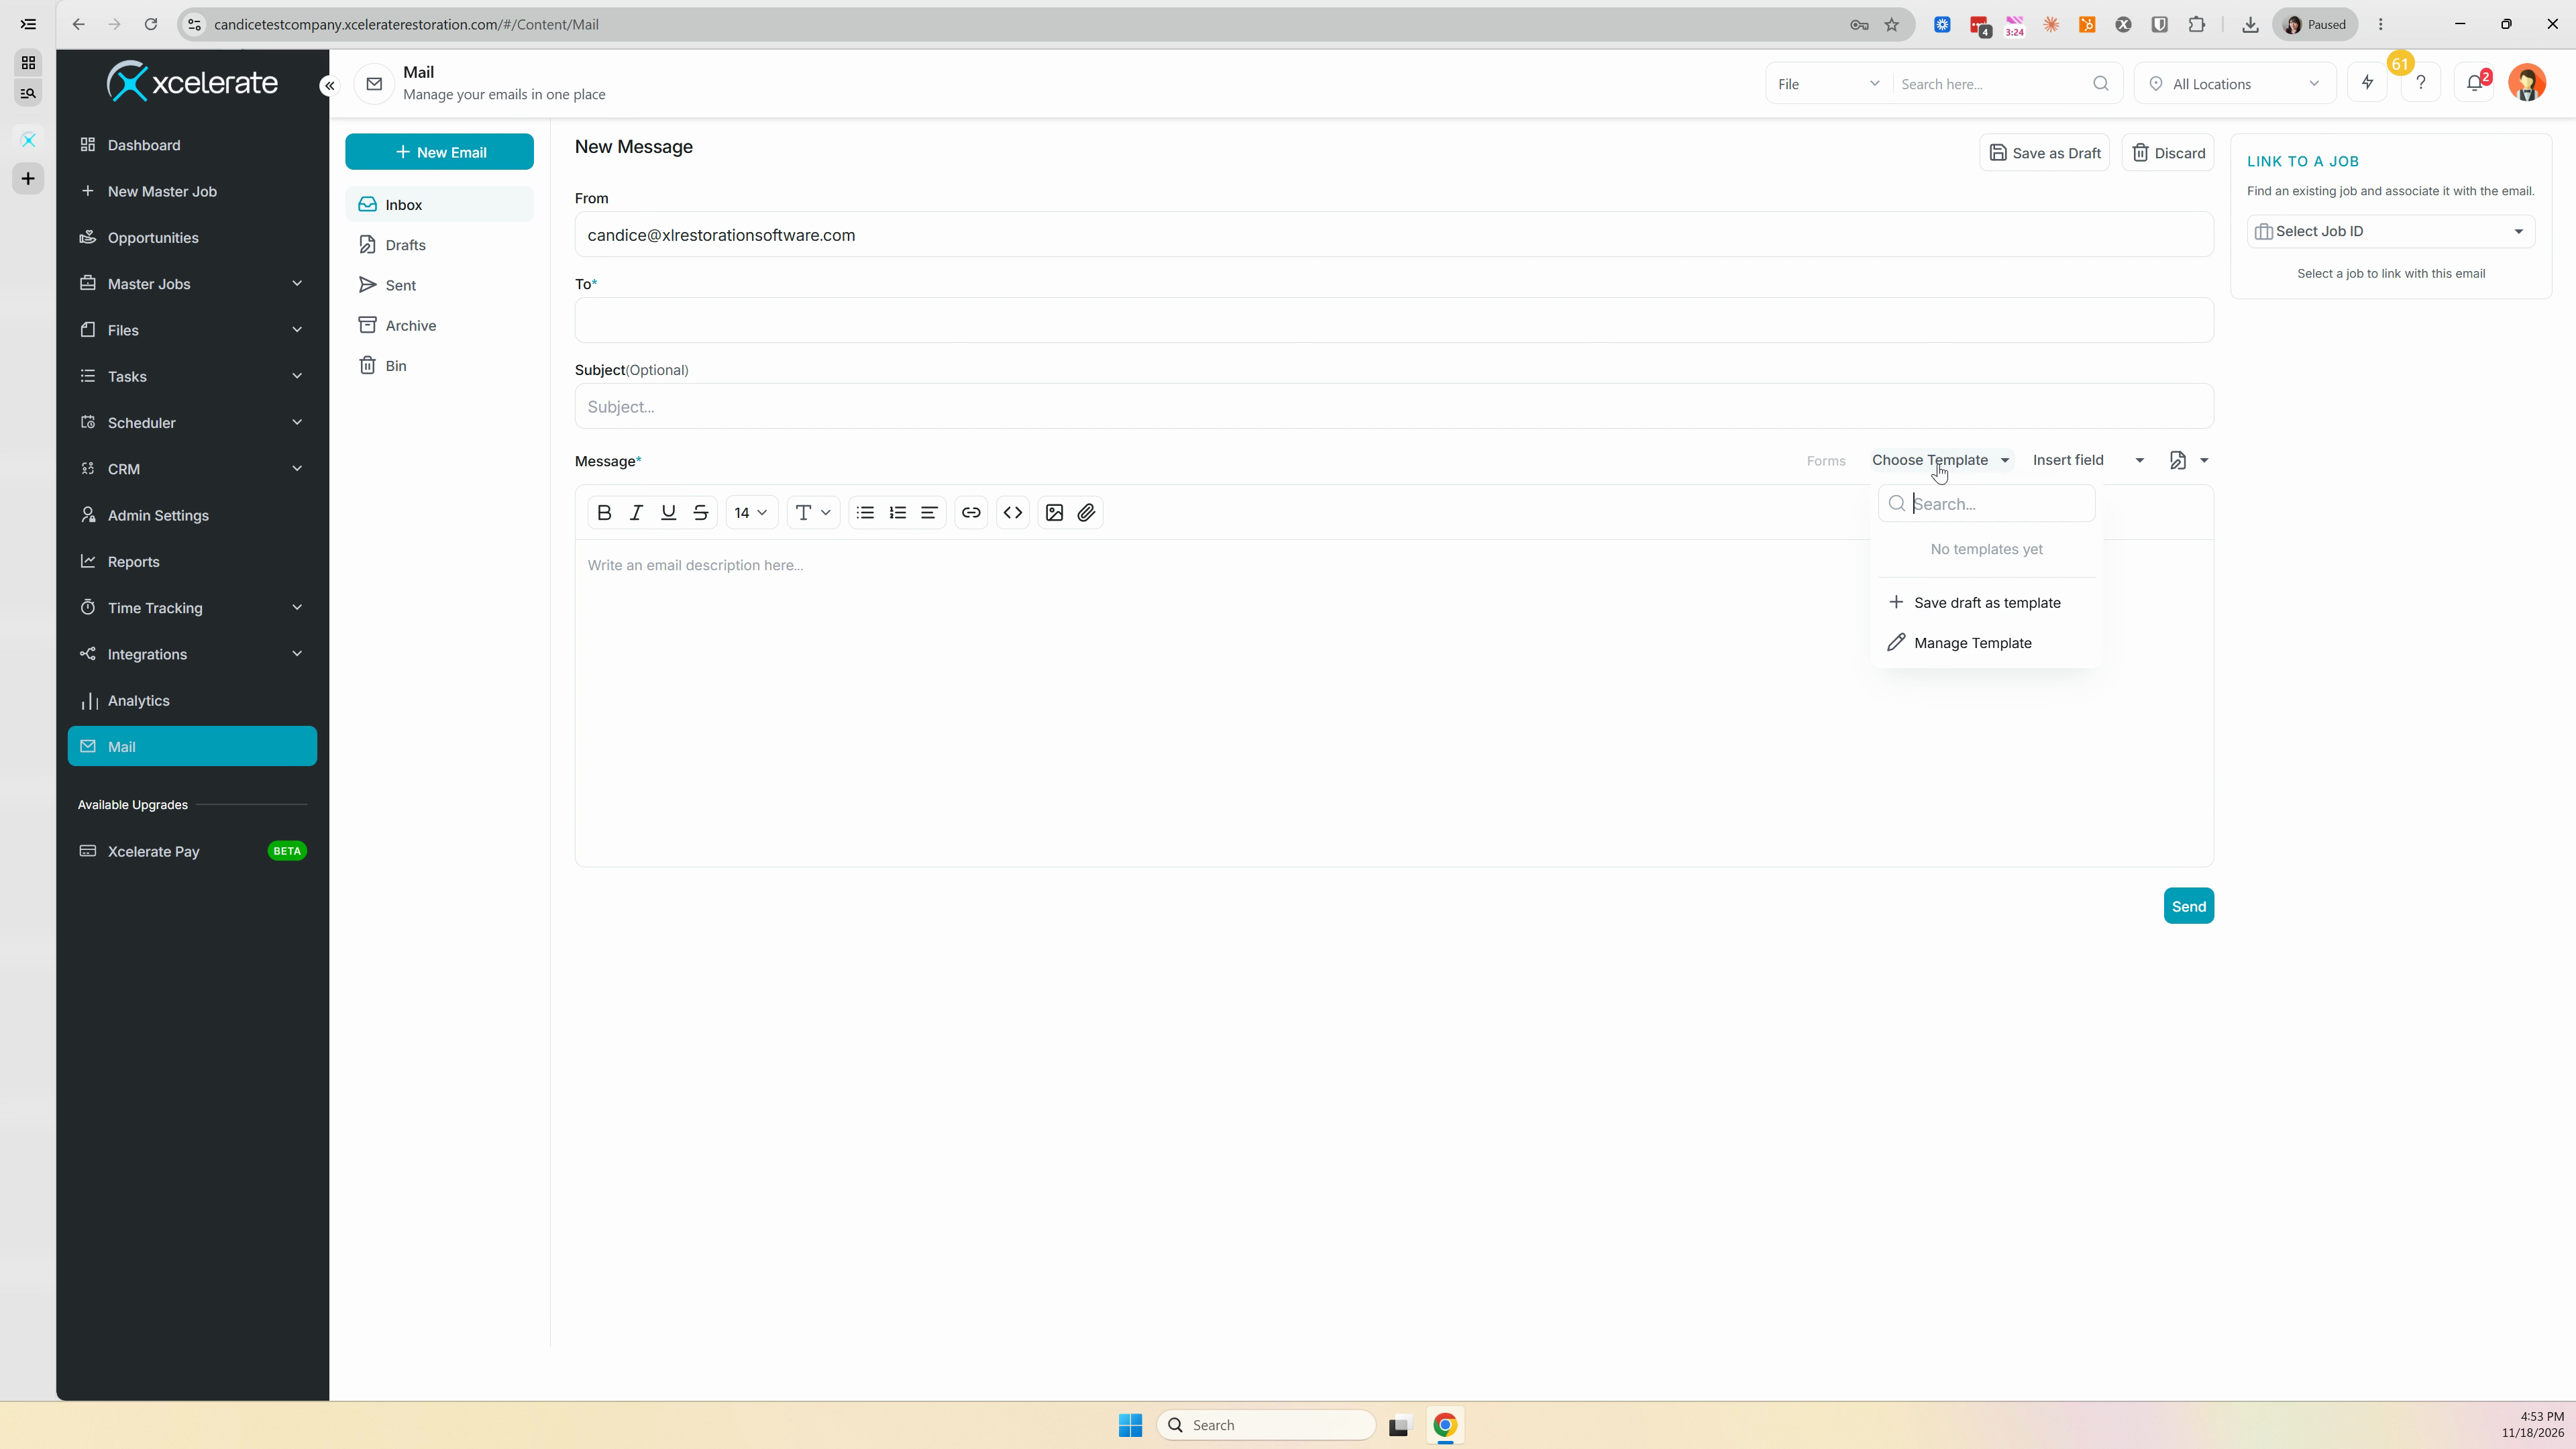
Step 4: Select an email to sync it to a file.
That's all it takes to set up the Xcelerate email integration. Once it's connected, your emails and appointments flow into your files and contacts automatically, so your records stay current without extra work.
Published 11.2026